

Fill a raised garden bed from coarse to fine: logs, branches and other rough organic material on the bottom, partly decomposed matter such as grass clippings and chopped leaves in the middle, and a finished growing mix of topsoil, compost and coarse sand on top where seeds and transplants root. This approach drains well, feeds the soil as the lower layers break down, and needs far less purchased soil than filling the whole bed from bags.
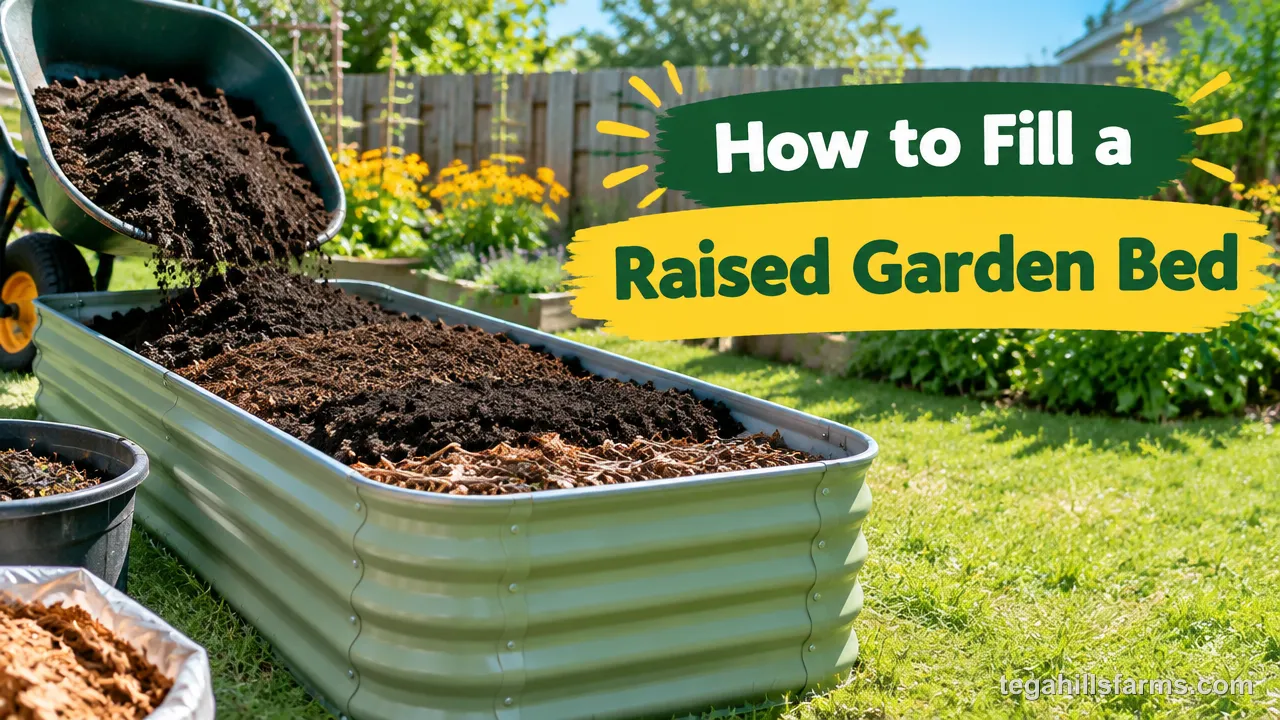
The right fill depends on three things: how tall the bed is, what you plan to grow, and whether the bed sits on open ground or on a hard surface like a patio. Each of these changes how thick every layer should be and how much finished soil you need to buy.
The concern I hear most is about cost and safety. People wonder whether yard waste will rot into a sour mess, and whether cheap fill will hurt the vegetables they plan to eat. Both risks come from the materials you choose and where you put them, so they are easy to avoid.
Before buying anything, measure the bed and walk your yard. Fallen branches, autumn leaves and plain cardboard can fill much of a deep bed at no cost, which leaves your budget for the top layer that actually feeds your plants.
Why Layer Your Raised Bed?
Stacking materials from coarse to fine gives the bed bottom-up drainage, a slow, steady nutrient supply as organic matter decomposes, and a much smaller bill for purchased soil.
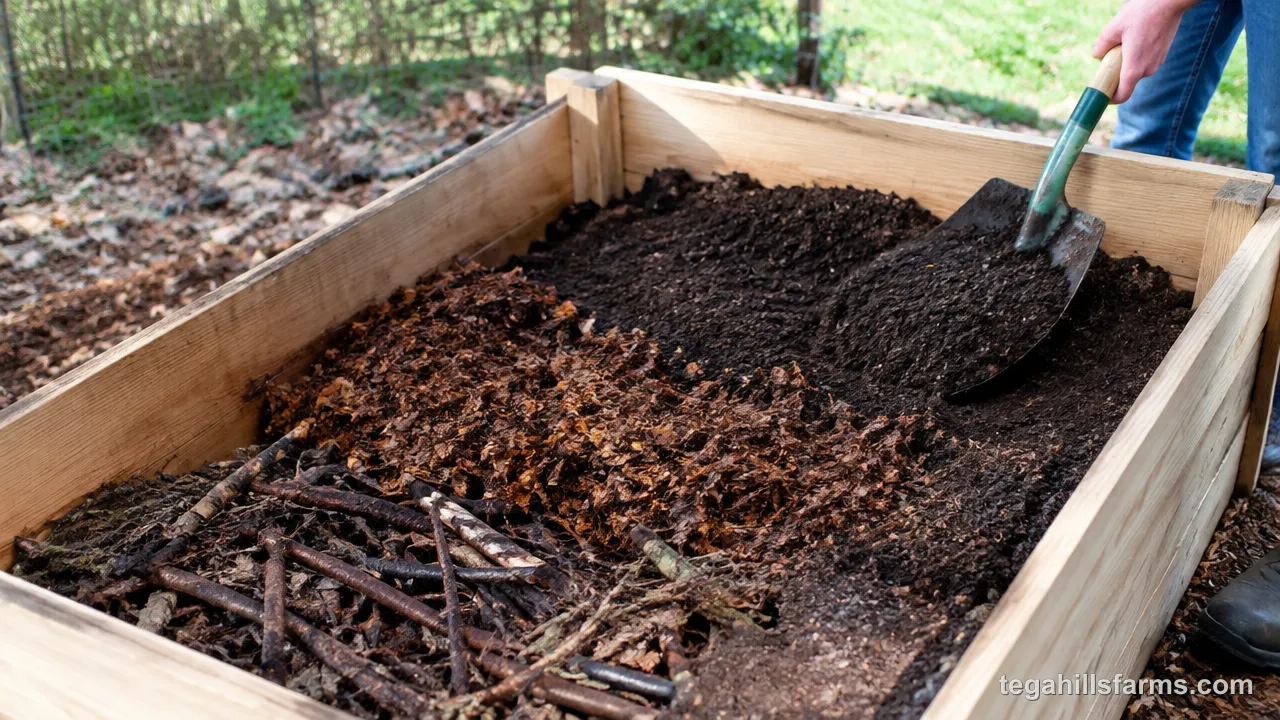
The idea borrows from Hugelkultur, a method of building planting mounds over buried wood. Wood and coarse debris at the bottom act like a sponge that holds moisture and slowly releases nutrients as it rots. The middle layer feeds soil microbes, and those microbes build crumbly soil structure that roots move through easily. The top layer gives seedlings a fine, fertile bed from day one.
Bed depth and material shape the layering plan, so knowing how to choose a raised garden bed for your crops makes the fill strategy much easier from the start.
What Materials Can You Use to Fill a Raised Bed?
How far a material has already broken down decides where it belongs: rougher, slower-rotting material goes low, and only fine, finished material should sit where young roots feed.
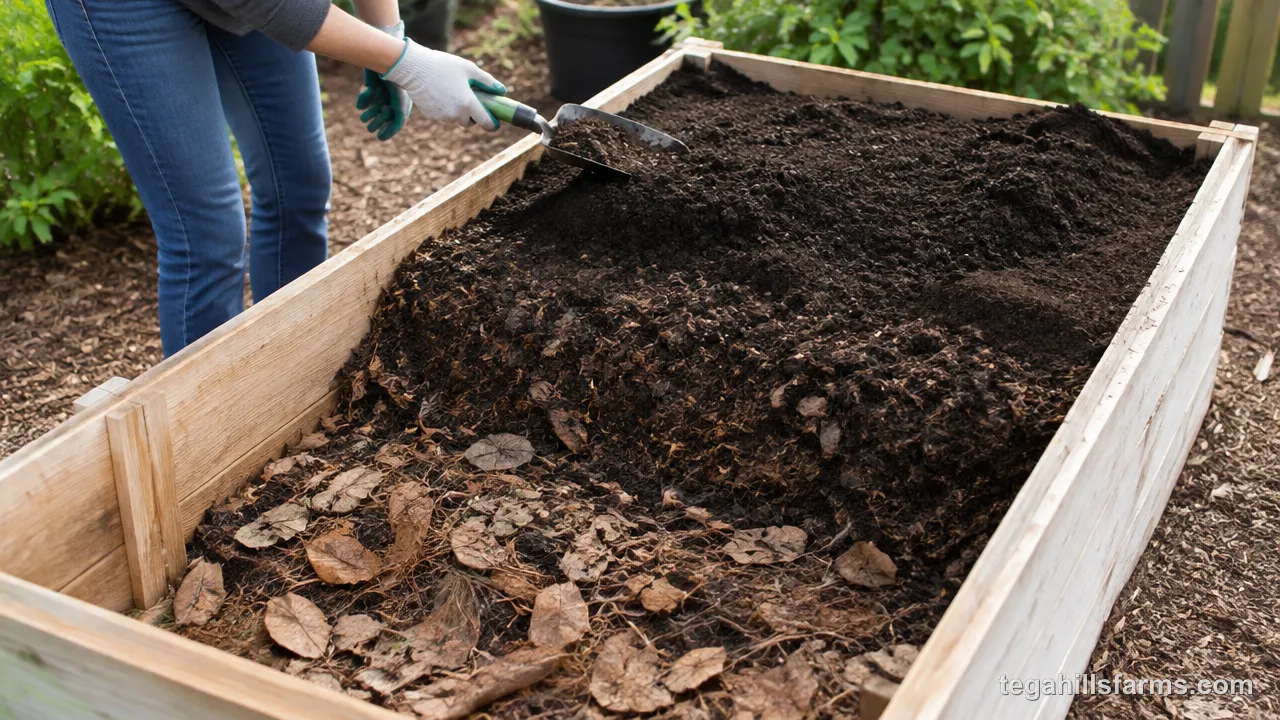
This principle protects your plants and your wallet. Raw wood or fresh clippings beside seedlings pull nitrogen from the soil while they decompose, so those seedlings turn pale and stall. Buried deep, the same materials do useful work for years. Because the fill can make up a large share of how much a raised garden bed costs, using free materials in the right zones keeps the expensive growing mix where it matters most.
Cheap or Free Organic Materials for the Bottom Layer
The bottom layer takes the roughest material you can find: logs, thick branches, twigs, wood chips and whole fallen leaves. Most of it is free from your own yard, a neighbor’s tree trimming or a local arborist.
Logs and branches break down slowly. While they rot, they hold water and release nutrients for several seasons. Hardwoods last longer than softwoods, and partly rotted logs soak up moisture faster than fresh ones. Pack twigs and leaves into the gaps between larger pieces, because open air pockets let the soil above sink unevenly.
Cardboard and newspaper belong at the very bottom when the bed sits on lawn. Remove tape and glossy labels first. A sheet of plain cardboard topped with 2 to 4 inches of compost holds the cardboard in place and smothers the grass beneath it. That covering is also one of the simplest steps in how to stop weeds in raised garden beds before they reach your crops.
Partially Decomposed Materials for the Middle Layer
The middle layer holds organic matter that is already breaking down: grass clippings, chopped leaves, straw, aged manure, half-finished compost and buried kitchen scraps. This is where soil microbes do most of their work, and that activity turns raw material into the nutrients your plants use.
Grass clippings add nitrogen fast. Use them only from lawns that haven’t been sprayed with herbicide, because some weed killers persist in clippings and damage tomatoes and beans. Chopped leaves balance clippings with carbon and keep the layer from matting into a slimy sheet. Straw works well, while hay often carries weed seeds.
Aged manure feeds microbes without burning roots. Kitchen scraps should be fruit and vegetable waste only, buried well below the surface; meat and dairy smell and draw animals. Mixing greens and browns in this layer keeps it moist and airy instead of soggy and sour.
Quality Growing Mix for the Top Layer
The top layer is a finished growing mix of topsoil, compost and coarse sand, enriched with worm castings or aged manure. Roots spend most of their time here, so this is the one zone where every ingredient must be fully broken down and free of large chunks.
Topsoil gives the mix body and mineral content. Compost adds organic matter, holds moisture and feeds soil life. Coarse sand opens the texture so water drains instead of pooling. Worm castings add a gentle nutrient boost that won’t burn seedlings.
In beds on patios or decks, a soilless growing mix with perlite or vermiculite keeps the bed lighter and drains freely. Perlite improves aeration, and vermiculite holds moisture.
Your crop list also shapes this layer. Carrots and other root vegetables need a fine, stone-free top, so decide what to plant in a raised garden bed before you buy the mix.
What Should You Avoid Putting in a Raised Bed?
Anything that leaches chemicals into food crops or blocks water and air from roots stays out of the bed, even when it’s free and close at hand.
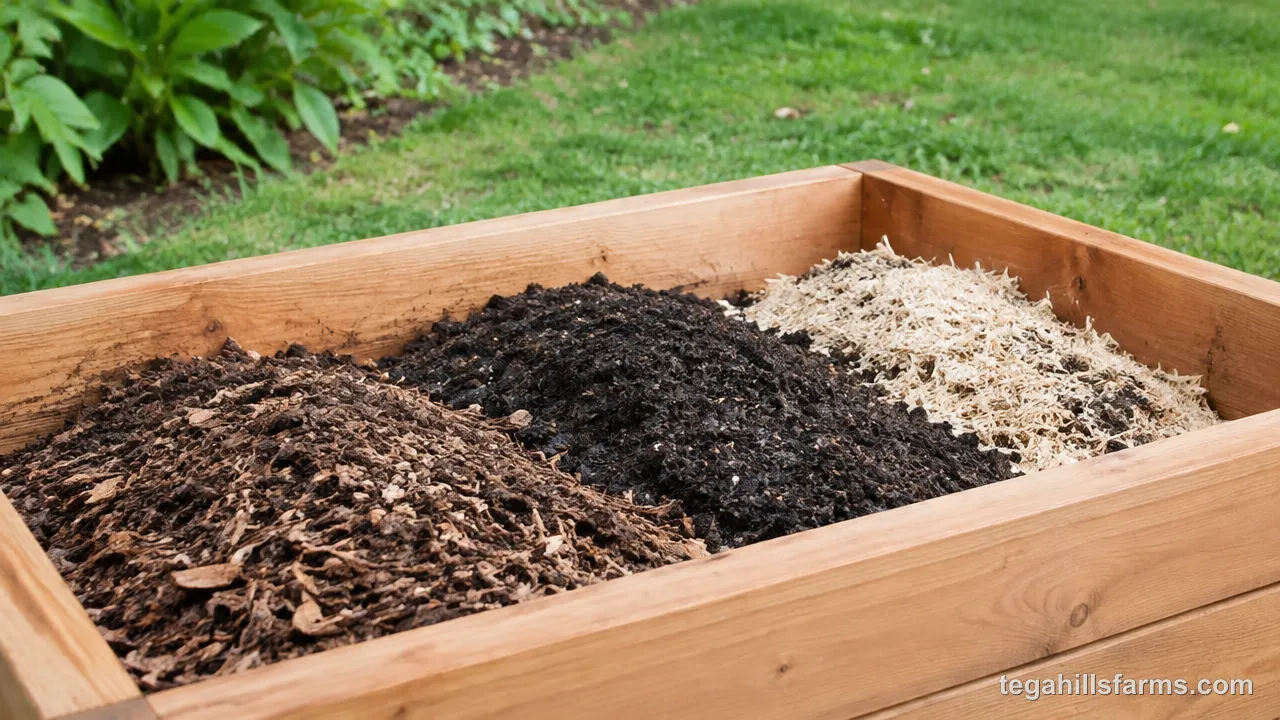
These materials fail in different ways. Some poison the soil slowly, building up in the vegetables you eat over several seasons. Others ruin drainage right away, leaving roots sitting in water or struggling through soil as hard as brick. Either way, fixing the problem later often means digging the bed out, so screening materials before filling saves far more work than any shortcut.
Treated Wood and Toxic Materials
Older pressure-treated lumber, creosote-soaked railroad ties, painted scrap wood and coal ash do not belong in a bed that grows food. Each can release substances you don’t want in your soil or your salad.
Older pressure-treated lumber was made with CCA (chromated copper arsenate), which contains arsenic. Creosote on railroad ties is a toxic wood preservative. Old painted wood may carry lead, and coal ash can contain heavy metals. None of these belong in the bed’s fill, and none belong in its walls either.
If you’re working out how to build raised garden beds from scratch, untreated cedar is a safe choice because it resists rot naturally. Be wary of soil scraped from roadsides or old building sites, which may hold lead or other contaminants. If you’re unsure about free fill, a soil test through your local extension office will tell you what’s in it.
Materials That Compact or Repel Water
Clay soil, pure sand, fine sawdust, peat moss on its own and compacted topsoil all choke a raised bed. They either pack too tightly for roots to grow or shed water instead of absorbing it.
Clay holds water and squeezes out air, so roots suffocate. Adding only a little sand to clay can make it denser instead of looser. Fine sawdust mats into a crust and ties up nitrogen while it breaks down. Peat moss alone dries into a mass that repels water and resists rewetting. Compacted topsoil from a construction site has lost the pore space roots need.
Gravel at the bottom seems like it would help drainage, but it usually does the opposite. Water won’t move from fine soil into coarse gravel until the soil above is saturated, so a soggy zone forms right above the stones.
How Deep Should Each Layer Be?
Total bed height sets the split: the middle layer stays fairly constant at a few inches, while the woody base and the finished top grow or shrink to match the space available.
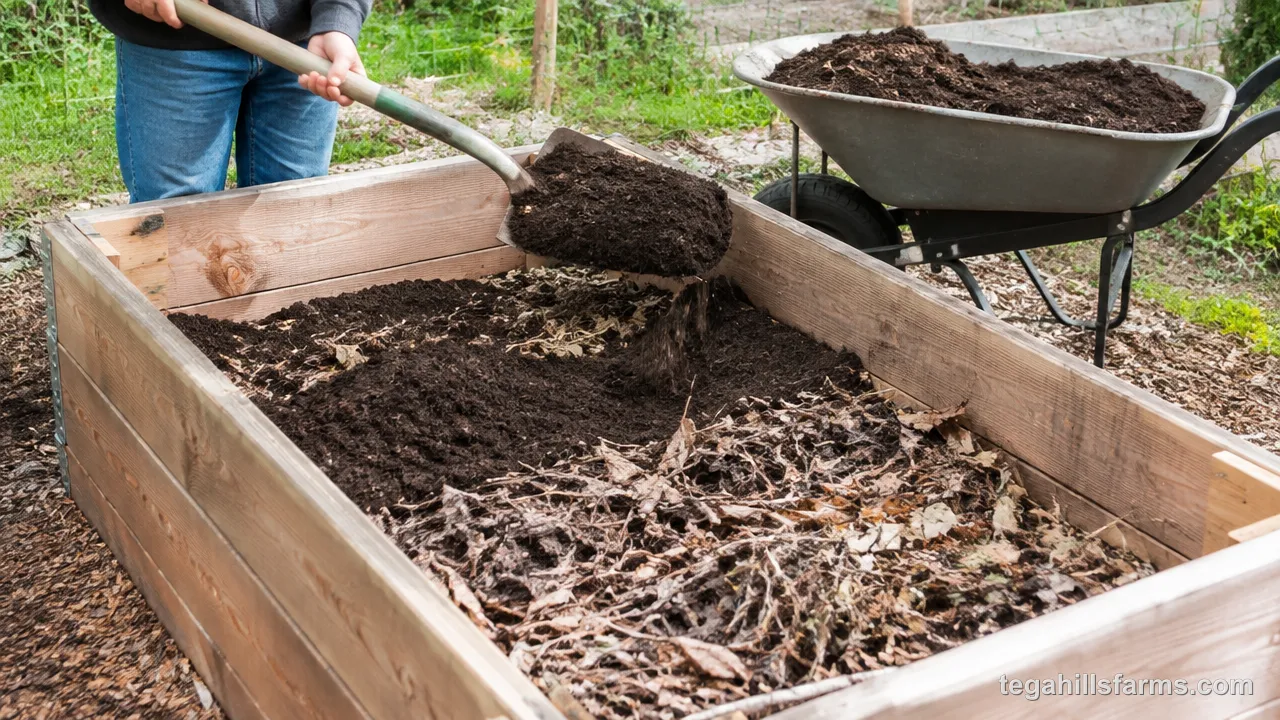
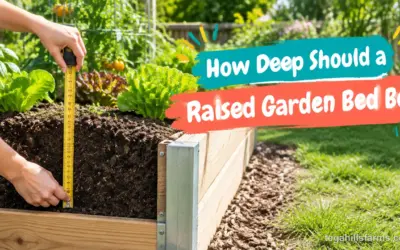
A tall bed has room for a thick wood base that saves soil and holds moisture for years. A short bed needs most of its depth for finished mix, because roots have nowhere else to go. Understanding how deep a raised garden bed should be for your crops comes first, and the layer plan follows from it.
Bottom Layer: Logs and Branches
The woody bottom layer is the flexible part of the bed. In a tall bed, logs and branches can take up a large share of the lower space, leaving room above for the middle layer and a full root zone. In a short bed, skip the logs and lay down only cardboard or a thin bed of twigs.
The reason is root room. Logs take years to break down into usable soil, so roots can’t feed in them during the first seasons. If the woody layer eats into the space your crops need, plants hit wood instead of soil and stay stunted.
Fill the gaps between logs with leaves, twigs and a little soil as you build. Open air pockets collapse as the wood rots, and the surface sinks in patches. Packing the base tightly keeps the bed level and gives drainage a steady path downward.
Middle Layer: 3 to 5 Inches
The middle layer of partially decomposed organic matter should be 3 to 5 inches deep. That thickness gives soil microbes plenty of food without creating a layer that mats, overheats or goes sour.
Fresh greens like grass clippings pack together as they break down. A thick layer of them cuts off air, and decomposition turns anaerobic, which brings that rotten smell and slows the whole process. Within the 3-to-5-inch range, air reaches the material and microbes stay active.
This layer also works as a moisture reserve. It soaks up water that drains from the top layer and releases it slowly to roots that reach down during dry spells. A layer thinner than this range dries out quickly and adds little to the bed’s water-holding capacity.
Top Layer: Quality Soil Zone
The top layer of finished growing mix must be deep enough to hold the roots of whatever you grow. On hard surfaces where roots can’t reach the ground below, beds need at least 8 inches for leafy greens, beans and cucumbers, and 12 to 24 inches for peppers, tomatoes and squash.
Those depths matter most on patios and driveways, where the bed is the plant’s entire world. On open ground, roots can push past the bottom layers into native soil, so you have more flexibility.
The top layer is the only zone where seeds germinate and young roots establish, so it should be fully finished material with no raw wood or fresh clippings mixed in. When you’re short on mix, keep the top layer deep for heavy feeders and make up the difference in the woody base.
What Is the Best Soil Mix for Vegetables?
Equal parts topsoil, coarse sand and compost, finished with a small boost of manure or worm castings, gives vegetables a loose, fertile sandy loam that drains freely and still holds nutrients near the roots.
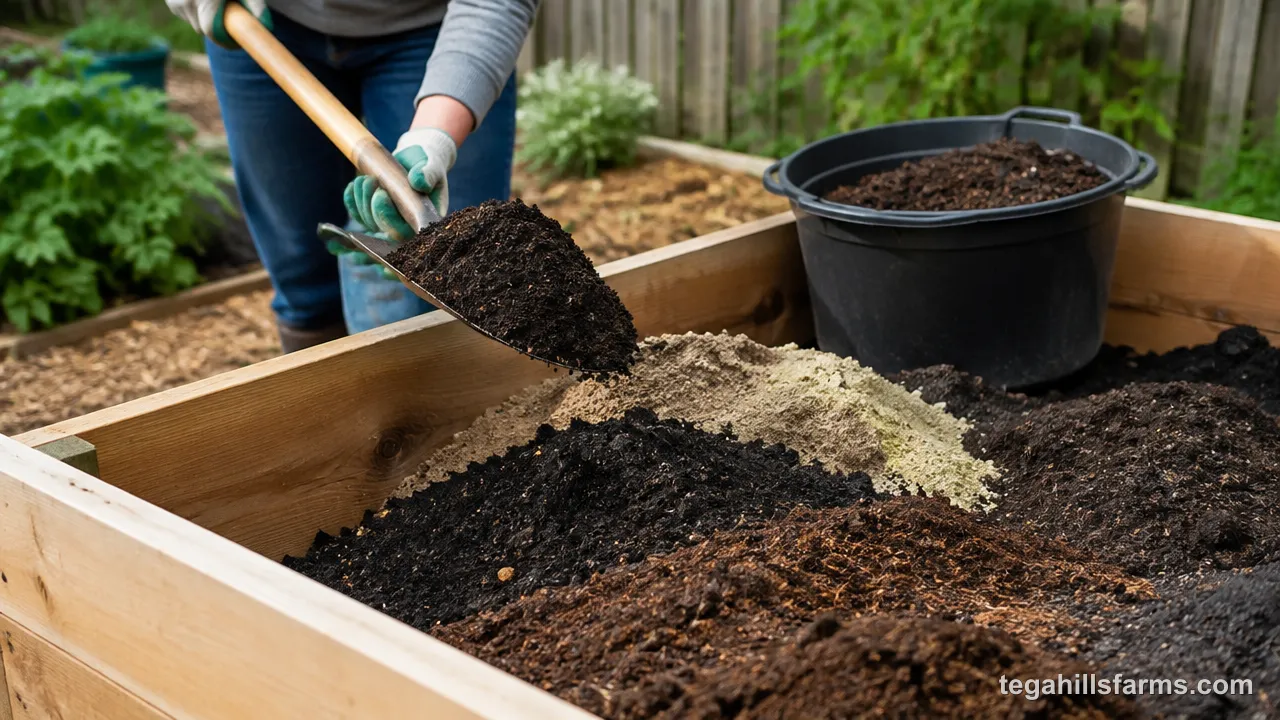
That texture solves the two most common soil problems in raised beds. Pure compost stays too wet and settles fast, while pure topsoil compacts. Balancing mineral soil, drainage material and organic matter gives roots air, water and food in steady supply.
The 103 Mix Formula
The 103 mix is 1 part topsoil, 1 part coarse sand and 1 part compost, plus a small boost of manure or worm castings. Each part does a different job, and the mix works because no single ingredient dominates.
Topsoil supplies minerals and gives the mix enough weight to anchor plants. Coarse sand keeps the texture open so water moves through instead of pooling around roots. It must be coarse; fine play sand fills pore spaces and packs the soil. Compost adds organic matter, holds moisture and feeds the microbes that make nutrients available.
The manure or worm castings top off fertility for hungry crops like tomatoes and squash. Keep that addition small, since too much rich material can push leafy growth at the expense of fruit.
Most vegetables do best when the soil pH is between 6.2 and 6.8. A simple home test kit shows where your mix lands before you plant.
Adjusting Organic Matter Content
Raised bed garden soil works best with organic matter at 25% to 50% by volume, or 5% to 15% by weight. Within that range, soil holds moisture and nutrients without staying soggy.
Adding compost is the easiest way to raise organic matter. Heavier topsoil benefits from more compost, which loosens the texture and improves drainage. Sandy mixes also need more, because sand alone lets water and nutrients wash straight through.
Too much organic matter brings its own problems. A bed that is mostly compost settles quickly as the material breaks down, and it can hold water long enough to rot roots in cool spring weather. If your mix feels spongy and stays wet, add topsoil and coarse sand to bring it back into balance.
Beds on hard surfaces need extra care. For beds at least 16 inches deep on patios or pavement, keep topsoil to no more than 20% by volume so the mix stays light and drains.
How Much Soil Do You Need?
Multiply length × width × depth in feet to get the cubic feet you need to fill, then decide between bags for small beds and bulk delivery for large or multiple beds.
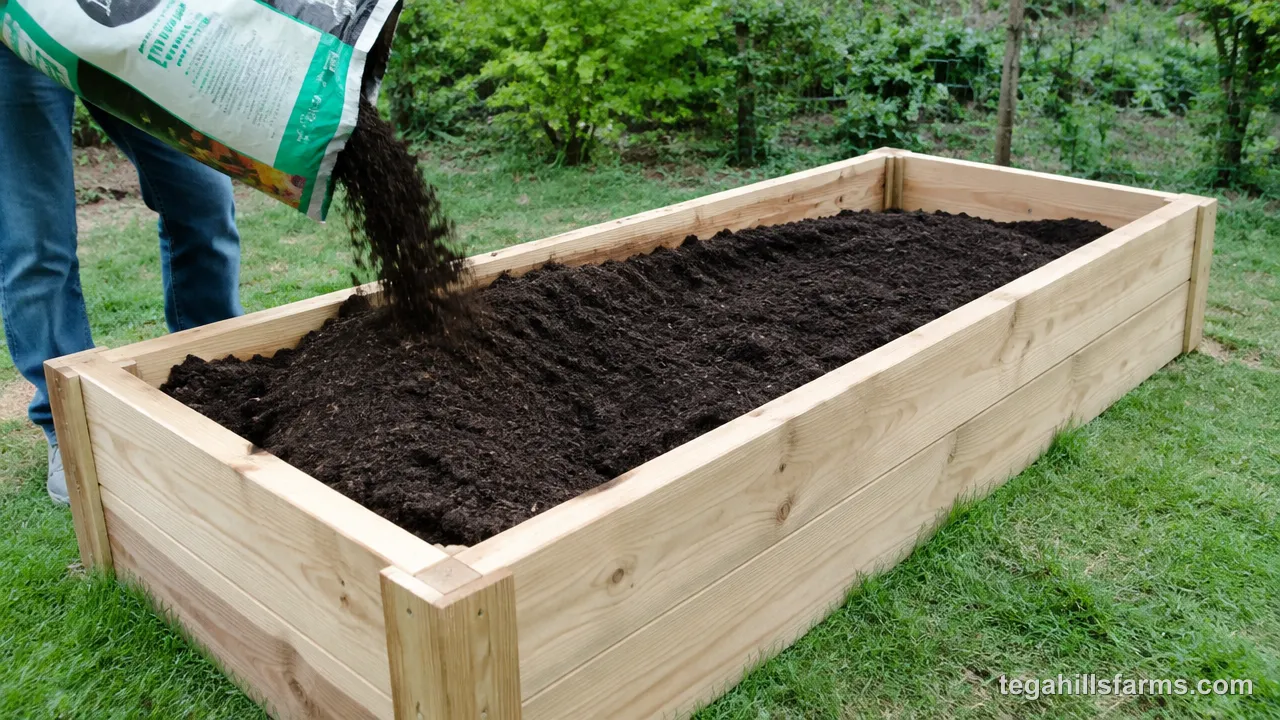
Getting this number right before you shop saves both money and back-breaking trips. Running short halfway through leaves the bed half-built, while over-ordering bulk fill leaves a pile in your driveway. If you haven’t settled on dimensions yet, start with what size raised garden bed you need for your space and crops.
Calculating Volume for Your Bed
Measure the inside length, width and height of the bed in feet. Convert inches to feet by dividing by 12, then multiply the three numbers together to get cubic feet. Bags are usually labeled in cubic feet, so this figure tells you how many to buy.
Bulk soil and compost are sold by the cubic yard. One cubic yard equals 27 cubic feet, so divide your cubic-foot total by 27 to get cubic yards.
Layering changes the math. Logs, branches and the middle layer take up part of the volume, so subtract their depth before calculating how much finished growing mix to buy. Order a little extra for the top layer, because fresh soil settles after the first few waterings and you’ll want material on hand to top it up.
Bulk vs Bagged: Cost and Quantity
Bulk topsoil costs about $30 per cubic yard, which makes bulk the economical choice for large beds. A single 4 ft x 8 ft bed that is 12 inches deep needs more than 20 large bags of soil, and the bag count climbs fast with multiple beds.
Bulk delivery has its own costs and logistics. Suppliers often charge a delivery fee, and a dump truck needs space to unload, so check access to your driveway or yard. You’ll also need a wheelbarrow and time to move the pile.
Bags make sense for small beds, balconies and spots a truck can’t reach. They’re easy to carry, they store neatly, and you buy only what you need. Mixing the two works well too: bulk topsoil and compost for the main fill, with bagged worm castings or perlite for the top layer.
A freshly filled bed often sits noticeably lower by the end of its first growing season, because the logs, leaves and clippings underneath shrink as they turn into soil. When and how you fill the bed decides whether that settling happens over the winter or under your first crop of tomatoes, where sinking soil leaves exposed roots and a bed half-empty by midsummer.
When Is the Best Time to Fill a New Raised Bed?
Fall is the best time to fill a new bed with fresh organic layers. Over the winter, the bottom and middle layers start to break down and settle, so by spring the bed is ready for a final top-up and planting.
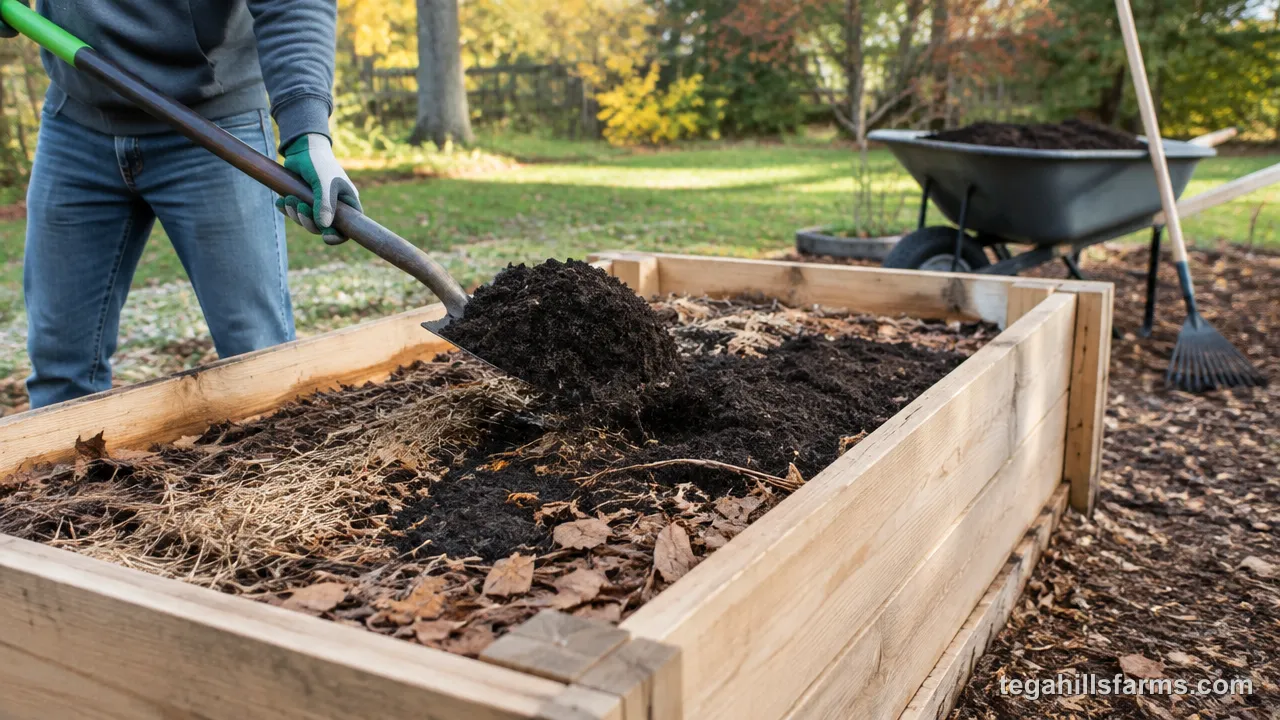
Fall also brings free materials. Fallen leaves, garden cleanup and spent plants give you plenty of filler without extra cost.
Spring filling works too, as long as the top layer is fully finished mix. Fresh clippings or raw manure near the surface can burn seedlings or pull nitrogen away from them. Fill a couple of weeks before planting so the soil has time to settle.
Time planting by your last frost date, which depends on your USDA zone. Northern gardeners with short seasons benefit most from fall filling, since spring planting windows are tight.
How to Tell If Your Layers Are Breaking Down Properly
A healthy bed smells earthy, sinks gradually and evenly, and stays moist without turning soggy. Those signs mean microbes are working through the lower layers at a steady pace.
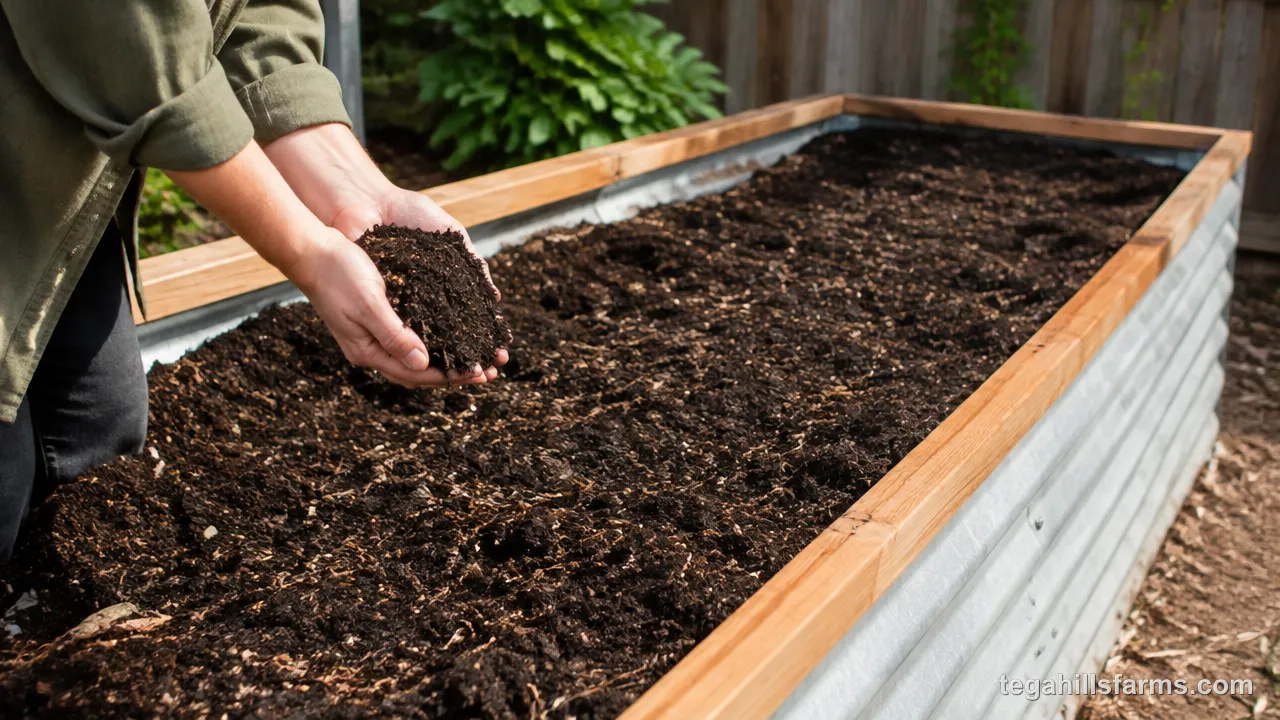
Dig down a few inches now and then. White threads of fungus on wood and leaves show decomposition is going well. Roots that push easily into the lower layers mean the material has broken down enough to feed plants.
Warning signs are easy to spot. A sour or rotten smell means a layer has packed too tightly and gone anaerobic, usually from too many fresh clippings. Material that looks unchanged after a full season is often too dry, so water deeply and mix in some greens. A bed that drops suddenly in one corner usually has an air pocket in the woody base that has collapsed.
Common Filling Mistakes and How to Fix Them
Most filling problems come from too much fresh material, too little attention to drainage, or food scraps placed where animals can reach them. Each one shows up in the first season, and most can be fixed without emptying the bed.
Beds That Settle Too Much
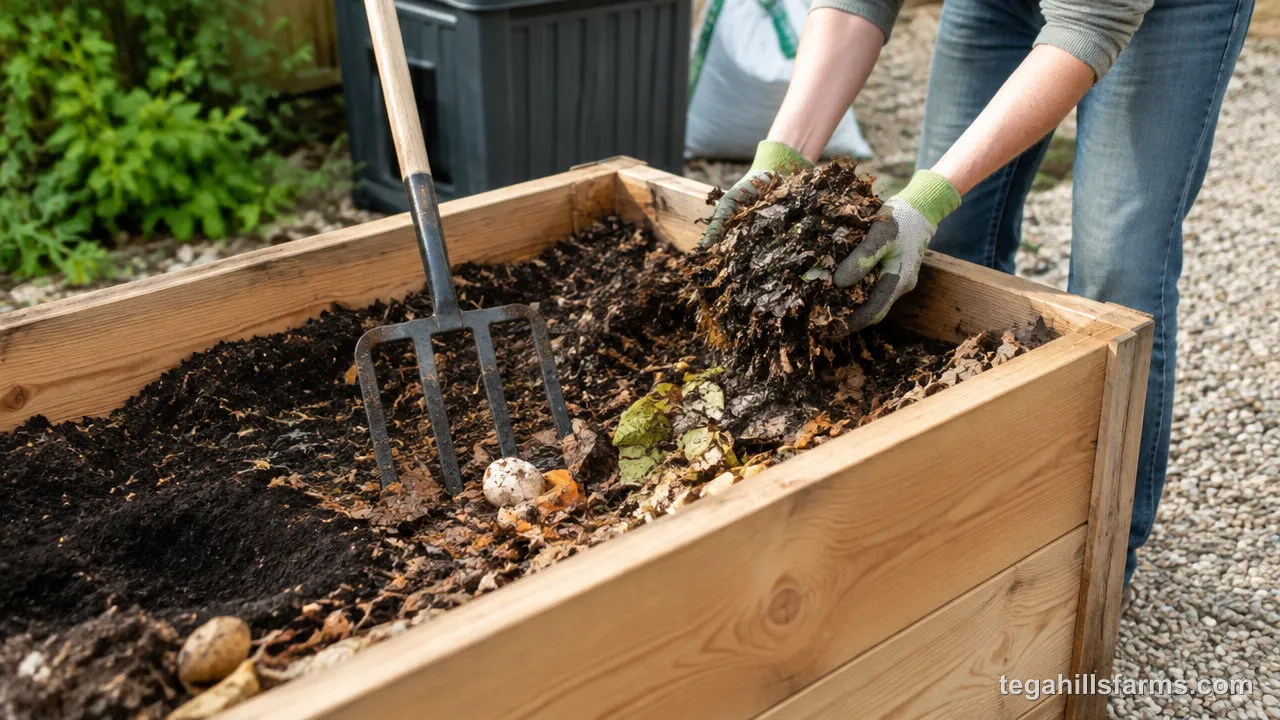
Severe settling happens when the bed holds a lot of fresh organic matter that shrinks as it decomposes. Thick layers of green clippings, loose leaves or poorly packed logs are the usual causes.
Some settling is normal in any layered bed. The trouble starts when the surface drops far enough to expose roots or leave crops sitting in a hollow that collects water.
The fix is simple: top up with finished compost or growing mix at the start of each season. Spread it over the surface instead of digging it in, so you don’t disturb the layers below. In future beds, pack the woody base tightly, chop leaves before adding them, and keep the middle layer within its recommended depth.
Poor Drainage or Waterlogging
Standing water and soggy soil usually come from compacted soil, too much clay in the topsoil, or a bed sitting on hard, poorly draining ground. Roots in waterlogged soil can’t get oxygen, so plants wilt even though the soil is wet.
You can improve drainage without emptying the bed. Work perlite or coarse sand into the top layer to open the texture. Push a garden fork deep into the bed in several spots to break up compacted zones and let water move down.
For beds on patios or decks, check that drainage holes or gaps at the base aren’t blocked by soil or debris. If water pools at the bottom of a bed built over clay ground, loosening the native soil beneath before the next refill helps water drain away.
Attracting Unwanted Pests
Kitchen scraps and fresh manure near the surface draw rodents, raccoons and flies. The bottom layer of logs and branches can also shelter voles and gophers that tunnel up into root zones.
The most reliable defense is hardware cloth stapled across the bottom of the bed before filling. It blocks burrowing animals while letting water drain and worms move freely.
Bury kitchen scraps deep in the middle layer and use only fruit and vegetable waste; meat, dairy and oily food attract animals quickly. Keep the top layer free of raw scraps so nothing smells inviting at the surface.
Slugs and insects are a separate challenge once crops are growing. Raised garden bed pest control starts with a clean fill, then moves to barriers and regular checks through the season.

Write Your Review
No reviews yet. Be the first to share your experience!