

You can stop weeds in a raised garden bed with six methods: a thick layer of organic mulch, a weed barrier laid before you fill the bed, clean bagged soil and finished compost, close plant spacing that shades the soil, hand-pulling weeds while they’re small, and spot-treating stray weeds with vinegar or boiling water. Each one blocks weeds at a different point. Some keep seeds from arriving, some keep them from sprouting, and some remove the few that get through.
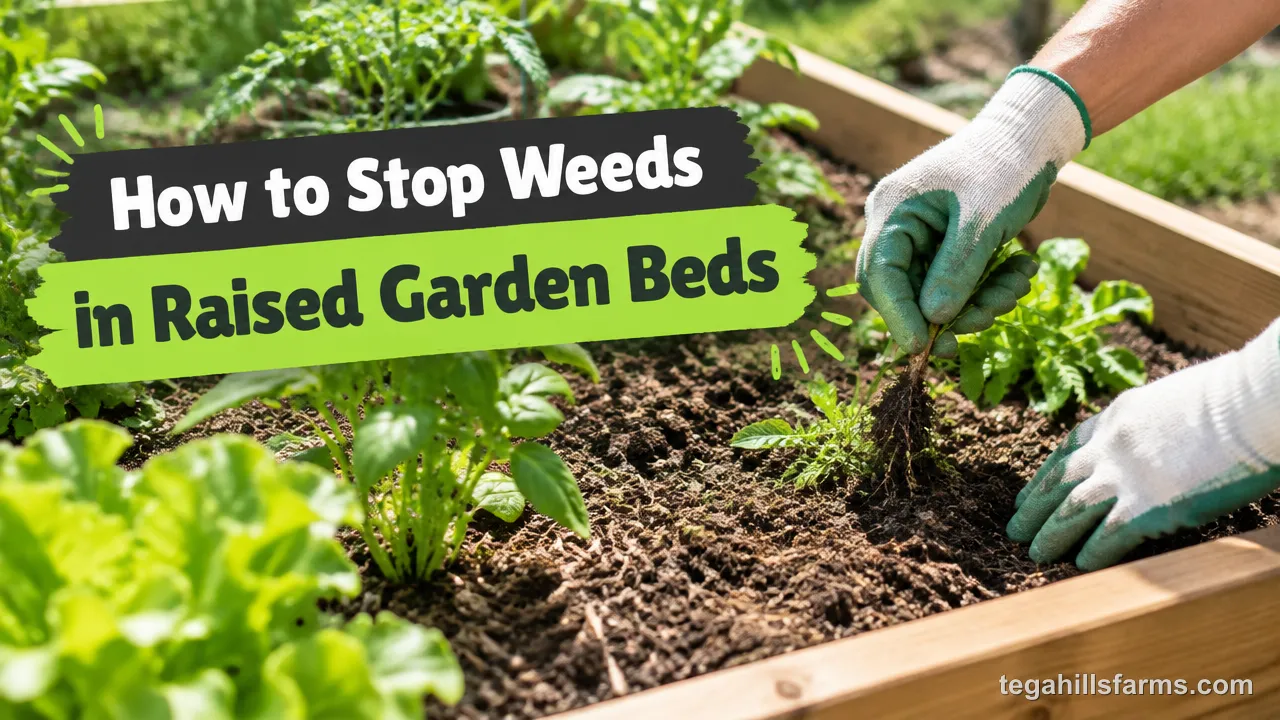
Which methods matter most depends on where your weeds come from. Weeds coming up from the ground beneath the bed need a barrier. Weeds sprouting from seeds on the surface need mulch and dense planting. A new bed benefits from all six at once. An established bed usually needs only steady mulching and quick pulling.
Most home gardeners growing vegetables also want weed control that keeps sprays away from food crops. Every method here works without synthetic herbicides. That keeps the soil safe for lettuce, tomatoes, and herbs you’ll eat straight from the bed.
Why Do Weeds Grow in Raised Garden Beds?
Weed seeds arrive on the wind and with birds, come in with contaminated soil or unfinished compost, or push up from roots and seeds in the ground below the bed.
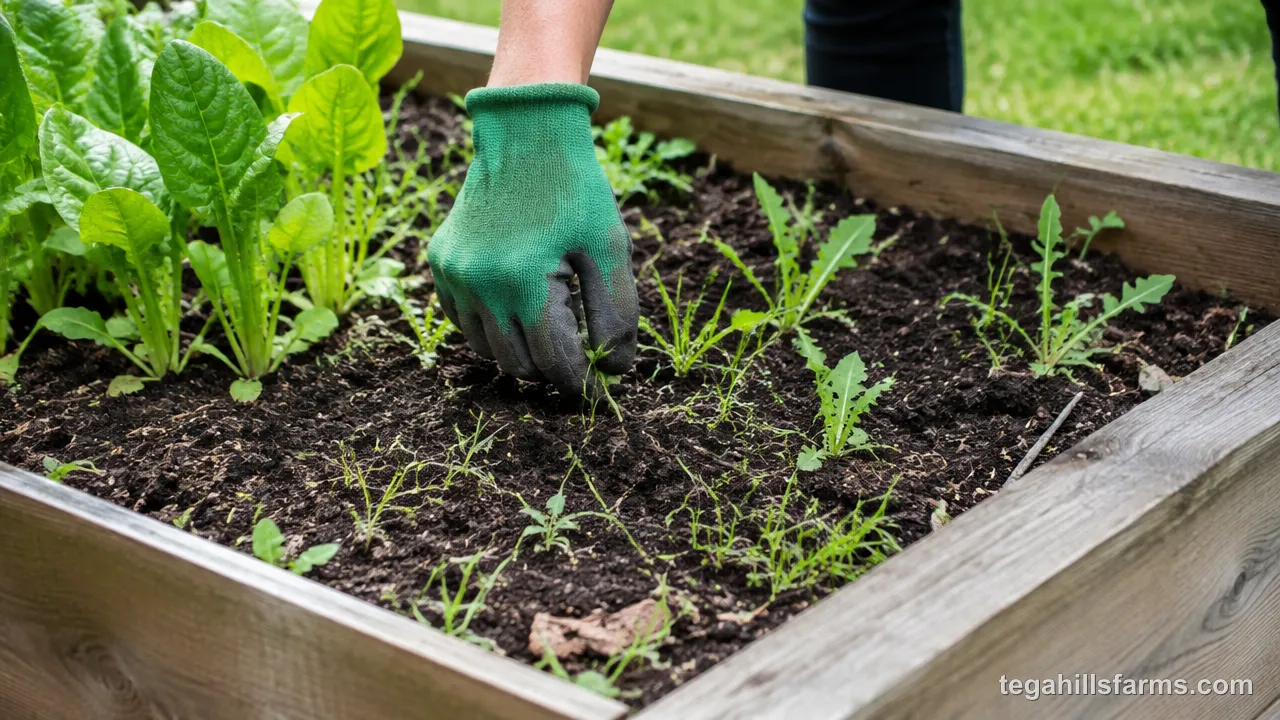
A raised bed is loose, well-watered, and fertile. That makes it ideal for weeds as well as vegetables. Seeds from dandelions and thistles drift in and sprout in any bare patch. Bulk soil and homemade compost can carry thousands of dormant seeds that wake up once they reach the surface. If the bed sits directly on lawn or a weedy patch, grass and perennial roots grow straight up into the new soil. Most weed trouble traces back to one of these three routes.
The bed’s design and materials affect how easily you can control weeds later, so knowing how to choose a raised garden bed that simplifies weed management saves effort over the season.
Apply a Thick Layer of Organic Mulch
Organic mulch keeps weed seeds in the dark so most of them never sprout. It also holds moisture in the soil and feeds it as it breaks down. That combination makes mulch the method I lean on most in vegetable beds, because it protects the crop while it fights weeds.
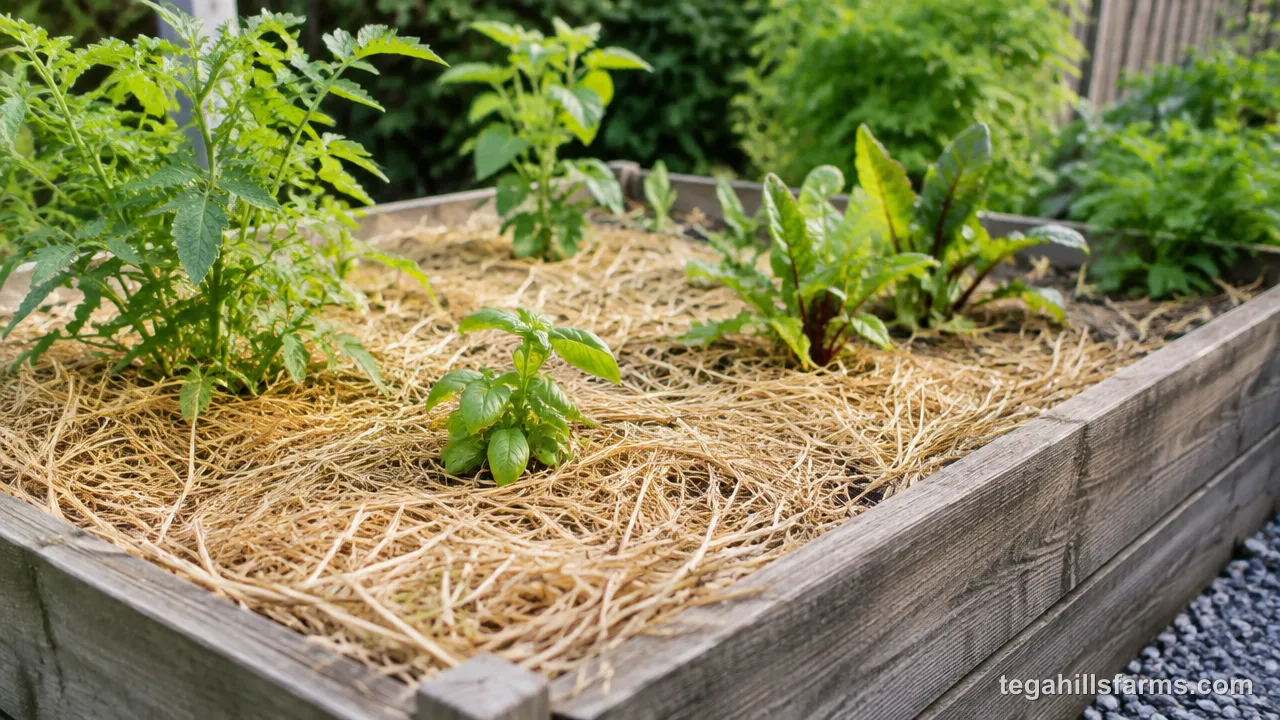
How well it works depends on the material, the depth, and how continuous the layer stays through the season. A thin or patchy layer lets light reach the soil and gives seeds a way through.
Best Mulch Materials for Vegetable Beds
Straw is the strongest all-around choice for vegetable beds. It’s light, easy to tuck around plants, and breaks down over a season into organic matter for the soil. Buy straw labeled weed-free or seed-free. Hay carries grass and weed seeds that will sprout right in your bed.
Shredded leaves are free in fall and feed the soil as they rot. Shred them first. Whole leaves mat into a wet layer that sheds water. Grass clippings work in thin layers once they’ve dried, but only from lawns that haven’t been treated with herbicide.
Wood chips last the longest and suit paths better than planting rows. Mixed into the soil, they can tie up nitrogen while they decompose. Left on the surface, they cause little trouble. Around crops you replant every season, I’d stick with straw or leaves.
How Thick Should You Apply Mulch?
Apply organic mulch 2 to 3 inches thick. At that depth, little light reaches the soil surface, so most weed seeds can’t germinate. Seedlings that do sprout use up their energy before they reach daylight.
A thinner layer leaves gaps where seeds get enough light to sprout. A much deeper layer causes different problems. It can hold too much moisture against plant stems, invite slugs, and slow the soil warming that warm-season crops like tomatoes and peppers depend on.
Keep mulch pulled back slightly from the base of each plant so air can move around the stem. That small gap helps prevent rot and keeps pests from hiding against the stalk. Fluffy materials like straw settle after a few rains, so spread them a little thicker at the start to stay in range.
When to Refresh Your Mulch Layer
Top up mulch once you can see soil through it or weeds start poking through. Both signs mean the layer has broken down or thinned enough to let light reach the surface. Rain, watering, and soil life break organic mulch down steadily. That decomposition feeds the bed, but it also wears away the light-blocking cover.
In most beds, that means adding mulch at least twice a year. Do it once after planting in spring and once in fall. In warm southern zones, where heat and humidity speed up decomposition, you may need to add straw in midsummer too. In cooler northern zones, a spring layer often lasts until fall.
Check bed edges and the spots where you’ve harvested or replanted. Those spots thin out first, and weeds usually break through there before anywhere else.
Install a Weed Barrier Before You Fill the Bed
A barrier laid on bare ground under the bed cuts off perennial roots and buried weed seeds before they can reach your new soil. It matters most when you build on lawn or a weedy patch, because grass and creeping roots will otherwise grow straight up through even deep soil.
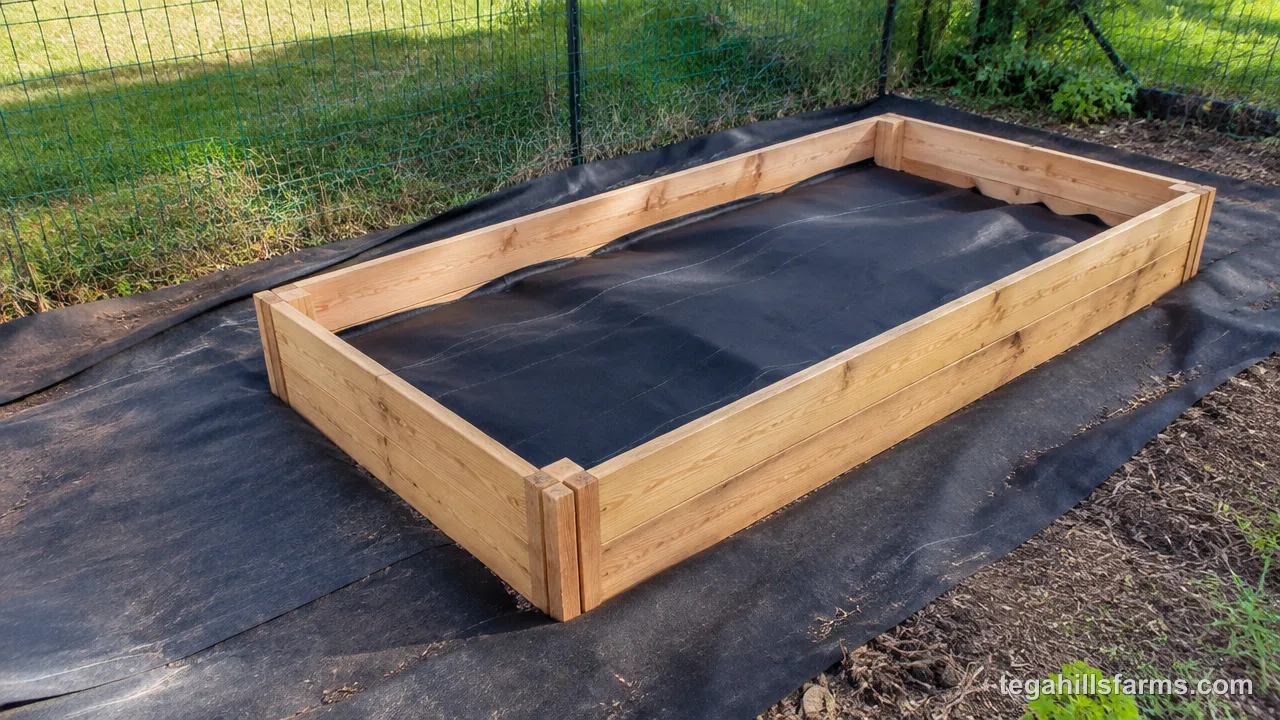
The barrier goes down first, so it’s the opening step of how to fill a raised garden bed. Getting it right now saves you from digging out established roots later. The material decides how long the protection lasts and how freely water drains. Careful installation decides whether weeds find a way around it.
Landscape Fabric vs Cardboard vs Newspaper
Cardboard is the best fit for most vegetable beds. It smothers grass and weeds, lets water through once it softens, and breaks down into the soil within about a season. Earthworms and roots can then move freely into the ground below. It’s usually free too. Remove all tape, labels, and glossy coatings first.
Newspaper works the same way but breaks down faster. Lay it several sheets thick so it holds up long enough to kill the grass underneath.
Landscape fabric lasts for years and lets water drain through. It’s a reasonable choice under beds that sit on aggressive perennial weeds like Bermuda grass. The tradeoff is that it never breaks down. Vegetable roots can’t reach the native soil, and roots that grow into the weave make it hard to remove. Weed seeds that land on top still sprout in the soil above it.
How to Lay the Barrier Correctly
Start by cutting weeds and grass down to the ground. You don’t need to dig them out, because the barrier will smother what remains. Rake the area level and pick out sticks and sharp rocks that could tear the material.
Set the frame in place first so you can see the exact footprint. Then lay the barrier flat across the entire area inside the frame. Soak cardboard with a garden hose as you lay it down. Wet cardboard molds to the ground and starts breaking down sooner.
If you’re using landscape fabric, roll it out flat without wrinkles and trim it with scissors so it fits the frame’s footprint. Cover every inch of the footprint. A single uncovered strip gives grass the gap it needs to grow up into the bed.
Overlap and Secure the Edges
Overlap each sheet generously over the one next to it. Cardboard and fabric both shift as you add soil, and a butted seam opens into a gap that grass finds quickly. Overlap in the direction you’ll be shoveling, so soil pushes the top layer down instead of lifting it.
The perimeter is where creeping weeds usually get through. Run the barrier out under the frame’s sides so the frame’s weight pins it to the ground. For more protection, extend the barrier a little past the frame or partly up the inside walls.
Pin landscape fabric with landscape staples along the seams and edges. Cardboard needs no staples once it’s wet and loaded with soil. The weight of the fill holds it flat.
Start with Clean Soil and Compost
Bagged topsoil and fully finished compost carry far fewer weed seeds than soil dug from the yard. Commercial producers heat-treat and screen their mixes. The soil you start with sets your weed load for years, because every dormant seed you shovel in can sprout whenever it reaches the surface.
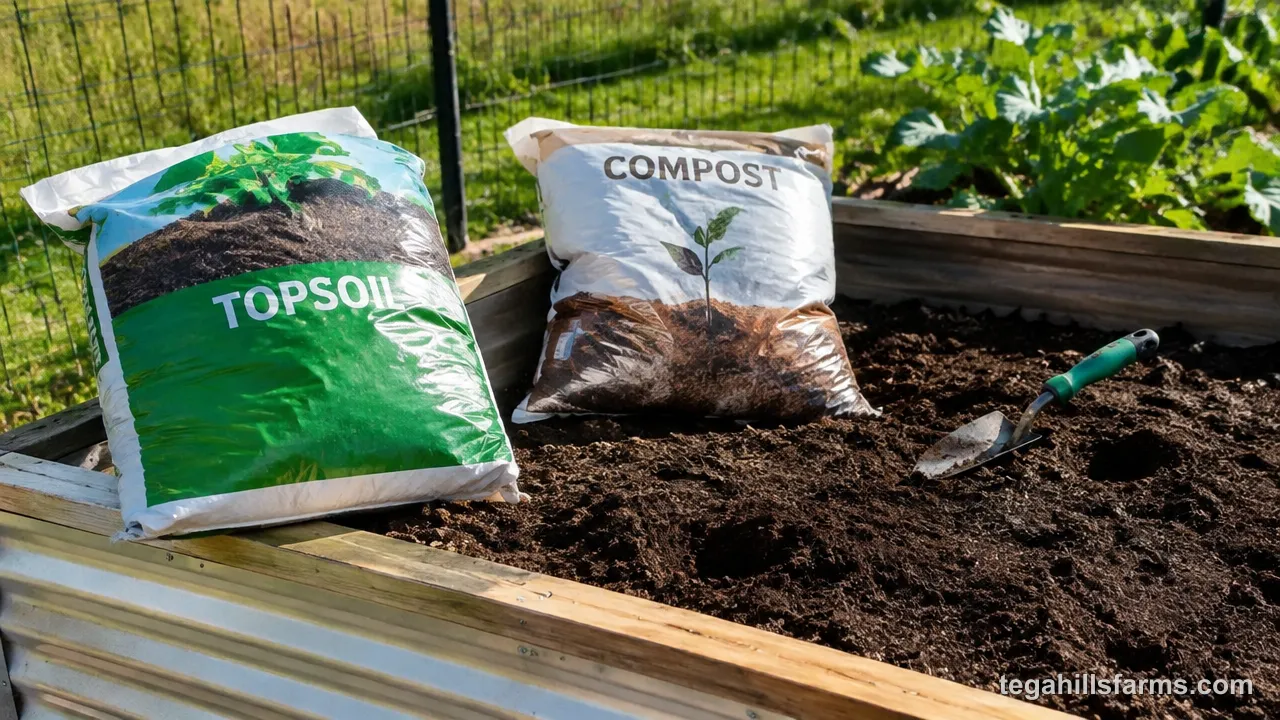
You’ll be buying enough to fill the bed to its full depth, so deciding how deep a raised garden bed should be also determines how much clean soil you need. A deep bed takes a lot of material, which tempts people to stretch it with yard soil. That shortcut is where most seed contamination starts.
Choose Bagged Topsoil and Finished Compost
Bagged topsoil and commercial compost are the cleanest fill. Large-scale composting runs hot enough to kill most weed seeds, and screening removes root pieces. Look for compost that’s fully finished. It should be dark and crumbly and smell earthy. Avoid compost that still has recognizable scraps or smells sour.
Bulk soil from a landscape supplier costs less for large beds, but quality varies from yard to yard. Ask whether the topsoil and compost blend has been screened and whether the compost was hot-processed. A reputable supplier will know.
Homemade compost is the trickiest source. Backyard piles often don’t heat evenly, so seeds near the cool outer edges survive. If you use your own compost, keep weeds that have gone to seed out of the pile, or use it as a top layer you’ll mulch over.
Avoid Using Garden Soil from Weedy Areas
Soil from a weedy part of the yard brings the weed problem into your bed. That ground holds a large seed bank, meaning years of dormant seeds buried at different depths. Shoveling it into a raised bed brings many of those seeds near the surface, where light and water trigger germination.
Perennial weeds are the worse problem. Bindweed, quackgrass, and Bermuda grass regrow from small root or rhizome fragments, so every chopped piece you move can become a new plant. A bed filled this way can grow a mat of grass before your first seedlings are up.
If you must use some existing soil, take it from an area that’s been weed-free, sift out root pieces, and keep it in the lower part of the bed under clean fill.
Plant Vegetables Close Together to Crowd Out Weeds
Close planting works because mature leaves shade the soil, so weed seedlings starve for light before they can establish. Bare soil between widely spaced rows is open ground for weeds. A closed canopy turns that space back over to your crop.
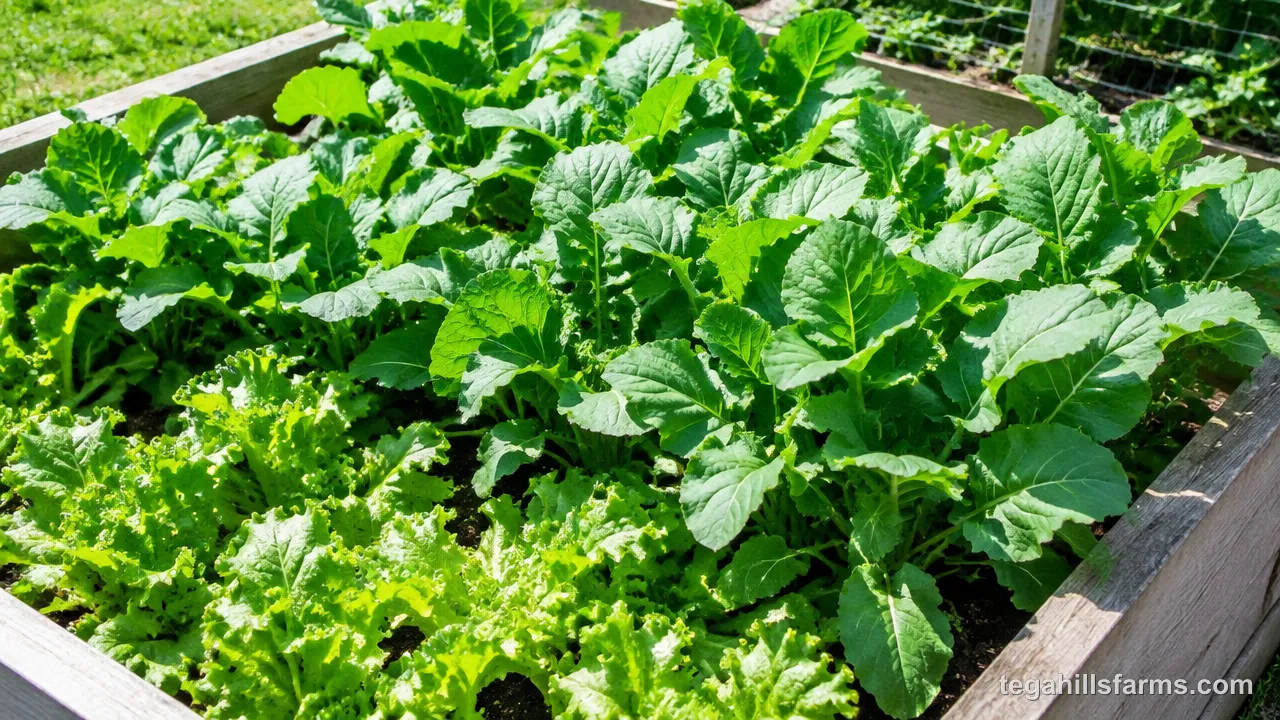
The goal is to fill the bed without crowding plants into disease or poor yields. Compact, leafy crops close their canopy fastest, which is worth considering when you decide what to plant in a raised garden bed. Spacing and timing both shape how quickly the soil gets covered.
Space Vegetables to Shade the Soil
Use the closer end of the spacing range on your seed packet. Raised beds have loose, rich soil and no walking rows, so plants can grow closer than they would in a traditional in-ground garden. Lettuce, spinach, and bush beans do well with their outer leaves just touching at maturity. That’s the point where the soil underneath goes dark.
Plant in blocks or staggered grids instead of single rows. A grid closes the gaps faster than rows with open soil between them.
Tomatoes, squash, and cucumbers are the exception. They need air moving through their leaves to stay ahead of fungal disease. In humid southern zones especially, give these crops their full spacing and rely on mulch to cover the soil beneath them.
Interplant Quick-Growing Cover Crops
Fill the gaps between slow crops with fast ones. Radishes sprout quickly and are ready to pull before broccoli, cabbage, or tomatoes need the space. They shade bare soil during the weeks when it would otherwise grow weeds. Lettuce and baby greens work the same way when you harvest them young.
White clover is a longer-term option. It works as a living mulch along bed edges or under tall crops like corn and staked tomatoes. Its low mat covers the soil and adds nitrogen. Keep it trimmed, though, because it competes for water and can creep into neighboring plants.
Time quick crops so you harvest them before the main crop’s leaves close over them. That way they never compete with the plants you actually care about.
Pull Weeds by Hand While They’re Small
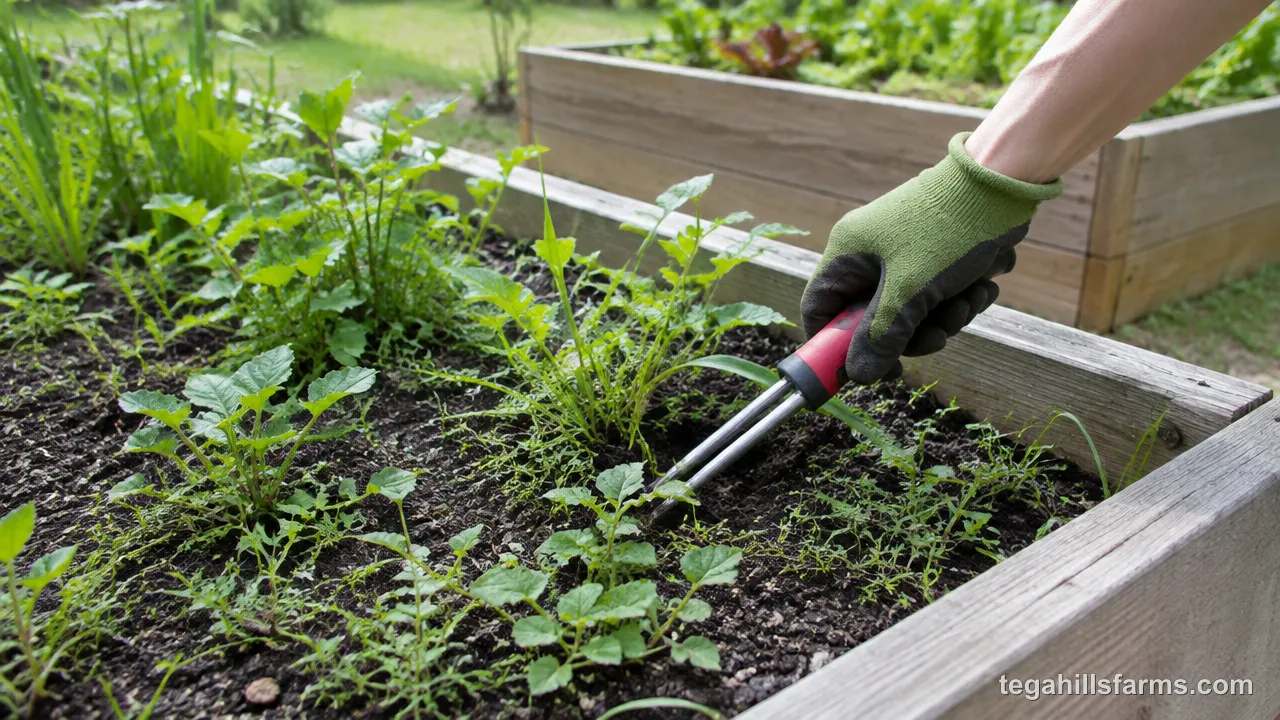
Weeds pulled as young seedlings come out roots and all, before they set seed or anchor deeply. A weed at the two-leaf stage has a thread-thin root that slides out with almost no effort. The same weed a few weeks later can have a root that snaps off and regrows.
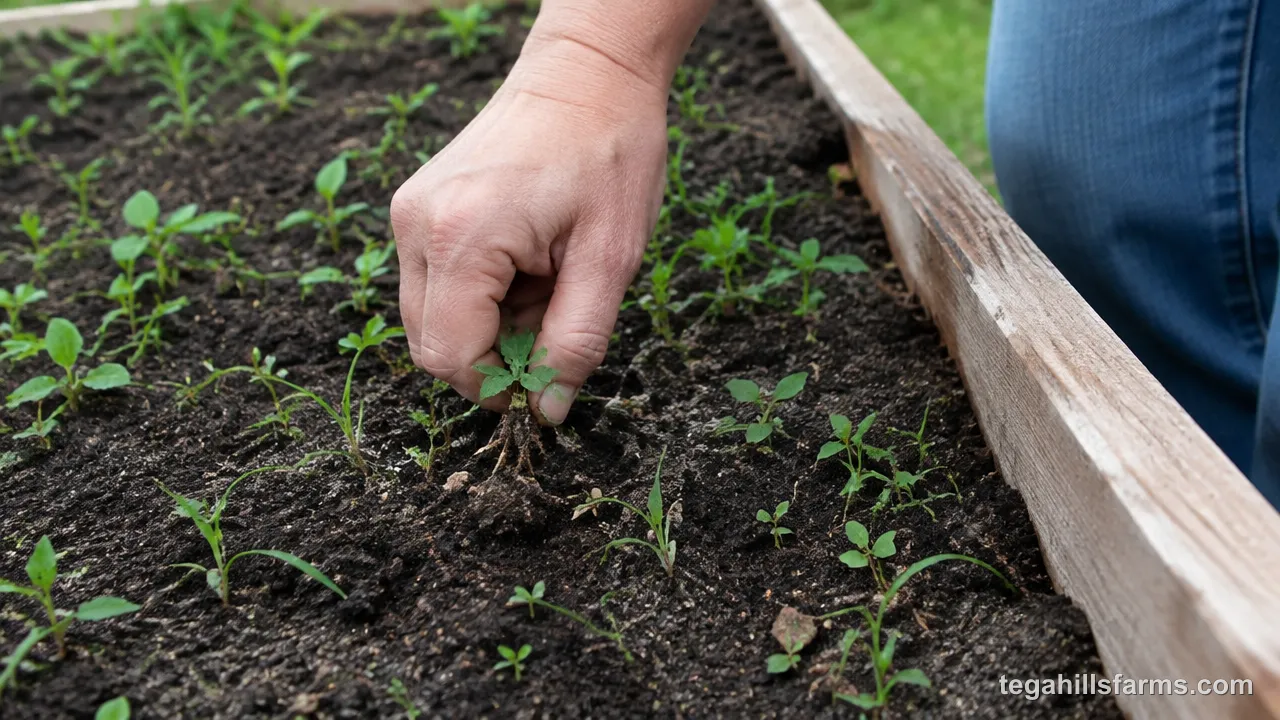
Pull after rain or a deep watering, when moist soil lets go of roots easily. Grip the weed at its base, right at the soil line, and pull straight up slowly so the whole root comes with it. For taprooted weeds like dandelions, slide a hand fork or hori-hori knife down beside the root and lever it out.
A quick pass through the bed every few days catches seedlings before they ever compete with your crops.
Spot-Treat Weeds with Vinegar or Boiling Water
Household vinegar and boiling water kill weeds on contact without leaving synthetic residue. That makes them useful along paths and bare spots near food crops. Both are non-selective, though. They damage any leaf they touch, so where and how you aim them matters as much as which one you use.
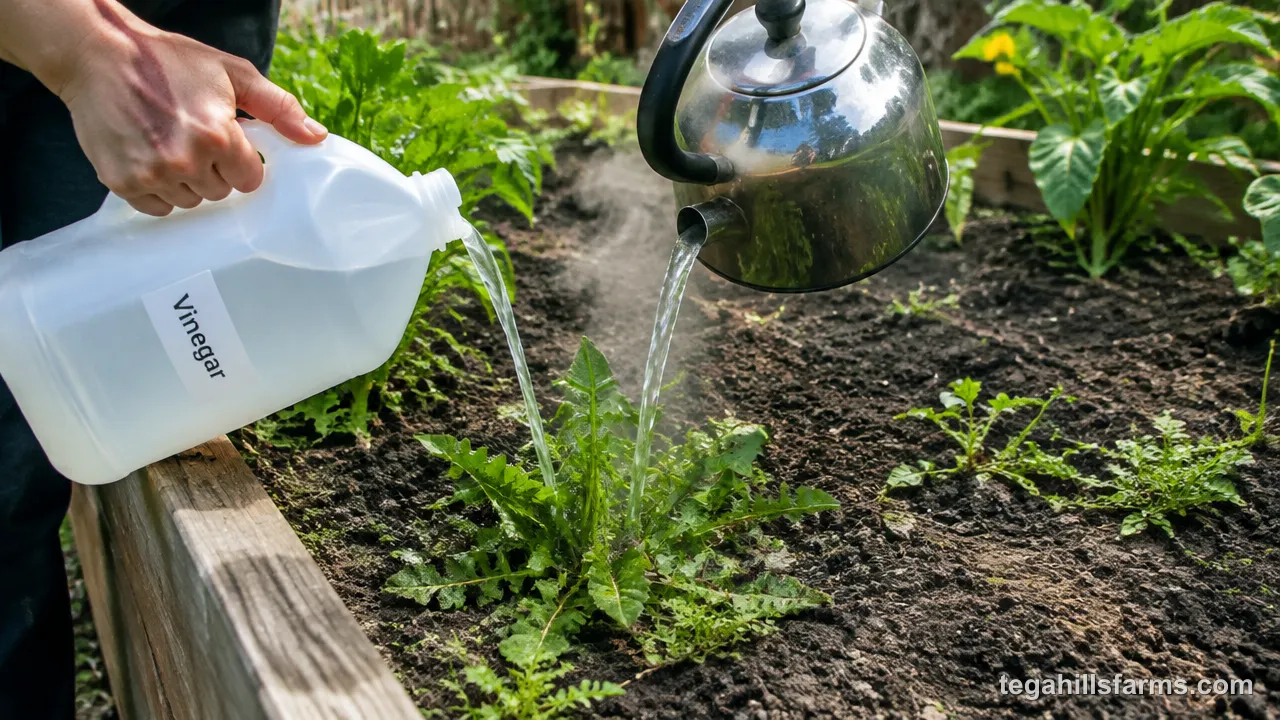
Each one fits a different situation, and neither replaces mulch or a barrier for preventing weeds in the first place.
Use Household Vinegar for Young Annual Weeds
Vinegar works best on young broadleaf annual weeds. Acetic acid burns the leaves on contact, and a small seedling can’t regrow from the damage. Household white vinegar is about 5% acetic acid, which handles tender seedlings. Horticultural vinegar is much stronger and can burn skin and eyes. If you use it, wear gloves and eye protection and follow the label.
Spray on a sunny, calm day, when heat speeds up the burn and wind won’t carry drift onto your vegetables. Hold a piece of cardboard between the weed and nearby crops as a shield.
Vinegar kills top growth only. Established perennials regrow from their roots, so they may need repeat treatments or digging. Avoid soaking bed soil with it, because heavy use can harm soil life.
Pour Boiling Water on Path and Edge Weeds
Boiling water is a good choice for weeds in gravel paths, between pavers, and along the outside edges of the bed frame. In those spots you don’t want anything growing back. The heat collapses leaves and scalds roots near the surface, and it leaves nothing behind once it cools.
Pour slowly and directly onto the crown of each weed so the water soaks down instead of splashing. Carry the kettle carefully, and keep children and pets away while you work.
Keep boiling water out of planted areas inside the bed. It kills earthworms and soil microbes along with the weed, and it will scald vegetable roots nearby. Deep-rooted perennials may need a second or third treatment before they give up.
Bindweed snapped off at the soil line sends up fresh shoots soon after, because the root left below stores enough energy to start over. Treating every weed the same way leaves you pulling the same perennial all summer while its roots spread farther under your mulch.
How to Tell Annual Weeds from Perennial Weeds
Annual weeds, like crabgrass, chickweed, and purslane, finish their life cycle in one season and spread only by seed. Perennial weeds, like bindweed, dandelions, and quackgrass, survive year after year on roots, taproots, or creeping rhizomes that regrow after you remove the top.
To tell them apart, dig one up. Annuals usually have shallow, fibrous roots that pull out cleanly. Perennials show a thick taproot, white spreading runners, or a root that keeps going deeper than your fingers.
The difference determines your strategy. Mulch, dense planting, and early pulling control annuals well, because stopping them from seeding ends the problem. Perennials need a barrier below the bed and persistent removal of every root piece. Vinegar or a single pulling only sets them back.
When Should You Apply Weed Prevention: Spring or Fall?
Both seasons work, but they do different jobs. Fall setup gets ahead of next year’s weeds. Spring setup stops the warm-weather flush right before planting.
The right timing depends on when the bed goes in and on your zone. If you’re still working out how to build raised garden beds, building in fall gives a cardboard barrier the whole winter to break down. In northern zones with short seasons, that head start means a bed ready the moment the soil can be worked.
Spring Setup for New Beds
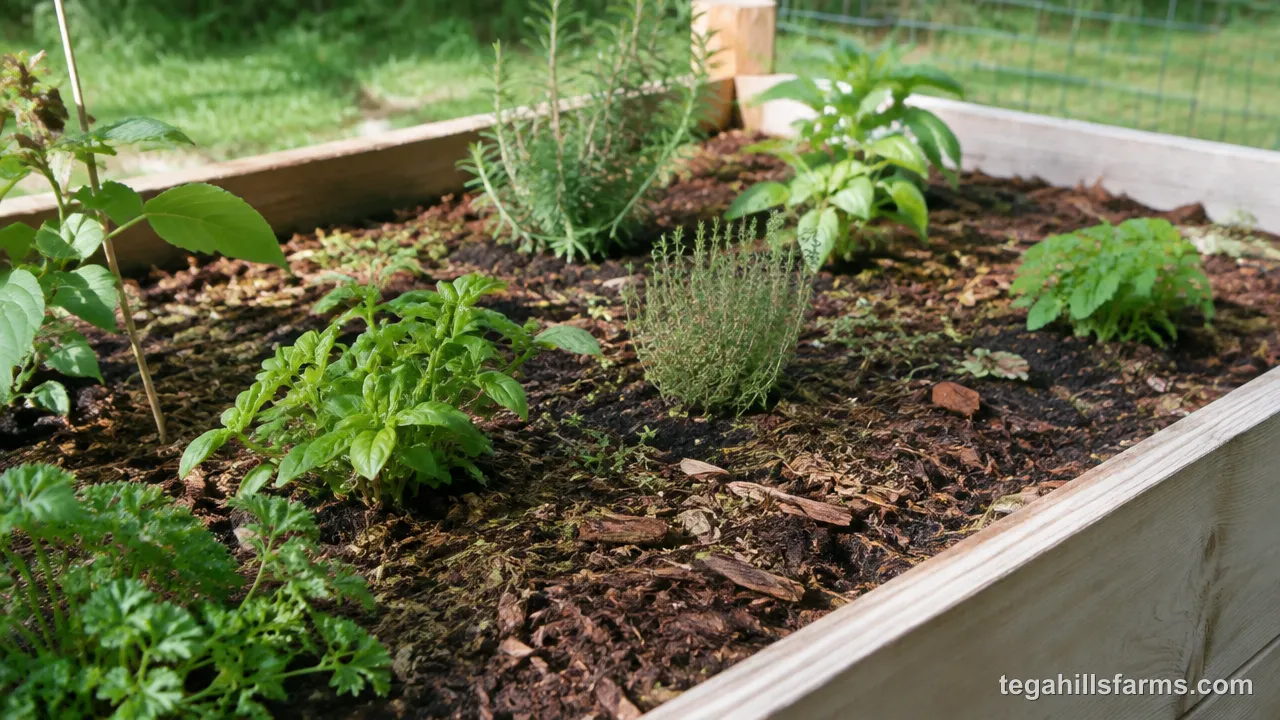
For a bed built in spring, lay the barrier, fill the bed, and mulch before you plant. As soil warms, dormant weed seeds sprout in a flush. A bare bed can turn green with seedlings before your transplants go in.
Mulch right after filling, then pull it aside only where you set transplants or sow seeds. For direct-sown crops like carrots, leave the row bare until the seedlings are up, then tuck mulch in around them.
In warm southern zones, where weeds start early, set the bed up well before your last frost date. In northern zones, wait until the soil is workable but get mulch down before warm weather arrives.
Fall Mulch and Barrier for Overwintering
After you clear summer crops, spread a fresh mulch layer over the bed. It blocks winter annual weeds like henbit and chickweed, which sprout in cool fall weather and flower early in spring. Those weeds are much easier to prevent in fall than to pull in March.
A fall layer also protects the soil from heavy rain and erosion through winter. Shredded leaves are ideal and easy to find this time of year. They break down over winter into a soft layer you can plant through in spring.
If you’re expanding with a new bed, lay the cardboard barrier in fall. By spring, grass underneath is dead and the cardboard has started to break down.
Does Soil Depth Affect Weed Pressure in Raised Beds?
Yes. A deeper bed reduces weed pressure from below. Most weed seeds need to be near the surface to sprout, so seeds in the ground under a deep bed stay buried and dormant. More soil also puts more distance between underlying weeds and your vegetable roots. Weaker weeds run out of energy before they reach light.
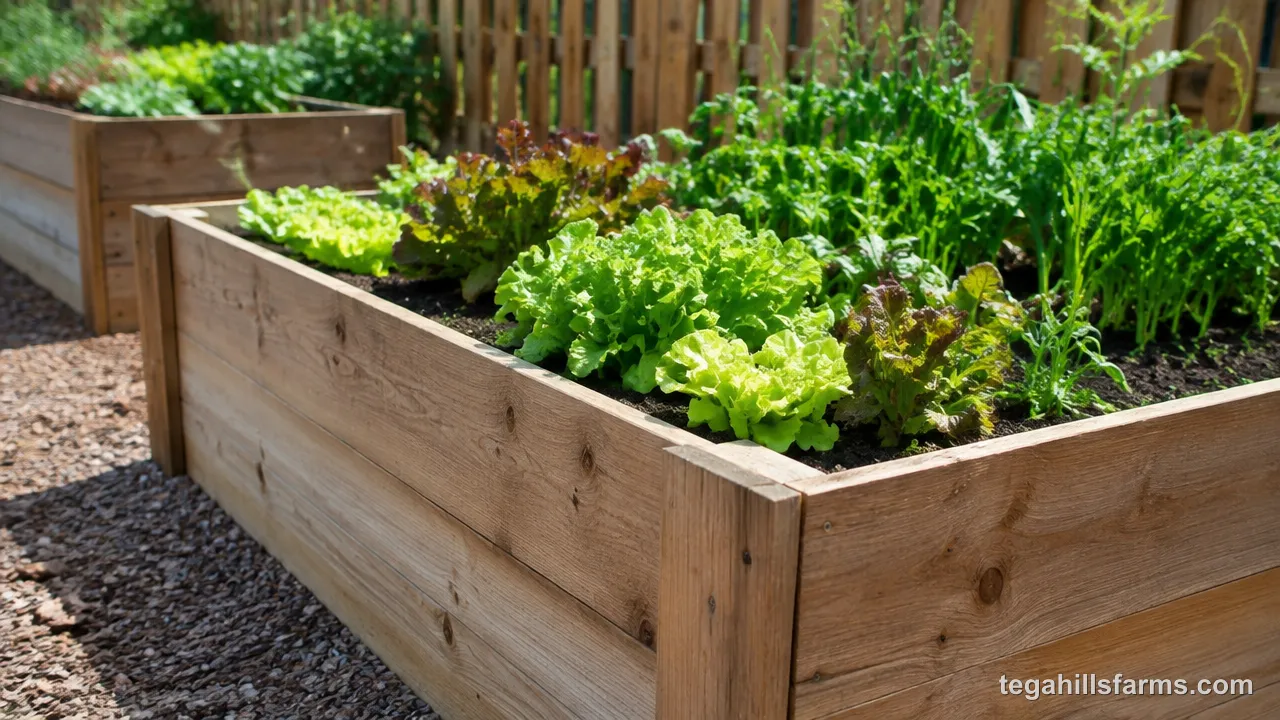
Depth doesn’t stop aggressive perennials, though. Bindweed and Bermuda grass can grow up through a deep bed without a barrier. Depth also does nothing about seeds blown onto the surface, which still need mulch.
Common Questions About Weeds in Raised Beds
Can I use grass clippings as mulch in raised beds?
Yes, if the lawn hasn’t been treated with herbicide. Some weed killers persist in clippings and damage vegetables. Let clippings dry before spreading them, and lay them in thin layers. Thick, fresh clippings mat down, heat up, and turn slimy instead of forming a breathable cover over the soil.
Can I reuse landscape fabric?
You can if it’s still intact. Shake or brush off the soil, cut out sections where roots have grown into the weave, and check for tears before laying it again. Fabric that has started to shred or break down from sunlight won’t stop weeds reliably, so replace those pieces instead of patching them.
How often should I weed a raised bed?
Walk the bed every few days in spring and early summer, when weeds sprout fastest. Pull anything you see in a few minutes. Once the mulch is settled and crops have filled in, a weekly check usually keeps up, since closed canopy and mulch stop most new seedlings from getting started.
How long does cardboard take to break down under a raised bed?
Plain cardboard usually breaks down within about a season under moist soil. It goes faster in warm, wet climates and slower in cold or dry ones. By the time it’s gone, the grass underneath should be dead and the roots of your vegetables can reach the native soil below.
Can I put mulch over drip irrigation?
Yes, and it works well. Laying drip lines first and mulching over them sends water straight to the roots while the surface stays dry. Weed seeds need surface moisture to sprout, so this setup cuts germination and also slows evaporation from the soil.


Write Your Review
No reviews yet. Be the first to share your experience!