

A raised garden bed lasts when you build it from untreated, rot-resistant lumber, keep it narrow enough to reach the center from the edge, and make it deep enough for the surface underneath. Screw the corners into solid posts, square the frame before the final tightening, line the bottom against whatever lives below your yard, and set the bed where it gets full sun. Fill it with a loose, compost-rich mix instead of plain garden soil.
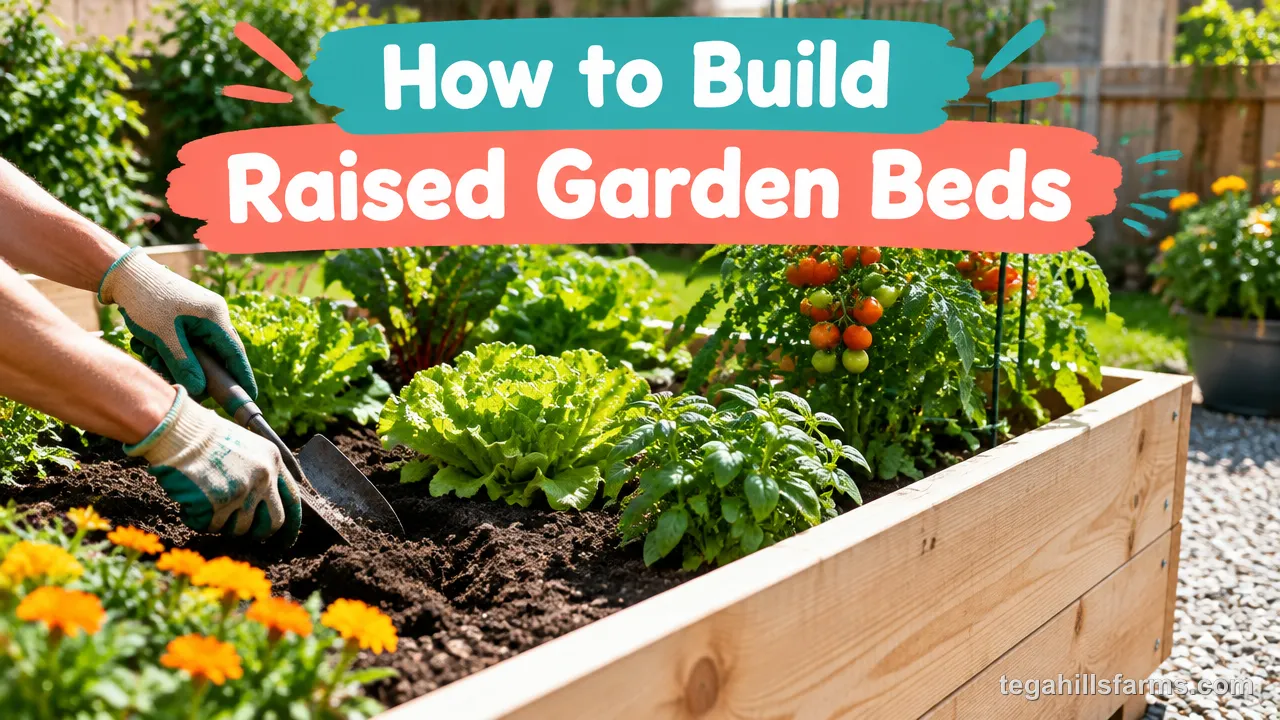
The choices that matter most are frame material, bed width and depth, the bottom barrier, and placement. Each one affects a different part of the bed’s life: how fast the boards break down, whether you compact the soil by stepping into it, whether roots have room, and whether the crop gets enough light to produce.
Most beginner beds fail for three reasons. The boards rot where they touch damp soil, the long sides bow outward under the weight of wet soil, or gophers and voles tunnel up from below and take the roots. All three can be prevented during the build, and they are hard to fix once the bed is full.
A good bed is mostly a soil container. If you plan the build around the soil, choosing wood that tolerates constant moisture and corners that hold back its weight, the bed will keep producing long after a quick weekend build would have started to sag.
What Size Should You Build Your Raised Garden Bed?
Size the bed so no point is more than a 2-foot span from an edge you can stand at, and let length follow your space and lumber. That reach limit lets you plant, weed, and harvest without stepping on the soil.
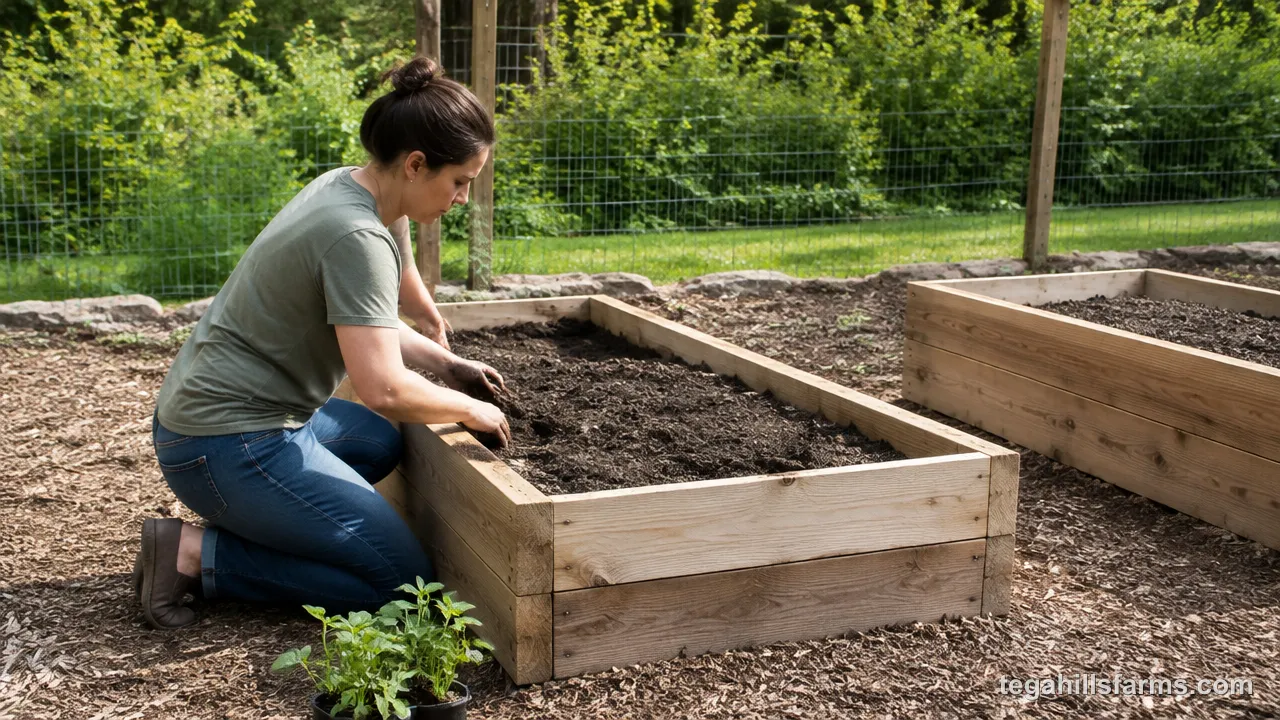
Before you cut any lumber, knowing how to choose a raised garden bed that fits your site and crop plan saves material and replanting later. Width depends on access. A bed against a fence or wall is worked from one side only, so it has to stay narrow. A bed you can walk all the way around can be wider, because you reach the middle from either long side.
Length is less limited, but long sides carry more soil pressure, and an unbraced long board bows outward over time. If your space calls for a long bed, add a brace or post at the midpoint of each long side. You can also build two shorter beds with a path between them. Working through what size raised garden bed you need before buying boards also lets you match bed lengths to standard lumber, which cuts down on waste.
Which Wood and Materials Work Best?
Untreated, rot-resistant wood for the frame and a bottom layer matched to your pest or weed problem are what determine how long a bed lasts and how safe it is for food crops. The frame sits in constant contact with damp soil, so the wood’s natural resistance to rot sets the bed’s lifespan. The bottom layer handles a different problem: it controls what comes up from the ground underneath. If you get one right and the other wrong, the bed can still fail early. Sound boards don’t help if gophers clear out a carrot crop, and a perfect barrier doesn’t help once the corners rot away.
Cedar vs Pine for Frame Boards
Cedar lasts noticeably longer than pine in a raised bed. Its natural oils resist rot and insects, while untreated pine breaks down faster where it touches wet soil. Pine is the cheaper option, so the decision comes down to how many seasons you want before you rebuild.
Both woods should be untreated when they will hold edible crops. That way nothing from a chemical preservative ends up in the root zone of your vegetables or herbs. Cedar’s rot resistance comes from the wood itself, which is why it holds up for years without any coating.
Pine works well for a first bed, a trial location, or a bed you expect to move. If you plan to leave the bed in one spot for many seasons, I’d spend the extra on cedar, because rebuilding means emptying all the soil out of the frame.
Hardware Cloth, Chicken Wire, or Landscape Fabric for the Bottom
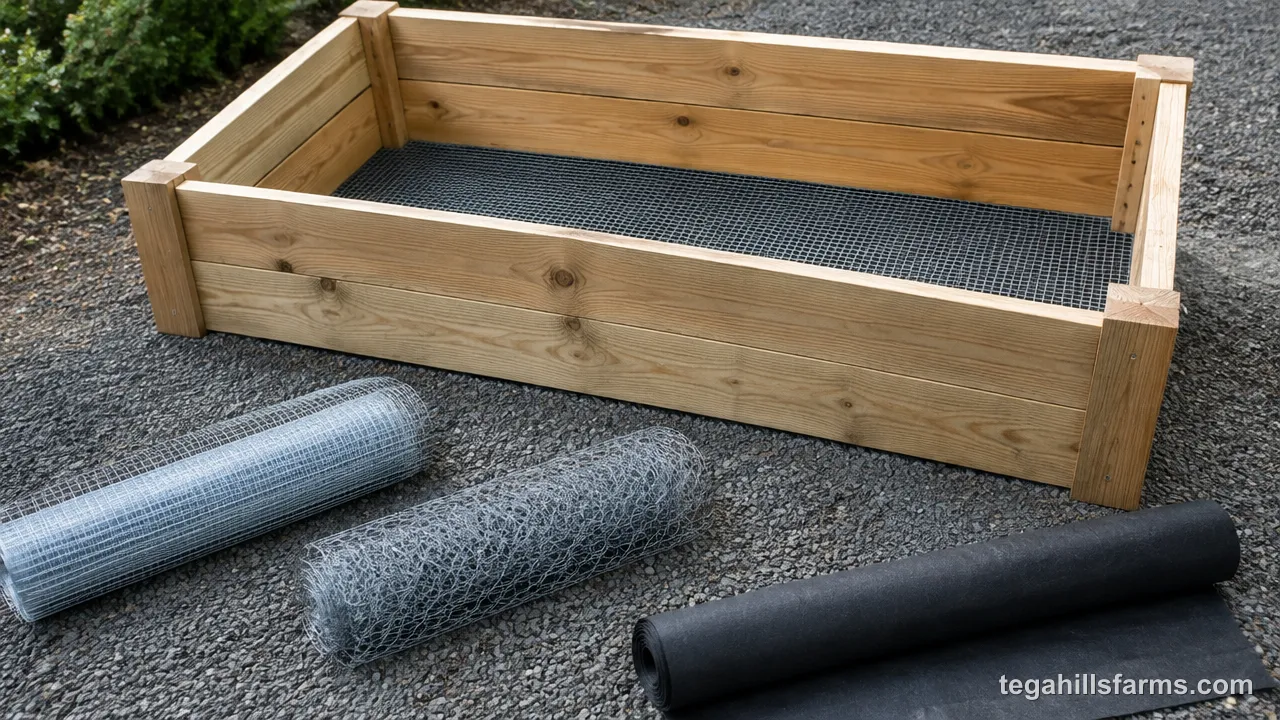
Hardware cloth is the strongest rodent barrier. Its small welded mesh stops gophers, voles, and moles from tunneling up into the bed, and water drains through it freely. Chicken wire costs less and keeps out larger burrowers, but its wider hexagonal openings let smaller rodents through, and the thin wire corrodes sooner in wet soil.
Landscape fabric solves a different problem. It blocks grass and weeds from growing up from below while still letting water pass. It does nothing against burrowing animals, though, and over time roots and soil can clog it.
Cardboard is the low-cost weed option. It smothers the grass underneath, then breaks down into the soil, so worms and deep roots can eventually reach the ground below. If you have both pests and weeds, put hardware cloth down first and add cardboard on top. Weeds that creep in over the edges are a separate issue, covered in how to stop weeds in raised garden beds.
How Deep Should You Build the Bed?
Build the bed at least 6 inches deep, plan on 12 inches over grass or dirt, and go to 18 to 24 inches on concrete or another hard surface. The difference comes from what lies below the frame.
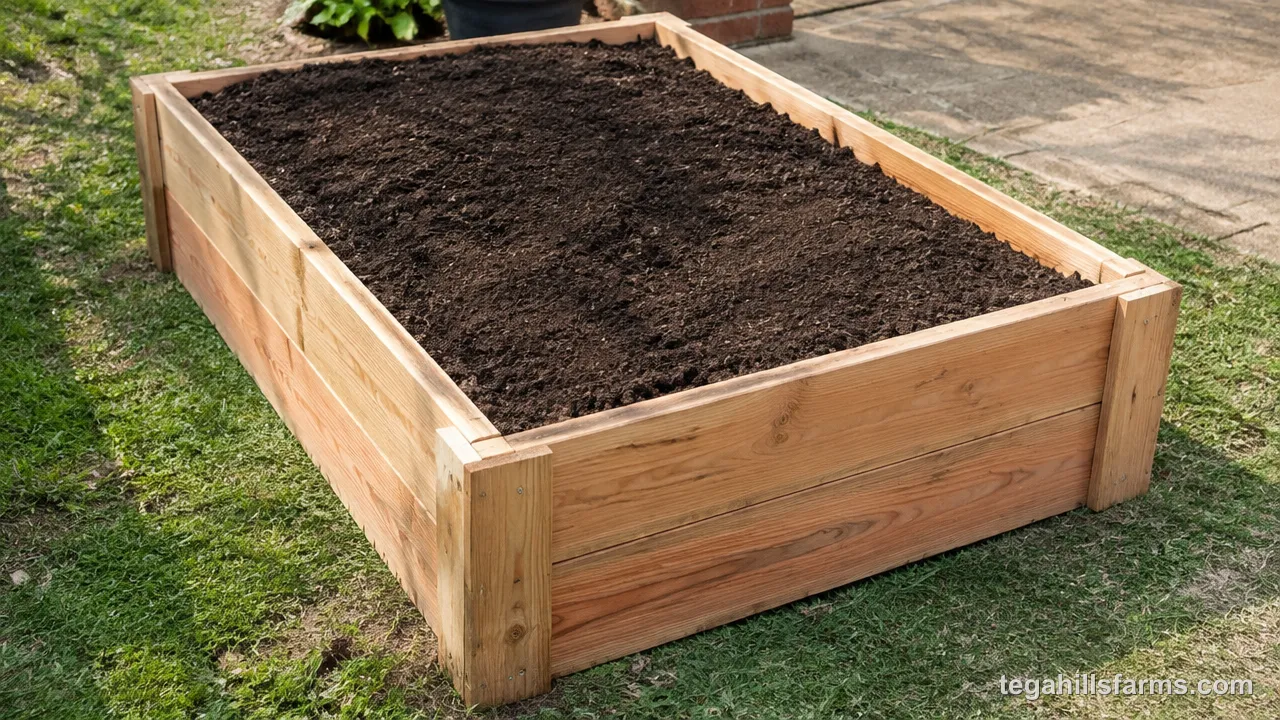
On open ground, roots can grow down past the bottom of the bed into the native soil, so a 12-inch frame gives most crops enough room. On concrete, the bed holds all the soil the plants will ever have, so it needs to be deeper. Most vegetable roots grow in the top 6 to 24 inches of soil. A bed on pavement has to provide that full range itself.
A minimum-depth bed works for shallow crops, but it dries out quickly in summer heat and limits what you can grow. Going deeper costs more lumber and soil. In return, the soil holds moisture longer and you can grow a wider range of crops. For a full breakdown by crop and site, see how deep a raised garden bed should be.
How to Cut and Prepare the Lumber
Preparing lumber comes down to accurate measuring, square marks, and clean cuts to length, so the boards meet tightly at the corners.
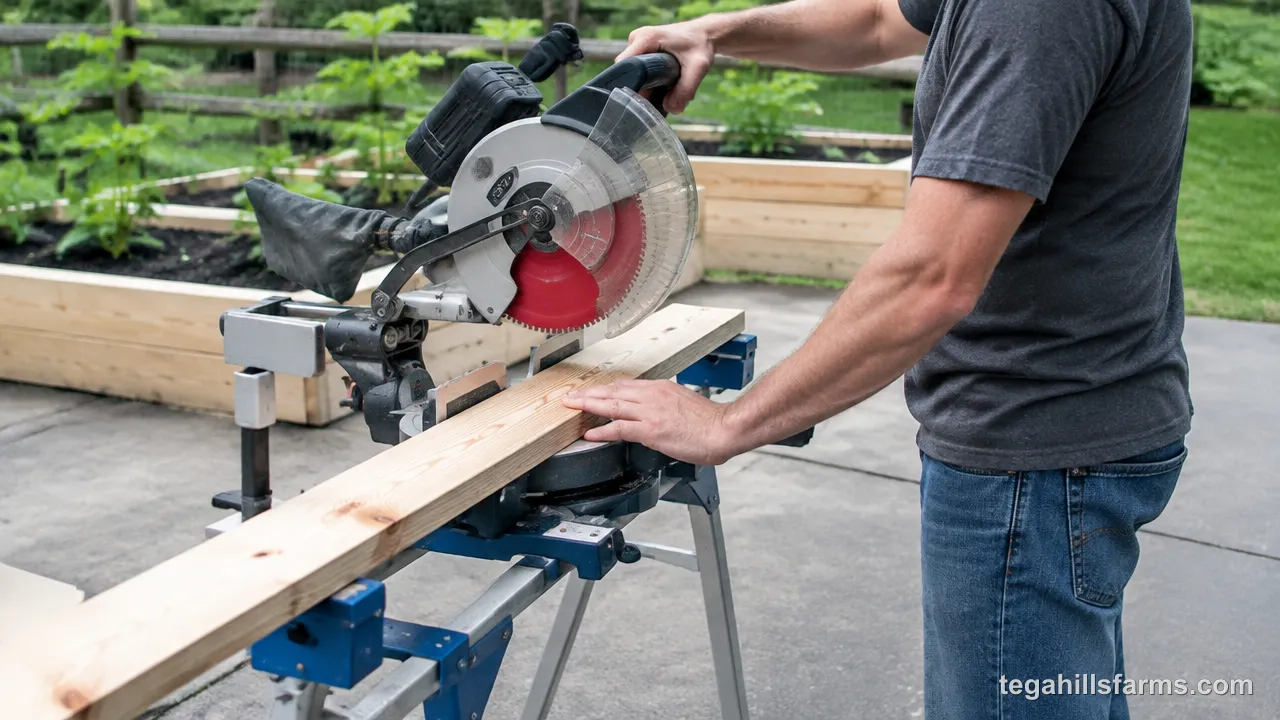
- Measure and account for the corners. Decide which boards will overlap the ends of the others at each corner, then adjust the length of the shorter sides by the board thickness so the outside dimensions come out right.
- Mark square lines. Use a speed square or carpenter’s square to draw each cut line straight across the board. A slanted cut leaves a gap at the corner that weakens the joint.
- Cut with a miter saw. A miter saw makes square ends on 1×6 and 1×4 boards easily. A circular saw guided by a square also works.
- Cut the 2×4 or 4×4 corner posts to the bed’s height so they sit flush with the top edge.
Measure twice before each cut. A board cut too short can’t be fixed, and you’ll need to buy another one.
How to Assemble the Frame
A strong frame comes from screws driven through pilot holes into solid corner posts and from squaring the frame before final tightening. Soil pushes outward on every side once the bed is full and watered, and the corners take most of that force. A frame that is loose at the corners or slightly out of square tends to rock, open gaps, and lose soil at the seams within a season or two. Taking time at the assembly stage costs much less than fixing a bed that is already full.
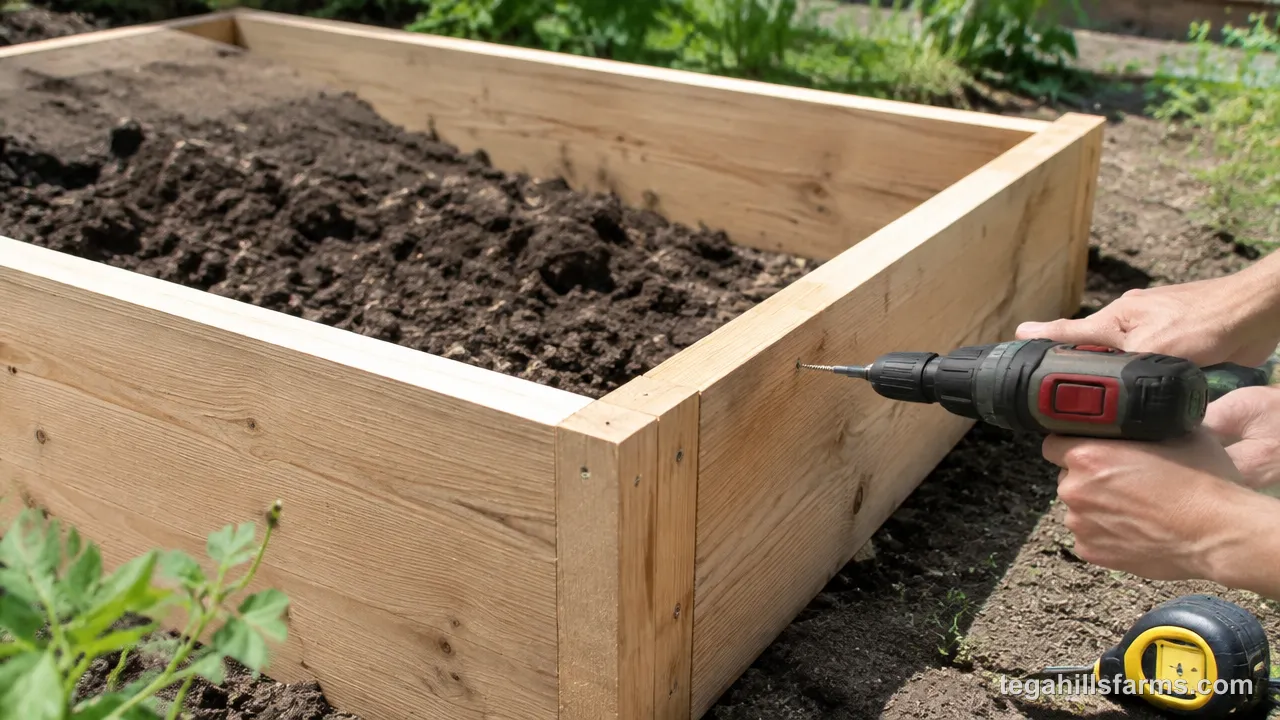
Driving Screws at the Corners
Use 1 1/4 inch deck screws for 1x boards, and drill a pilot hole for each screw so the wood doesn’t split near the board end. The pilot hole should be slightly narrower than the screw shank. That way the threads still bite into the wood while the hole relieves the wedging force that cracks the grain.
Screw each board into a 2×4 or 4×4 post set inside the corner rather than only into the end grain of the next board. End grain holds screws poorly. A post gives the screws solid wood to grip on both sides of the corner.
Use at least two screws per board at each corner, spaced apart vertically, so the board can’t pivot when soil pushes against it. If you’re building with thicker 2x lumber, use longer deck screws sized for that board.
Squaring the Frame Before Final Tightening
Measure both diagonals of the frame from corner to corner. When the two measurements match, the frame is square. If one diagonal is longer, push gently on the two corners at the ends of that diagonal until both readings are equal.
Do this check while the screws are snug but not fully tightened, so the corners can still shift. Then drive every screw home. A carpenter’s square held inside each corner gives a quick second check.
An out-of-square frame is a parallelogram. It rocks on uneven ground and pulls away at the joints once soil adds weight. Squaring takes a few minutes and a tape measure, and it’s very hard to correct after the bed is filled.
What to Place at the Bottom of the Bed
A bottom layer blocks burrowing pests or weeds from below while still letting water drain freely. How you install it determines whether it works.
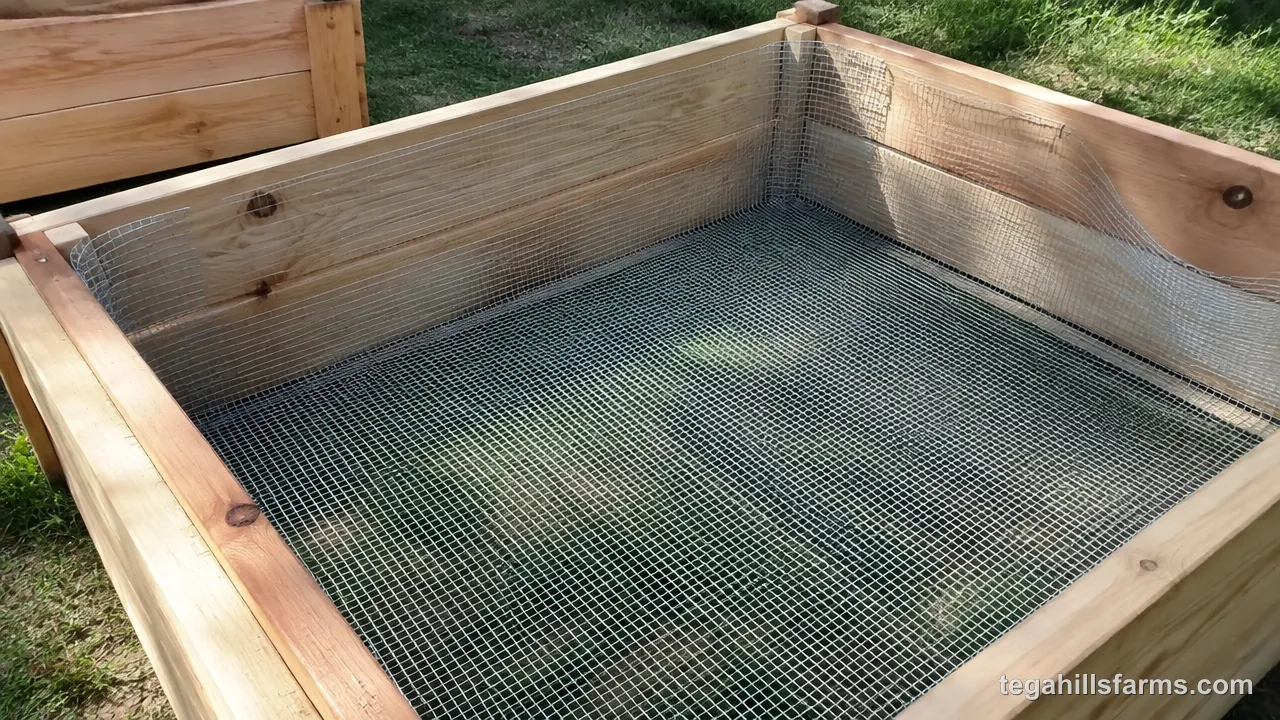
Lay hardware cloth or chicken wire across the bottom, run it a few inches up the inside of each side, and staple it to the frame. That way animals can’t squeeze past the edges. A 2-foot by 25-foot roll of chicken wire covers one 6-foot by 4-foot bed. Overlap the seams between strips so there are no gaps for rodents. For layered strategies against gophers, voles, and insects, see raised garden bed pest control.
Landscape fabric goes in with generous overlaps at the seams and runs up the sides, so grass can’t come up through a gap. Put cardboard down flat, remove all tape and labels first, and soak it with a garden hose. Wet cardboard settles against the ground and smothers the grass beneath it more effectively.
Where Should You Place the Finished Bed?
Place the bed where it gets 8 or more hours of direct sun, on level ground, and close to a water source. Most fruiting vegetables need that much light to produce well. Watch your yard for a full day before you decide, because shade from buildings and trees moves across the season.
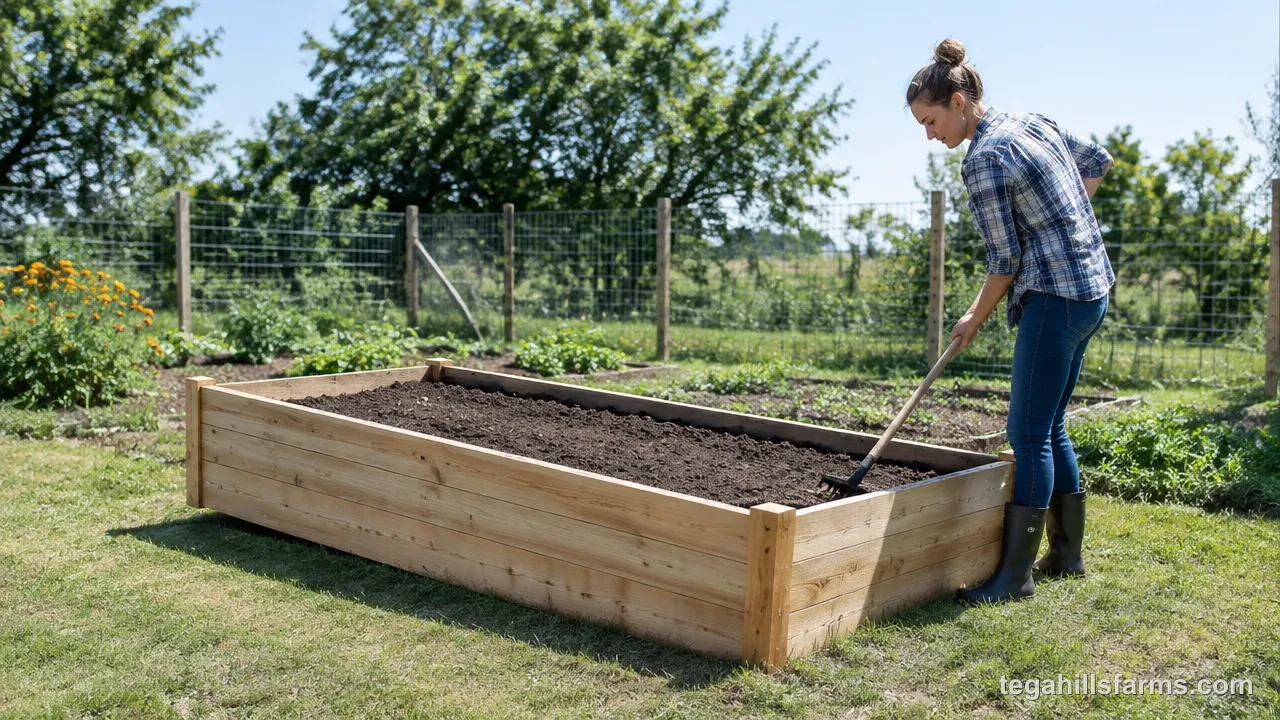
Level ground matters because water runs to the low end of a sloped bed. One end stays soggy while the other dries out, and the frame twists under uneven weight. Rake the site flat or dig out the high side before setting the frame.
Placing the bed near a hose bib or rain barrel makes watering easy, and easy watering means it actually gets done in midsummer. On concrete, water drains out under the frame onto the pavement. Choose a spot where that runoff can flow away and won’t stain a patio you care about.
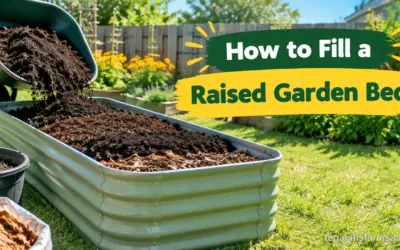
How to Fill the Bed with Soil
Filling a bed comes down to a base layer, a loose compost-rich main mix, and time for the soil to settle before planting.
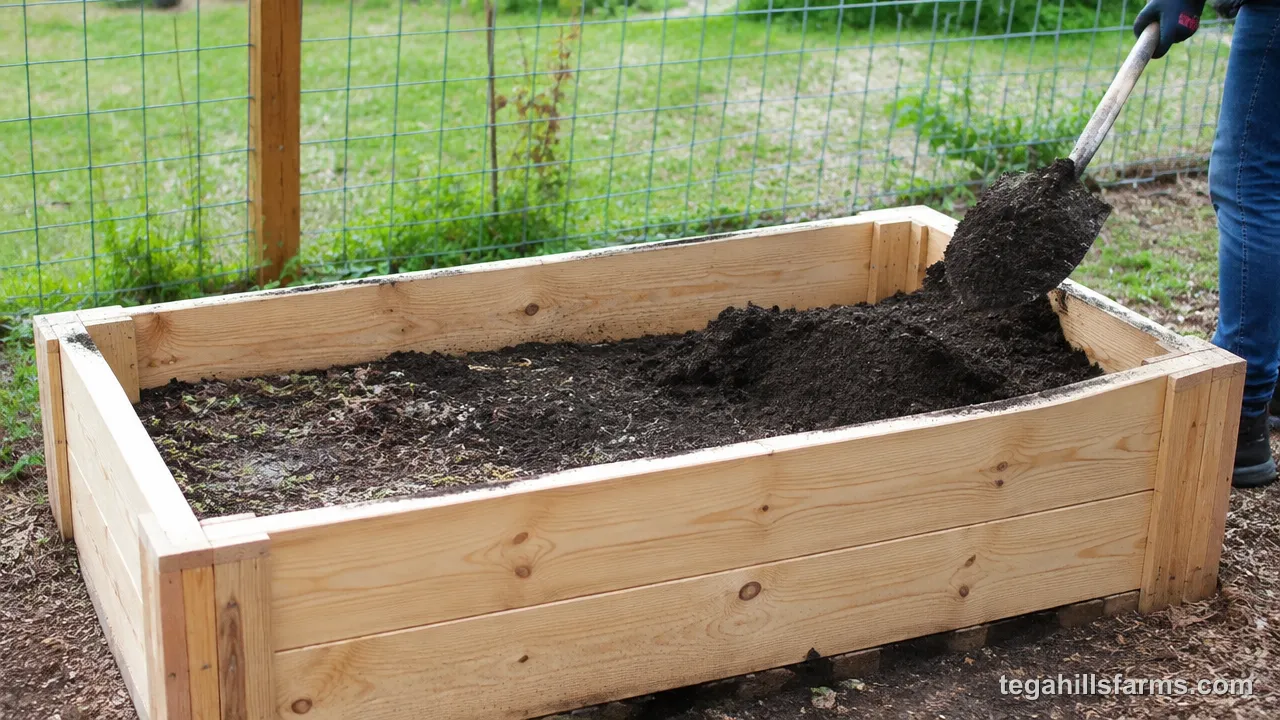
- Lay the base. On grass, start with wet cardboard or a layer of native soil so the fill connects with the ground below.
- Add the main mix. Mel’s Mix, the Square Foot Gardening blend, uses equal parts compost, peat moss, and vermiculite. Coconut coir is a common substitute for peat moss. The compost feeds the plants, and the other two keep the soil loose and holding moisture.
- Settle and top up. Water the bed deeply, let the soil settle for a few days, then add more mix to bring the level back near the top of the frame.
Filling a deep bed with purchased mix alone gets expensive. For lower-cost ways to fill the bottom of a deep bed, see how to fill a raised garden bed.
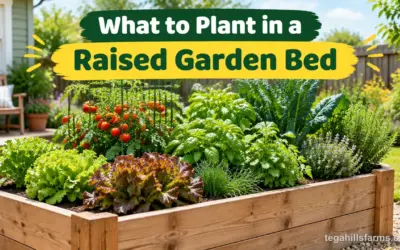
Which Vegetables Grow Best in a Raised Bed?
Crops whose root depth matches your bed grow best, and root vegetables and other crops that struggle in compacted ground gain the most from loose raised-bed soil. Bed depth limits what you can plant, so it’s worth matching crops to the bed you built rather than the other way around. Square Foot Gardening spacing, which plants a set number of each crop per square grid, works well in raised beds because you never walk on the soil, so plants can grow closer together than in traditional rows. Planning what to plant in a raised garden bed by root depth and spacing gives you more harvest from a small footprint.
Lettuce, Radishes, and Other Shallow Crops
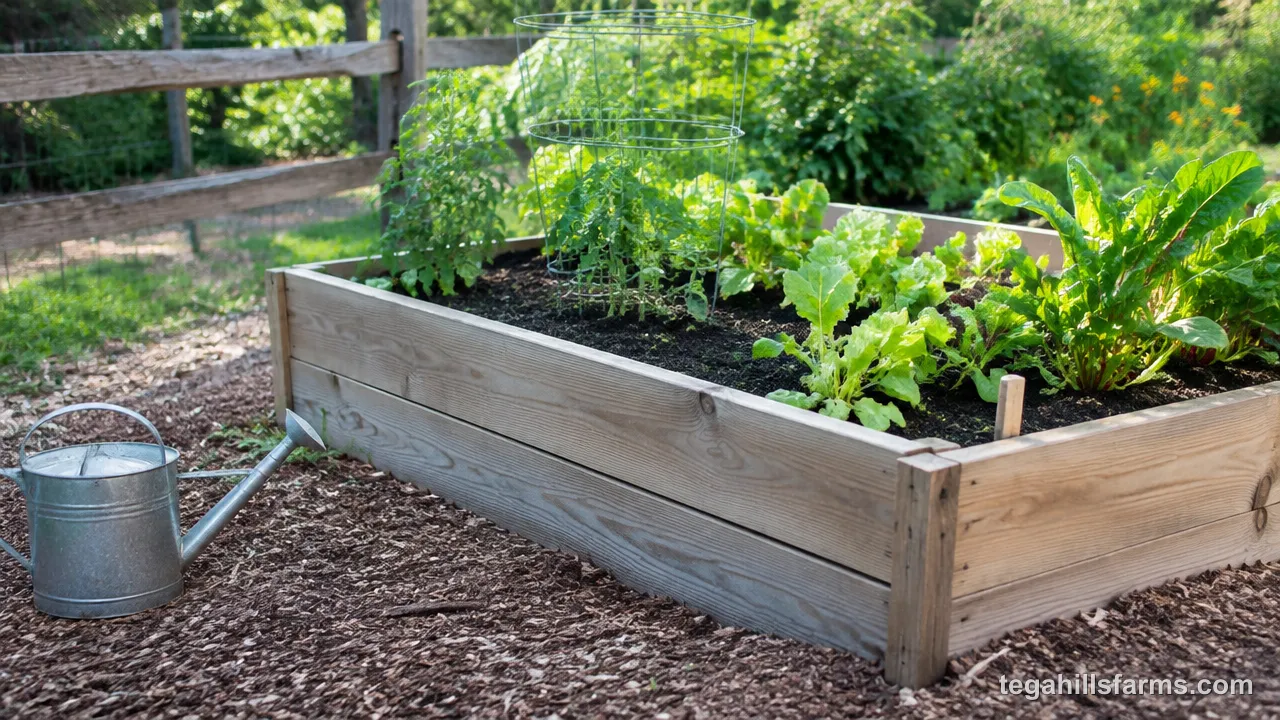
Lettuce, radishes, spinach, and most leafy greens grow well in beds at the shallow end of the root range, including beds built at the minimum depth on open ground. Their roots spread through the top layer of soil, so they don’t need a deep bed to produce a full harvest.
These crops are the best match for a bed on a patio with limited depth or a quick first-season build. They also grow fast, so you can harvest them and replant several times in one season.
The main thing to watch is moisture. Shallow soil dries out faster than deep soil, and lettuce and spinach go bitter or bolt when they get dry and hot. Water shallow beds more often during summer.
Tomatoes, Carrots, and Deep-Rooted Crops
Tomatoes, carrots, parsnips, and other deep-rooted crops need beds at the deep end of the root range, which is the main reason to build higher on concrete or other hard surfaces. Tomato roots spread far through the soil to support a heavy fruit load. Carrots need deep, loose soil to grow straight.
Loose raised-bed soil gives these crops a real advantage over compacted ground. In packed garden soil, carrots fork and twist when they hit a dense layer. In a raised bed you never walk on, they grow down without resistance.
For tomatoes, deep soil also holds more water between waterings. That steadier moisture helps prevent the fruit cracking and blossom-end rot that come with wide swings between wet and dry soil.
A cedar frame costs more than many gardeners expect once you price out every board, post, and box of deck screws, while ready-made metal beds can be bolted together in an afternoon without a saw. If you choose between the two based only on the price at checkout, you can end up rebuilding a rotted frame or replacing a rusted kit sooner than you planned.
Pre-Made Metal Beds vs DIY Lumber Construction
Pre-made metal beds save the most time, and DIY lumber gives you the most control over size and cost. Well-built pre-made beds on legs typically cost about $150 to $250 each. A homemade cedar or pine bed can come in below that, depending on lumber prices where you live.
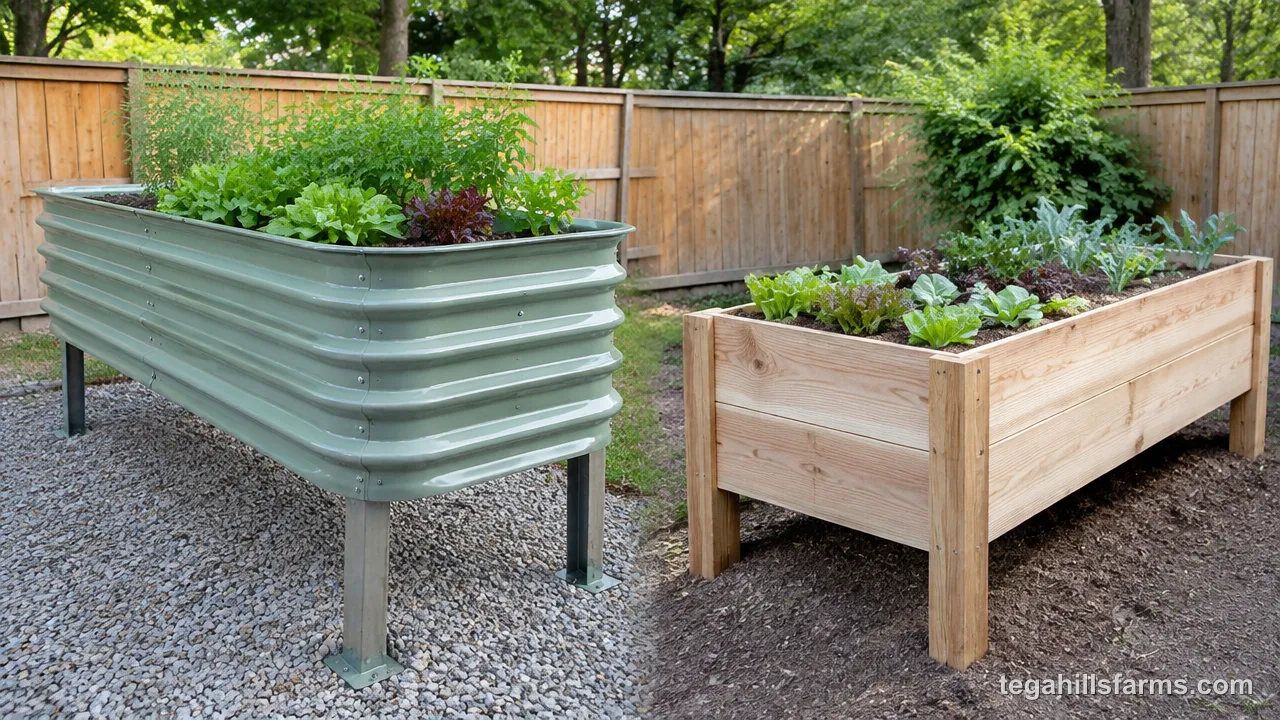
Assembly time is where metal kits stand out. Modular metal kits, such as Epic Gardening’s metal garden beds, arrive with pre-cut panels and hardware, so there’s no measuring, cutting, or squaring. A lumber bed takes more time, but you can build it to fit an odd-shaped corner or a specific depth that kits don’t come in.
Lifespan depends on the material. Coated or galvanized steel resists rust for many seasons, as long as the coating isn’t scratched through. Cedar resists rot naturally but eventually needs replacement boards. Pine needs replacing sooner than either one.
For a full price comparison across materials and bed sizes, see how much a raised garden bed costs. I’d suggest metal for gardeners short on tools or time, and lumber for anyone who wants a custom size.
Building Raised Beds with Legs
A raised bed with legs sits entirely off the ground, at a height you can work while standing. That makes it a good fit for gardeners with back or knee trouble and for balconies or patios where a ground-level bed isn’t practical.
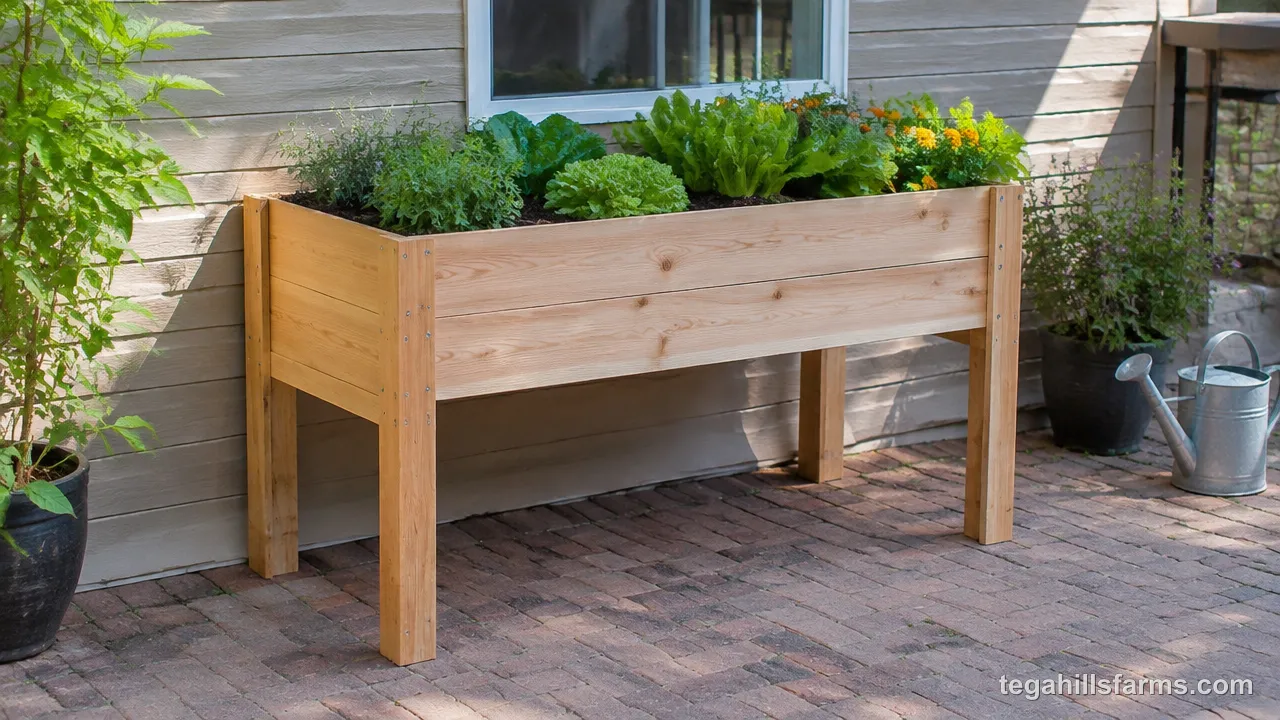
The structure is different from a ground-level bed. An elevated bed needs a solid floor to hold the soil, and that floor has to support the full weight of wet soil without sagging. Because of that weight, legged beds are usually built shallower than the depths needed for a bed sitting directly on concrete. That limits them mostly to shallow-rooted crops.
Drainage needs its own planning. Drill holes in the floor, or use slats with gaps between them, so water can drain out, and line the floor with landscape fabric to hold the soil in place. On pavement, this setup actually drains better than a ground-level bed, because water drips straight through rather than pooling under the frame.
Concrete planter blocks can serve as sturdy supports, with the frame resting on stacked blocks at each corner.
How to Build Raised Beds Cheaply
The biggest savings come from using cheaper lumber, reusing safe materials, and building smaller beds.
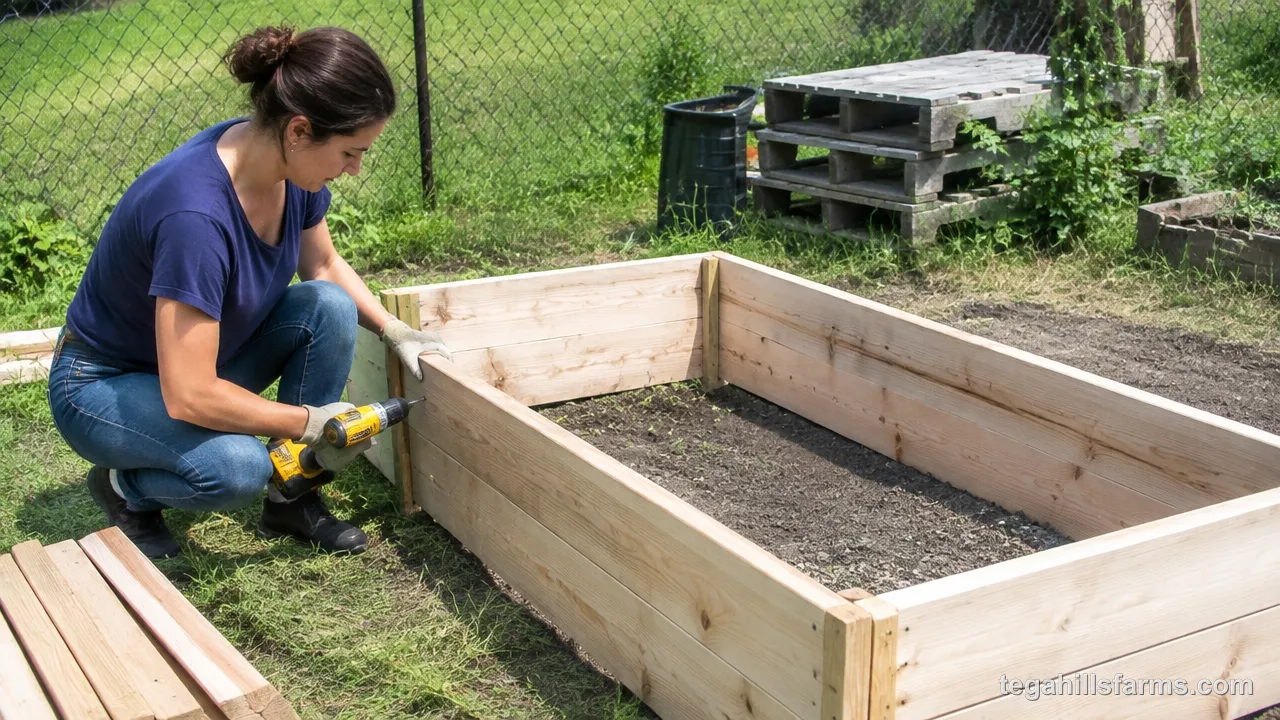
- Use pine. Untreated pine costs much less than cedar and still gives you a few good seasons.
- Reuse lumber carefully. Reclaimed boards work well if they are bare, untreated wood. Avoid old pressure-treated lumber, painted boards that may contain lead, and railroad ties, because these can leach chemicals into soil that grows food.
- Replace corner posts with concrete planter blocks. Slotted blocks hold board ends at the corners, so you don’t need posts or as many screws. They also make the bed easy to take apart later.
- Build smaller. A shorter, narrower bed uses less lumber and much less soil. Soil is often the largest single expense in filling a new bed.


Write Your Review
No reviews yet. Be the first to share your experience!