

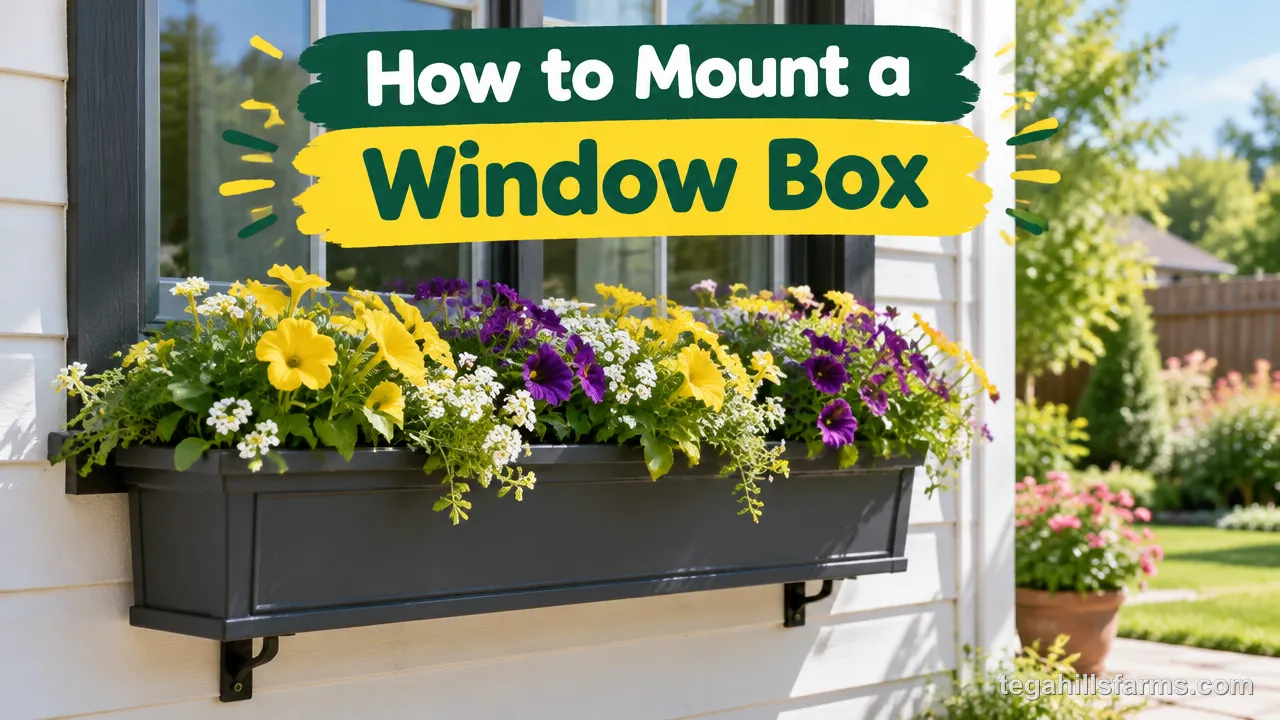
Mounting a window box comes down to marking a level line under the sill, anchoring brackets into the wall framing or masonry with fasteners that suit your siding, and then setting the empty box on the brackets and checking it before any soil goes in. On most siding types, the whole job takes about an hour per window.
Three things shape the details. Your wall material decides which drill bit and fastener you use. Your window style decides how far below the sill the box sits. The box’s width decides how many brackets it needs.
The main risk comes after planting. A box full of wet soil and plants is far heavier than the empty box you lifted into place. Fasteners driven only into thin siding can work loose under that weight, and water trapped behind the box can quietly rot the wall.
What Tools and Materials Do You Need to Mount a Window Box?
You need a level, a stud finder, and a drill or impact driver with the right bits, plus brackets, fasteners matched to your wall, and exterior caulk or sealant. Grouped by job, the list looks like this:
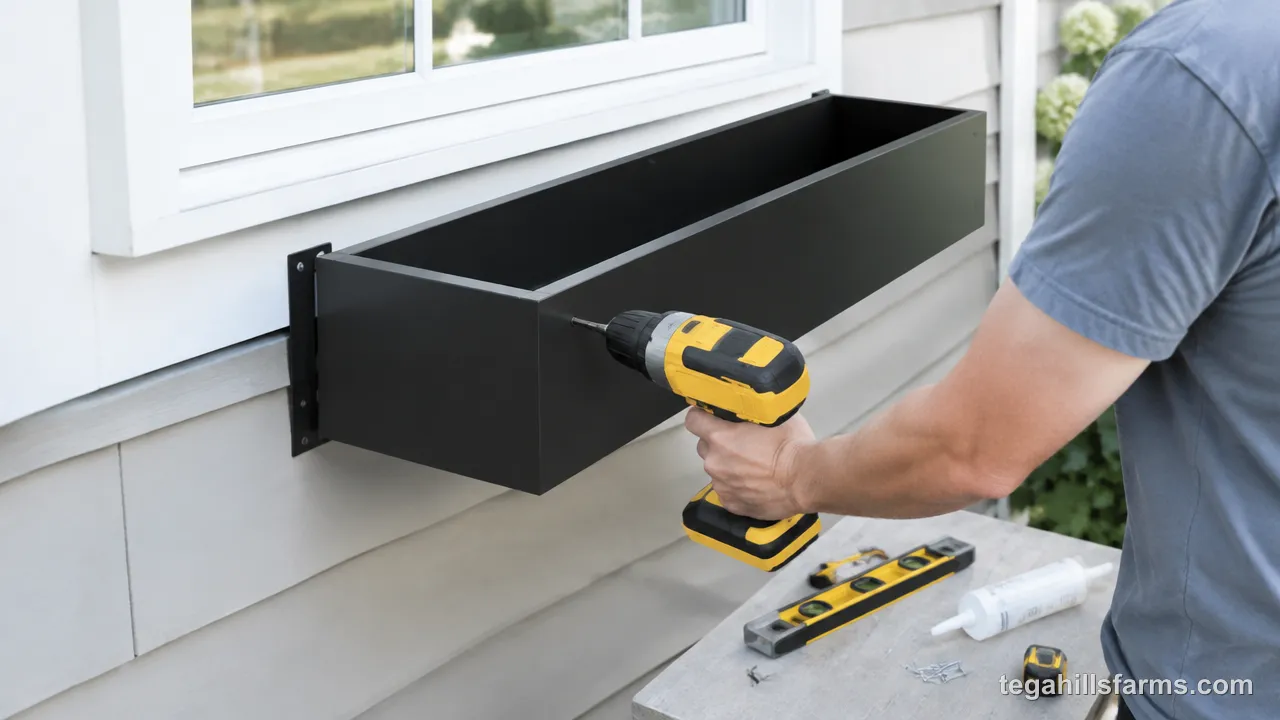
- Marking and measuring: tape measure, pencil, and a two-foot level, which works well for most window box widths.
- Finding solid backing: a stud finder for framed walls.
- Drilling and driving: a drill for pilot holes, an impact driver for screws and lag bolts, and a hammer drill with a masonry bit for brick, stucco or fiber cement.
- Hardware: brackets, plus wood screws, lag bolts, masonry anchors or Tapcon masonry screws, depending on the wall.
- Weatherproofing: exterior caulk or sealant for every hole you make in the siding.
The wall decides the fastener because each surface holds a screw differently. Wood framing grips threads. Brick and stucco need anchors or masonry screws that bite into hard, brittle material. Thin siding holds almost nothing unless the fastener goes through it into the structure behind.
If you haven’t bought a box yet, read up on how to choose a window box so its size, material and weight suit your wall and window. Knowing how much a window box costs before you shop also helps you set a budget that covers sturdy brackets, not just the planter.
How Do You Position a Window Box and Choose Its Brackets?
Placement under the sill and bracket count and style should be settled before you drill, because every hole in your siding is permanent. Get these right and the box looks like part of the house. Get them wrong and you end up patching holes.
How Far Below the Sill and How Wide Should the Box Sit?
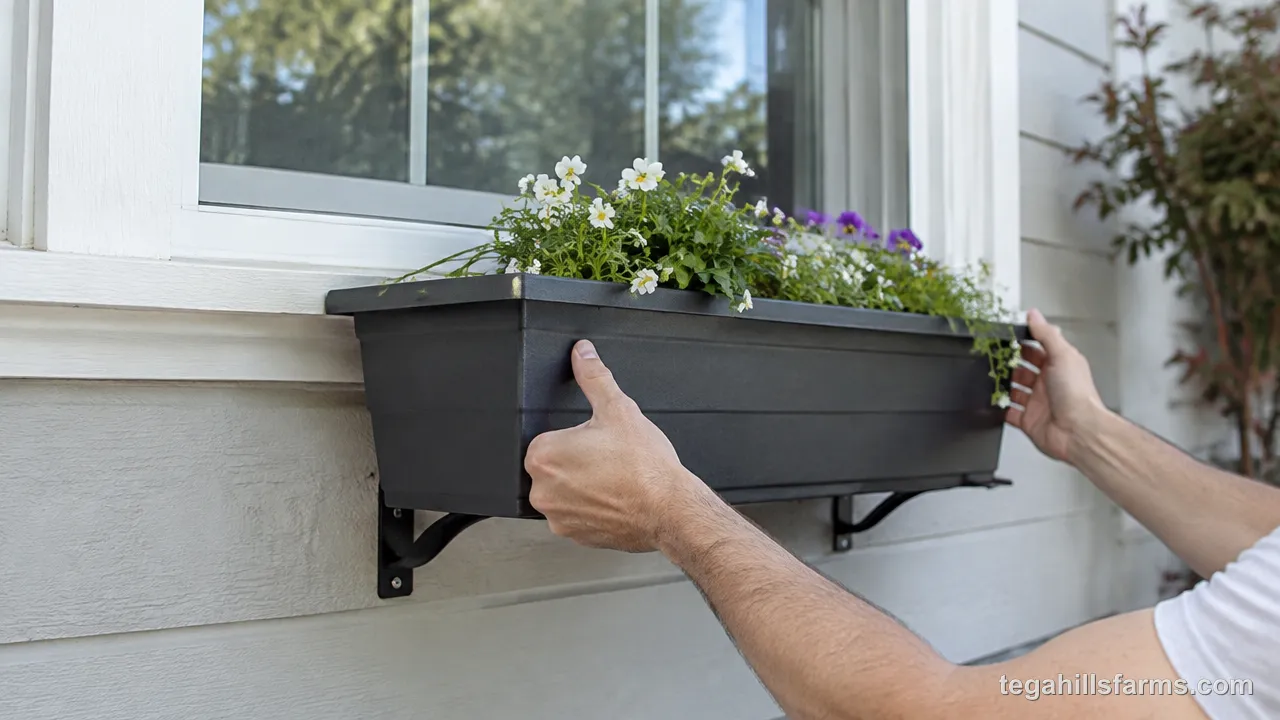
Most window boxes sit one to two inches below the sill, and that range suits double-hung and sliding windows. Out-swinging casement windows are the exception: drop the box six to eight inches so the sash clears it when the window opens.
That small gap below the sill matters for two reasons. Rain running off the sill lands in the box instead of soaking a ledge of trapped soil against the wall. Keeping the box close under the window also keeps the plants within easy reach for watering and deadheading from inside.
For length, match the full width of the window or run a few inches past the casing on each side. If you go narrower, stay at about two thirds to three quarters of the window width at minimum for a balanced look. Working out what size window box you need before buying keeps you from mounting brackets for a box that looks undersized.
How Many Brackets Does a Window Box Need?
Two brackets carry most window boxes, with each one set about two to four inches in from the end of the box. That inset keeps the corners supported without leaving the ends hanging loose over open air.
Wide boxes need a third bracket in the center. Walpole Outdoors, which sells boxes from 24 to 72 inches wide, uses three brackets on its widest 60- and 72-inch sizes. Makers draw that line in slightly different places, so follow your box’s own instructions for when a center bracket becomes necessary.
The reason is the span. A long box supported only at its ends carries the full weight of wet soil across its middle. Over a season, that load can make the bottom bow, especially in wood or PVC, and a sagging box pulls unevenly on both end brackets.
Which Bracket Style Fits Your Box and Wall?
Bracket style should follow the box’s material and the weight it will carry when planted. Hidden or flush-mount steel brackets sit behind the box for a clean look and pair well with cellular PVC, vinyl and fiberglass boxes. Decorative iron brackets cradle the box from below, carry heavier wood window boxes well and become part of the trim’s style.
Empty, these materials differ a lot in weight. Planted, the difference narrows, because wet soil and plants make up most of the load. A light fiberglass box still needs brackets rated for that full weight, not for the shell alone.
Bracket strength matters most after the first deep watering. Saturated soil weighs far more than the dry mix you poured in, so brackets that seemed solid on install day carry their real test once the box is watered.
How Do You Mount a Window Box Step by Step?
An empty box and brackets anchored into solid framing or masonry make the job go smoothly, because lifting, leveling and adjusting are far easier before soil adds weight. If you’re working on a ladder, keep the sequence simple and finish each stage before moving on.
Step 1: Mark the Position and Find the Framing
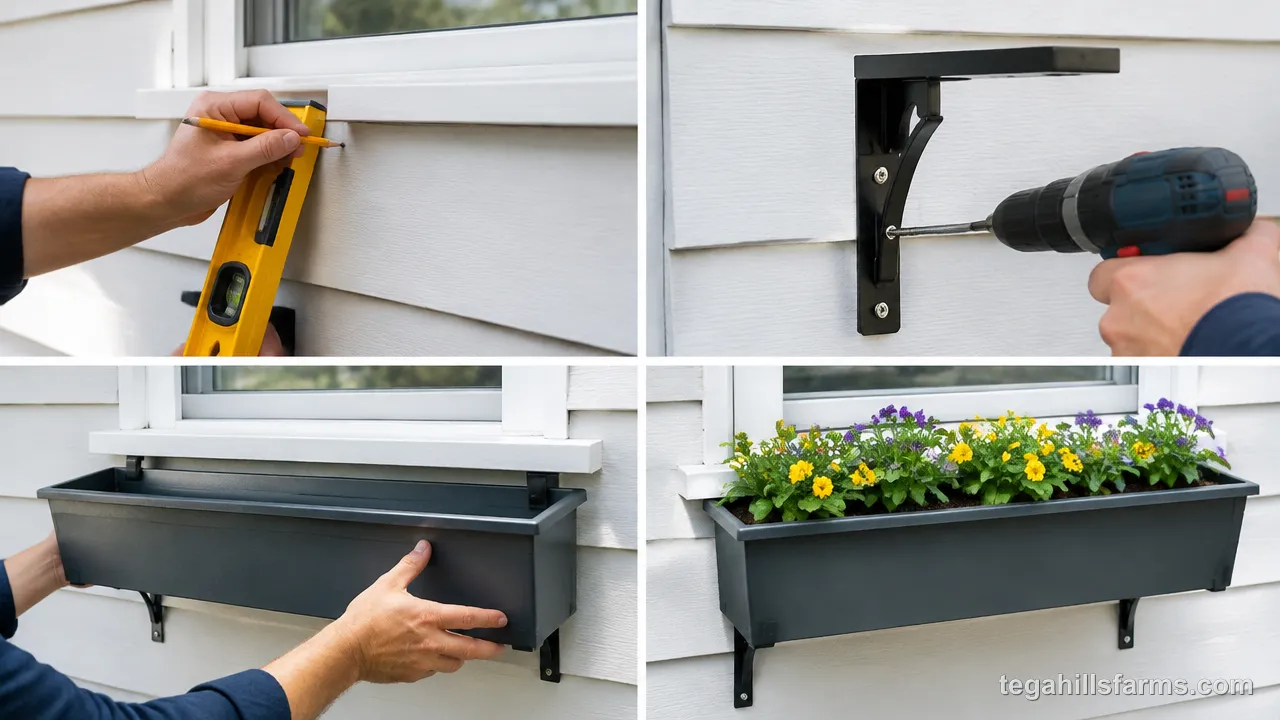
Start by marking the center of the sill, then measure down to where the top of the box will sit and draw a level line across the wall with your level. Mark the bracket positions on that line, measured in from where each end of the box will fall.
Next, find the framing. Run a stud finder along the line and mark each stud, then confirm with a small test hole that you hit solid wood. On brick or solid masonry, the whole wall is solid backing, so you only need to keep the bracket holes on clean brick.
This step decides whether the box stays up. Siding is a thin outer skin, and a screw that only grips siding has nothing behind it to resist a planted box pulling down and outward. A fastener seated in a stud or solid masonry spreads that load into the structure of the house.
Step 2: Attach the Brackets to the Wall
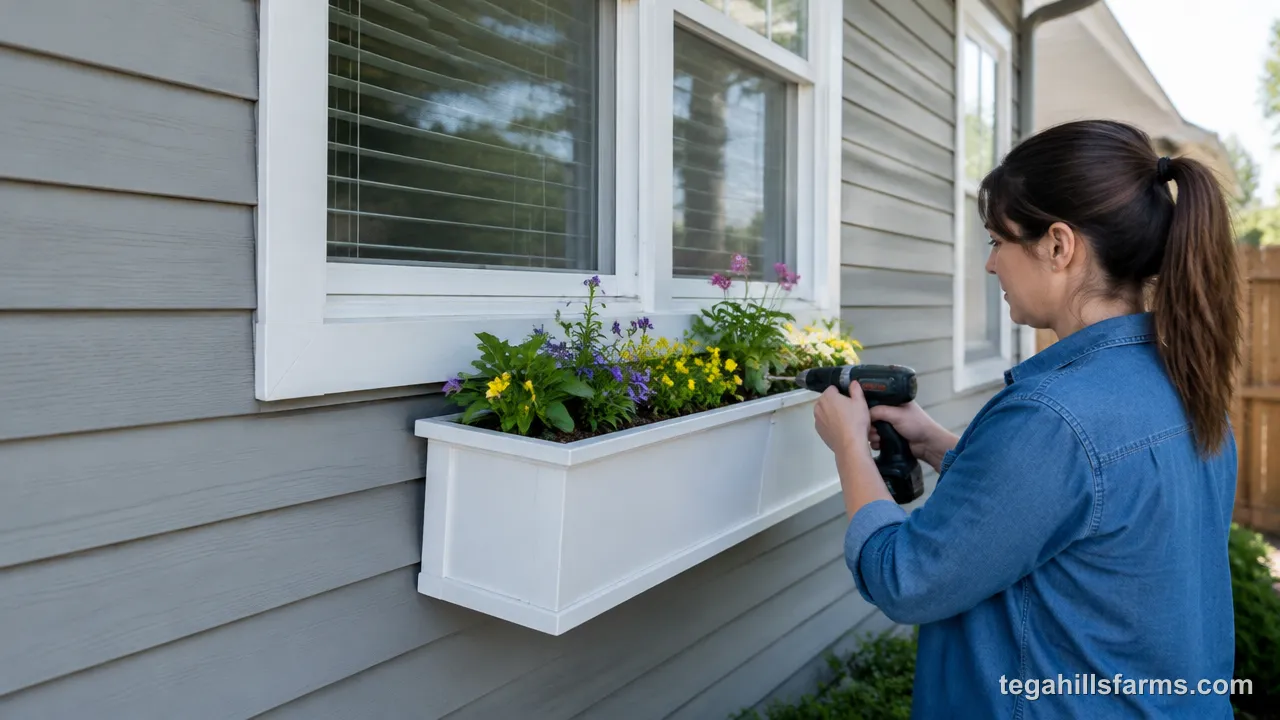
Drill pilot holes at each marked bracket position, sized for the fastener you’re using. Pilot holes keep wood framing from splitting and make screws drive straight instead of wandering off the stud.
Hold the first bracket against the wall, line its top up with your level line, and drive the wood screws or lag bolts with an impact driver until the bracket sits flush. Mount the second bracket the same way, then lay the level across both brackets. If one sits higher, back it off and correct it now, because the box will tilt by the same amount.
Before you go further, seal the openings. Run exterior caulk or sealant around each fastener head and any spot where the drill broke through the siding. Water that gets into an unsealed hole runs straight into the wall cavity.
A firmly seated bracket doesn’t move when you push down hard or tug it outward by hand. The back plate stays tight against the wall with no rocking. Any wiggle means the fastener missed the framing or the hole stripped, and that bracket needs a new hole before it carries weight.
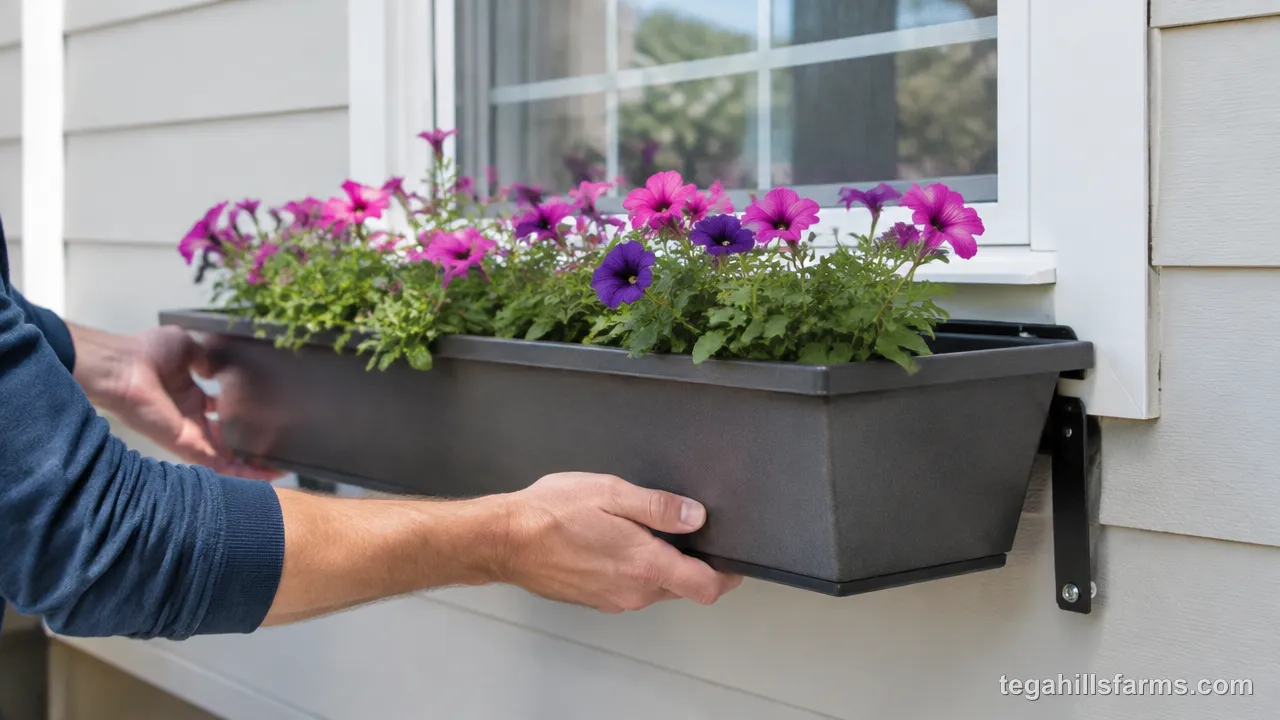
Step 3: Set the Box on the Brackets and Secure It
Lift the empty box onto the brackets, ideally with a helper handing it up so you can keep one hand free. Slide it sideways until it’s centered under the window, with an equal overhang past the casing on each side.
Set your level on the box rim and check it front to back and end to end. Small corrections are easy now, and they’re nearly impossible once the box is full.
Then fasten the box to the brackets with mounting screws, driven through the bracket arms into the box bottom or back wherever the maker’s design calls for them. A box that merely rests on its brackets can shift, slide or tip forward when wind catches the foliage. Screws lock the box and brackets into a single unit.
Step 4: Check the Fit Before You Plant
Run through the final checks while the box is still empty and light. Lay the level on the rim once more, then press down on each end and push the box gently forward. It should feel rigid, with no wobble and no gap between the box and any bracket arm.
Look under the box at the drainage holes. Mounting screws or bracket arms can end up right beneath a hole, and a blocked hole turns the box into a basin after every rain.
Fixing any of these problems takes minutes now. Once the box holds soil and plants, re-leveling means unplanting, emptying and lifting a heavy box back down the ladder.
Which Fasteners Work for Brick, Stucco, Siding, and Wood Walls?
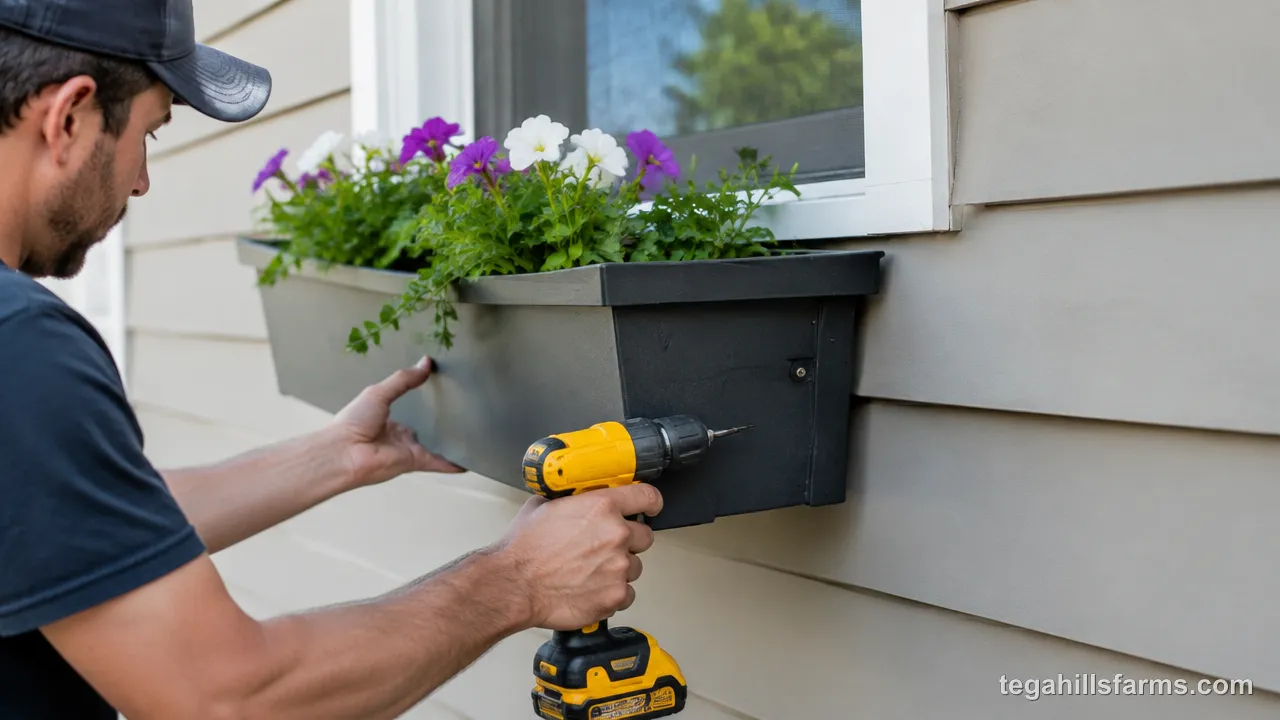
Wood screws or lag bolts into framing hold on wood and vinyl siding, while brick and stucco need masonry anchors or Tapcon masonry screws set with a masonry bit. The wall surface also changes your drilling speed and whether you need a backing block.
How Do You Mount a Window Box on Brick or Stucco?
Brick needs a hammer drill, a masonry bit, and masonry anchors or Tapcon masonry screws, because ordinary wood screws can’t cut threads in fired clay. The hammer action chips through hard material that a standard drill only polishes.
Drill into the brick face, not the mortar joints. Mortar is softer and crumbles as it ages, so an anchor set in a joint can loosen over seasons of freezing, thawing and swinging load. A solid brick face holds an anchor tight for years.
Stucco behaves differently because the finish layer is a thin, brittle coat over the backing. Use stucco or expansion anchors with a masonry bit, and drill slowly at low speed. Rushing makes the coat crack and flake around the hole, which leaves a gap for water and weakens the anchor’s grip.
How Do You Mount a Window Box on Wood or Vinyl Siding?
Wood clapboard and shingle siding take wood screws or lag bolts driven straight through the siding into the framing, with no masonry bit needed. Wood grips threads well, so a properly placed fastener holds firmly with only a pilot hole.
Vinyl siding needs one extra part: a vinyl mounting block. You still drill through the siding into the stud, but the block gives the bracket a flat backing to bear on. Without it, the bracket presses against the uneven, hollow profile of the vinyl, and tightening the screws can crack the siding or pull it out of shape.
Vinyl also expands and contracts with temperature. Pinning it tight under a bracket makes it buckle nearby, while a mounting block lets the siding around it move freely. Seal around the block and each fastener with caulk to keep water out of the wall.
How Do You Mount a Window Box on Fiber Cement or Aluminum Siding?
Fiber cement and aluminum both call for wood screws or lag bolts reaching the wall framing, but each needs extra care at the surface. The siding itself holds no load, so the fastener’s grip depends entirely on the stud behind.
Fiber cement is hard and brittle. Drill pilot holes with a masonry bit before driving screws, because a screw forced through without one can crack the board outward from the hole.
Aluminum siding is thin and dents under pressure. A backing block behind the bracket spreads the clamping force, so tightening the screws doesn’t crush the siding into a dimple that collects water. Seal around every fastener on both surfaces.
Can You Mount a Window Box Without Drilling?
Only in limited situations: a box can rest on a deep sill or hang from a railing or fence, but adhesive and hook mounts aren’t a safe way to hold a planted box on brick or vinyl siding.
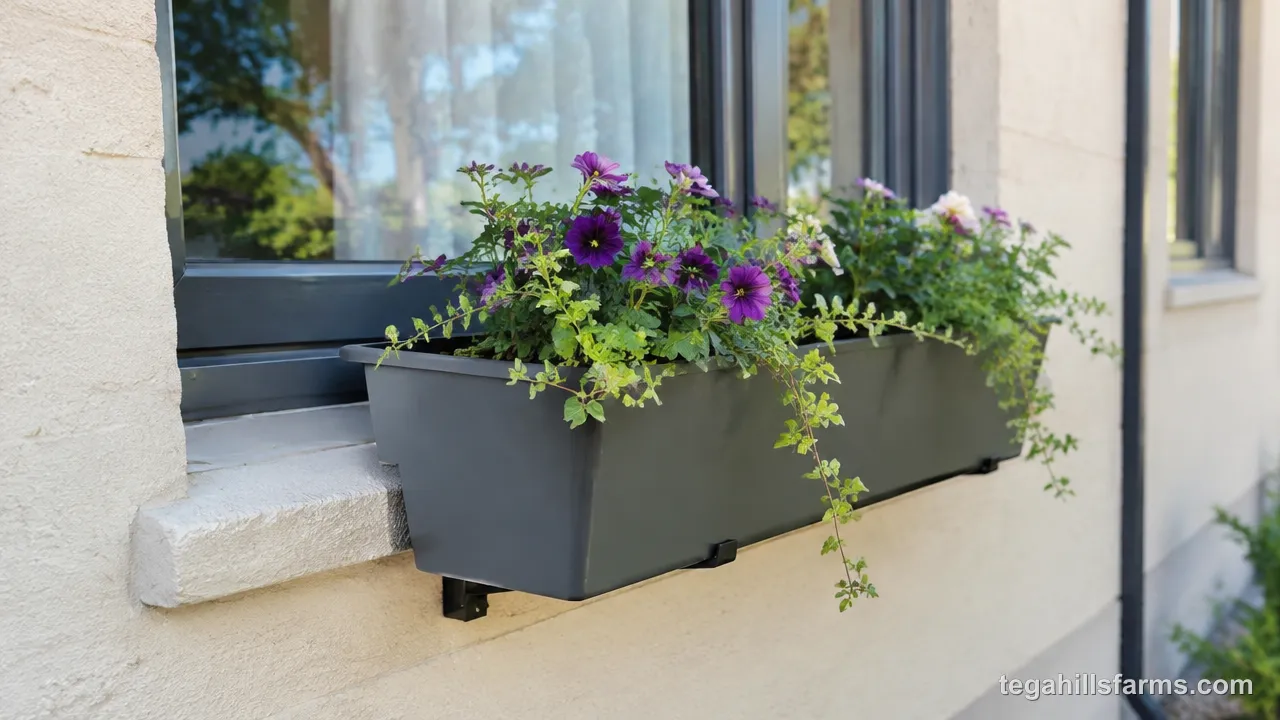
A deep, sturdy sill can carry a small box set directly on top, as long as the box can’t slide off and won’t block the window. Railing and fence brackets hook over a top rail and use the railing’s own strength, which makes them a good fit for balconies, porches and decks.
On walls, the problem is weight. Adhesive strips and siding hooks are built for light decorations, not a box of saturated soil that gets heavier with every watering. Adhesive weakens with heat, cold and moisture. Siding hooks grip only the edge of thin vinyl, which can bend or crack under a steady load. I’d only trust a no-drill wall mount for a very small, light box, and even then I’d keep it away from a walkway or entrance.
What Goes Inside a Window Box Once It’s Mounted?
A lightweight bottom layer under a soil mix that drains well yet holds moisture gives roots air and water without overloading the brackets. Both choices also decide how often you water, because a window box in full sun dries far faster than a bed in the ground.
How Should You Set Up Drainage and the Bottom Layer?
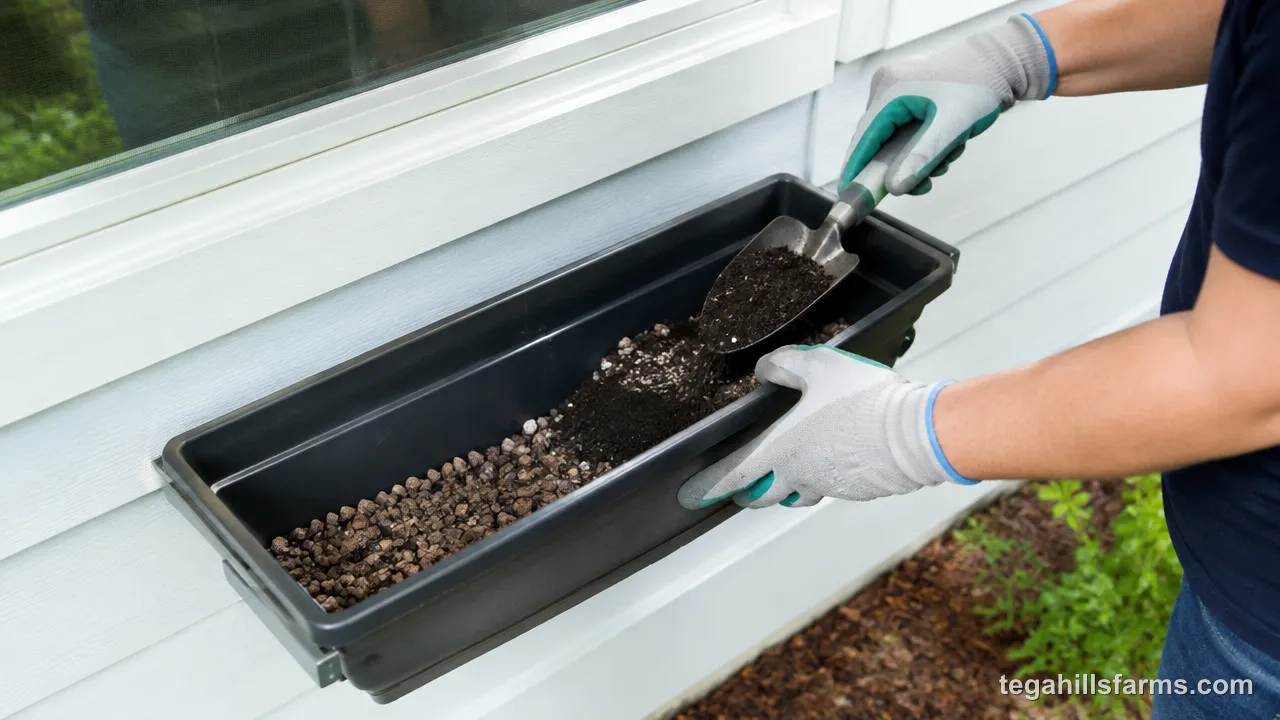
Drainage holes and a lightweight filler layer keep roots out of standing water while trimming weight off the brackets. Fill the bottom two to three inches of the box with something light, such as packing peanuts sealed in a mesh bag, before adding soil.
The filler gives excess water somewhere to collect below the root zone, so roots don’t sit in soggy mix that cuts off oxygen. Because it replaces heavy wet soil with almost nothing, the filler also lowers the load the brackets carry.
The trade-off is root space. In a shallow box, a thick filler layer steals depth that the plants need, so knowing how deep a window box should be helps you balance the two. Self-watering window boxes skip the filler entirely, since their reservoir in the bottom already holds water below the soil.
What Soil Mix and Plants Suit a Window Box?
A mix of equal parts vermiculite and raised bed soil stays light, drains well and still holds moisture between waterings. A quality potting mix also works. Skip garden soil, which packs down in a container and stays heavy and waterlogged.
Sun on the wall decides the plants. South- and west-facing boxes in full sun suit herbs and heat-loving flowers, while north-facing boxes suit shade plants. Trailing plants that spill over the front soften the box and shade the soil. If you want perennials to overwinter in the box, check their hardiness against your USDA zone, since roots in a box face harder cold than roots in the ground. For specific picks, start with what to plant in a window box. I’d give the sunniest box to herbs you snip often, so the harvest sits right outside the window.
Every rainstorm and every watering sends water down the back of a window box, and the narrow strip of wall behind it is the one spot that never gets sun or a breeze to dry it out. That strip can stay damp for days, softening paint, siding and eventually the framing underneath, while the box and its flowers look perfectly healthy from the street.
How Do You Keep Moisture From Damaging the Wall Behind a Window Box?
Keeping the wall dry depends on a small air gap between the box and the siding, sealed fastener holes, and drainage that sends water down rather than back toward the house. A wall that stays dry behind a box lasts for decades; one that stays damp starts to rot out of sight.
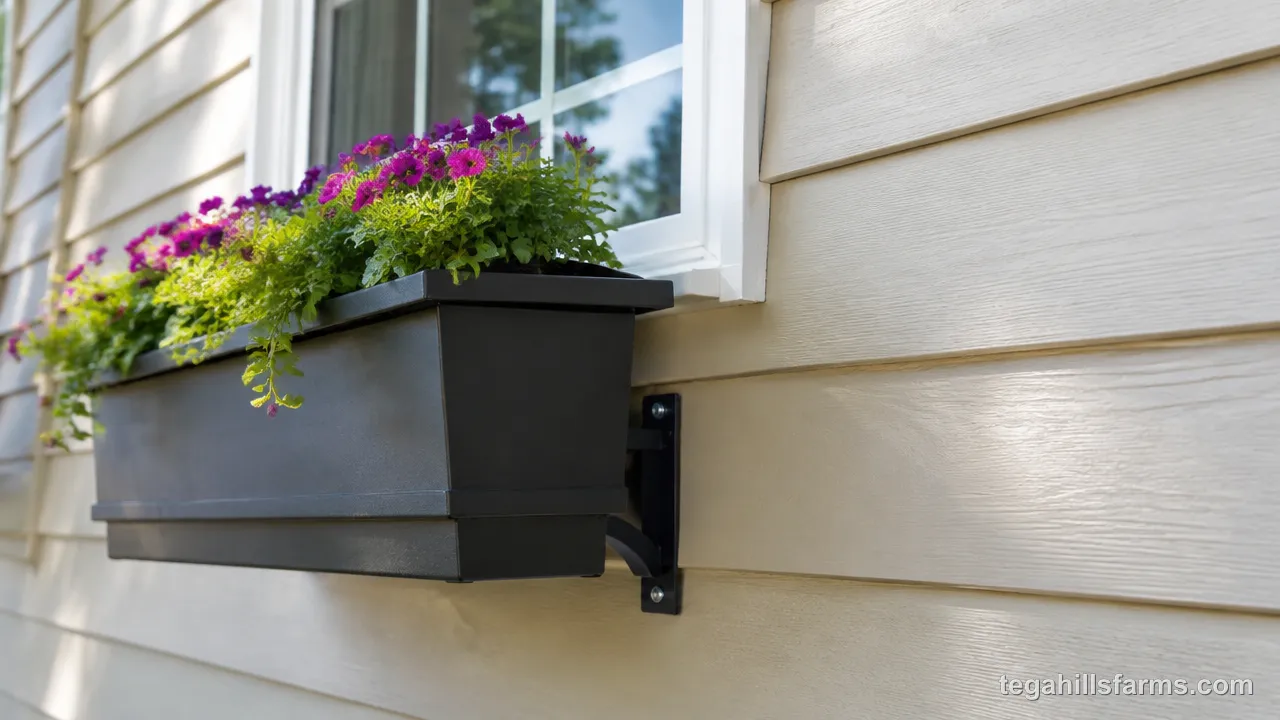
The gap lets air move behind the box, so siding dries after rain instead of staying wet against a damp planter. Brackets that hold the box slightly off the wall, or spacers behind it, create that gap.
Sealant around every bracket fastener keeps water out of the holes that lead straight into the wall cavity. Recheck the caulk each spring, because it shrinks and cracks over time.
Watering habits matter too. Overwatering sends excess water out the back and down the siding. Blocked drainage holes make water overflow the rim, often toward the wall. Clear the holes each season and water until it just begins to drain, not until it pours.
How Can You Tell When a Mounted Window Box Is Coming Loose?
A mounted box is coming loose when it sags in the middle, tilts forward, or shows brackets pulling away from the wall. A secure box stays level and rigid through every season, while a failing one changes shape a little at a time.
Watch for these signs:
- The box tilts or sags after heavy rain, when soil is heaviest.
- A gap opens between a bracket and the wall.
- Siding cracks or bulges around the fasteners.
- Rust streaks run down from the bracket screws.
If a fastener has loosened but the wood behind it is sound, empty the box and re-secure the bracket into fresh framing with a longer screw. Replace the hardware if brackets are bent, cracked or rusted through. If the framing feels soft or the box bottom has rotted, the wall or the box needs repair before anything goes back up.
What If You Can’t Find a Stud or Need to Work Above Ground Level?
Two problems stop many first-time installers: the framing isn’t where the brackets need to go, or the window sits too high to reach comfortably. Each has its own fix.
What Can You Do When There’s No Stud Where the Bracket Needs to Go?
A mounting board solves missing framing. Fasten a sturdy board across the wall into whatever studs you can reach, then attach the brackets to the board wherever the box needs them. The board carries the load sideways to the framing, so bracket position no longer depends on stud spacing.
On a brick exterior, the same build-out support board goes up with masonry screws, typically six of them spread along its length. Paint or seal the board to match the trim so it reads as part of the house.
Hollow-wall anchors are a poor substitute. They’re designed for light items on interior walls, and siding gives them little to grip. A planted box pulls both down and outward, and that combined load can tear a hollow anchor straight through thin material.
How Do You Stay Safe on a Ladder While Mounting a Window Box?
Safe ladder work starts at the base: set the ladder on firm, level ground, with its feet about one foot out from the wall for every four feet of height. Keep three points of contact while climbing, and keep your belt buckle between the rails, so you never lean out sideways to reach.
Carry tools in a belt or a bucket hooked to the ladder, so your hands stay free for the level and impact driver. Never carry the box up yourself. A helper on the ground can hand it up once the brackets are in, and a second ladder makes lifting a long box much steadier.
For second-story and other upper-floor windows, consider scaffolding or a professional installer. A heavy box, power tools and a tall ladder make a risky combination for a first install.
What Else Do People Ask About Mounting a Window Box?
Does a window need a sill to have a window box?
No, a sill isn’t required, because the brackets anchored to the wall carry the box. A sill helps with placement, since you measure down from it, but on windows without one, measure from the bottom of the casing instead and keep the same gap so rain runoff still lands in the box.
Can you build your own window box from free DIY plans?
Yes, DIY window box plans work well if you use rot-resistant wood and drill drainage holes in the bottom. Build the box to fit your window’s width, and choose brackets rated for the planted weight. For boxes holding herbs or vegetables, use untreated wood that’s safe around edible plants.
Does the box material change how you mount it?
Material mainly changes the weight and the way the box fastens to its brackets. Cellular PVC and fiberglass boxes are light and often pair with hidden brackets, while wood window boxes are heavier and suit sturdy brackets underneath. Wall fasteners still depend on your siding, not on the box material.
Do self-watering window boxes mount differently?
Self-watering boxes mount with the same brackets and steps, but they hold extra weight in the reservoir, so bracket strength matters more. Keep them perfectly level, because a tilted box leaves part of the soil above the water supply. Check the overflow outlet to make sure it doesn’t drain against the siding.



Write Your Review
No reviews yet. Be the first to share your experience!