

The organic methods that hold up in planters are aromatic companion herbs and trap flowers, physical barriers such as row covers and copper tape, beneficial insects, and targeted sprays like neem oil, insecticidal soap and Bacillus thuringiensis (Bt). Regular inspection ties them together, because each method works best when it starts early and is aimed at a specific pest.
The right choice depends on how the pest feeds and moves. Sap-sucking insects hide on leaf undersides and need contact sprays or predators. Chewing caterpillars and beetles respond to barriers, hand-picking and Bt. Slugs and fungus gnats are a moisture problem first, so watering and drainage matter more than any spray.
The main worry for most home growers is speed. A planter holds a small volume of soil and a few plants, so a minor infestation can strip a pepper or a kale plant before you notice. Safety around food crops matters too. Organic products still carry labels with crop lists, rates and harvest intervals, and those instructions apply to edible plants in pots just as they do in the ground.
Prevention costs less effort than rescue. Fresh potting mix, a cover over young brassicas and a pot of flowering herbs nearby will head off most problems before you ever need a sprayer.
Why Does Natural Pest Control Work Better in Planters?
Containers give you full control of the growing medium, keep soil-borne pests from creeping in from neighboring ground, and let you move or quarantine an infested pot before the problem spreads.
Fresh potting mix starts free of the grubs, cutworms and overwintering larvae that build up in garden soil year after year. A raised pot on a patio has no weedy borders where pests shelter, so insects have to fly or crawl to reach your crops, and a barrier can intercept them.
Size works in your favor as well. A single planter is small enough to inspect leaf by leaf, cover completely with netting, and spray thoroughly on every underside, which is where most organic treatments need to land. When one plant does get infested, you can carry it away from the others and treat it on its own.
Knowing how to choose a planter with pests in mind pays off here. The material and design you pick affect how easily pests move in and how well barriers and treatments work.
Which Pests Attack Planters Most Often?
The usual problems are sap-sucking aphids, spider mites and whiteflies, leaf-chewing caterpillars and beetles, and moisture-loving fungus gnats and slugs.
Getting the identification right decides everything that follows. A soap spray that kills aphids does nothing to a slug, and copper tape will not stop a whitefly. Deciding what to plant in a planter also decides which of these insects show up, because most of them specialize in one plant family, so a pot of kale and a pot of tomatoes attract very different visitors. Match the damage you see to the group below, then choose a control that fits how that pest feeds.
Aphids, Spider Mites, and Whiteflies
These three feed by piercing leaves and drinking sap, and all of them gather on leaf undersides, which is why turning leaves over is the first step of any inspection.
Aphids are soft, pear-shaped insects in green, black or gray that cluster on new shoots. Their feeding curls and puckers young leaves, and they excrete sticky honeydew that turns black as sooty mold grows on it. Peppers, kale, lettuce and nasturtiums are common targets.
Spider mites are almost too small to see. The giveaway is pale stippling across the leaf surface and fine webbing where leaves meet the stem. They favor hot, dry planters and go after tomatoes, beans and cucumbers. Tapping a leaf over white paper reveals moving specks.
Whiteflies rise in a small cloud when you brush the plant. They yellow the foliage of tomatoes, peppers and basil and leave honeydew behind, just as aphids do, so sticky leaves alone don’t tell you which pest you have.
Caterpillars and Beetles
Chewing pests leave holes rather than stippling, and the shape of the damage usually names the culprit.
Cabbage worms are velvety green larvae of small white butterflies. They chew ragged holes in kale, broccoli and cabbage and leave dark green droppings in the leaf bases. Tomato hornworms are large green caterpillars with diagonal white stripes and a horn at the tail. Their camouflage is good enough that bare stems and dark droppings on the leaves below are often the first sign.
Flea beetles are tiny, shiny beetles that jump when disturbed. They riddle eggplant, radish and arugula with shot-sized holes, which seedlings handle far worse than established plants. Colorado potato beetles have yellow-and-black striped backs and lay orange egg clusters under leaves. Their reddish larvae can defoliate potatoes in grow bags and eggplant. In a planter, all of these are easy to hand-pick once you know where to look.
Fungus Gnats and Slugs
Both pests depend on constant moisture, so a planter that stays soggy is an open invitation.
Fungus gnats are small dark flies that hover over the potting mix. The adults are harmless, but their larvae live in the wet top layer and feed on organic matter and fine roots, which stunts seedlings. Slugs and snails feed at night. They leave ragged holes in tender leaves and silvery slime trails on the pot rim, then spend the day hiding under the pot or in a saucer of water.
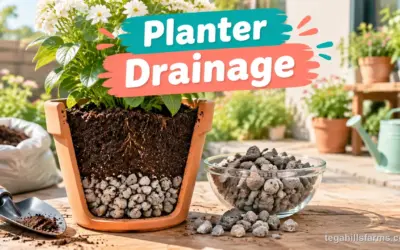
Good planter drainage removes the soggy layer both pests rely on. Let the top of the mix dry between waterings, empty saucers after rain, and lift pots onto feet so the base doesn’t sit in a puddle. Overwatering creates the problem, and correcting it often clears gnats without any other treatment.
How Do Companion Plants Keep Pests Away?
Strong-scented herbs and flowers mask the odors insects use to find a crop, while sacrificial trap crops draw feeders off your vegetables and blooms feed the predators that hunt them.
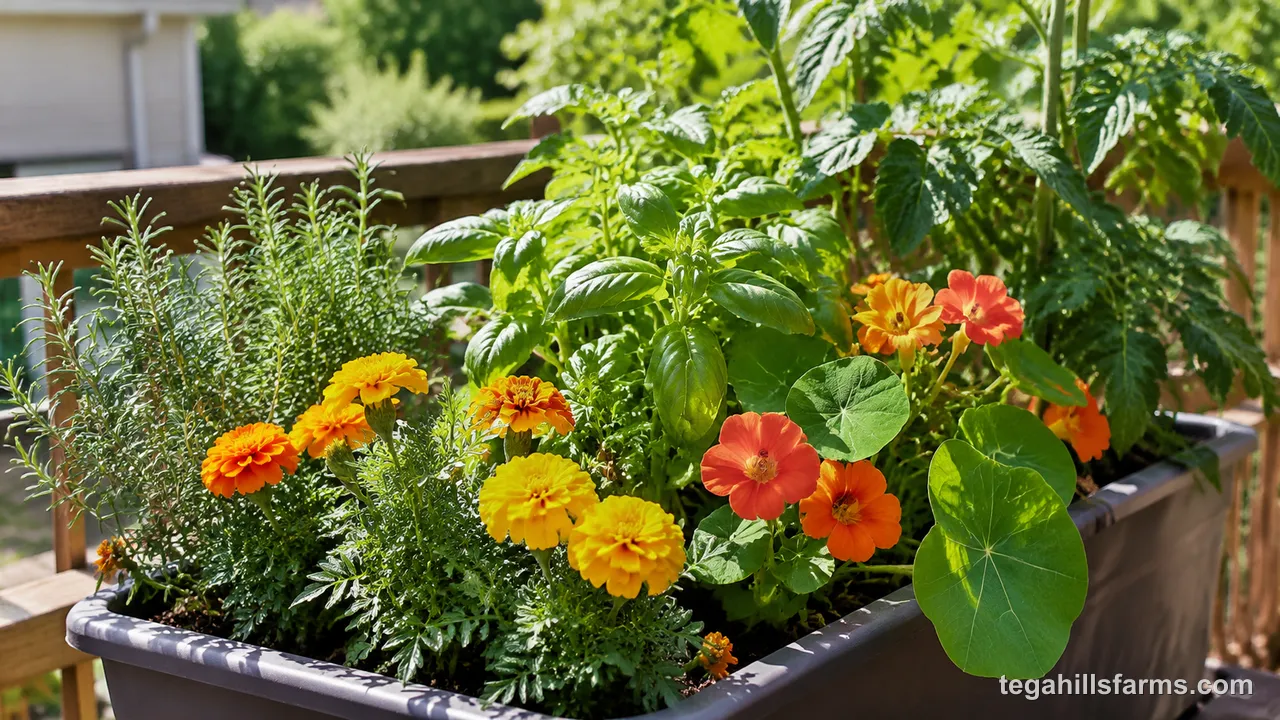
In a planter these effects are local. Scent and trap crops work at close range, so placement matters more than variety. Companion planting lowers pest pressure rather than eliminating it. Treat it as a first layer that means the other methods are needed less often.
Basil, Thyme, and Other Aromatic Herbs
Basil planted beside tomatoes and peppers is the most useful pairing for a mixed planter. Its volatile compounds are associated with fewer whiteflies and aphids on nearby plants, and it likes the same warm sun and steady moisture as its neighbors.
Thyme suits the edge of a brassica planter. Its low, spreading growth fills the rim, and its scent can confuse the white butterflies that lay cabbage worm eggs. Rosemary has a similar reputation against cabbage moths and is often grown to discourage mosquitoes on a patio. It prefers drier mix than most vegetables, so give it its own pot and set that pot right beside the crop.
Put the tall crop in the center and the herbs around the rim, where their leaves get brushed and release scent. Let a few herb stems flower late in summer. The small blossoms feed the parasitic wasps and other predators that eat the pests the scent misses.
Marigolds and Nasturtiums as Border Plants
Marigolds and nasturtiums protect vegetables in different ways. One works underground, and the other works as a decoy.
French marigolds release alpha-terthienyl from their roots, a compound toxic to root-knot nematodes, the microscopic worms that cause swollen, knotted roots on tomatoes. The effect depends on marigold roots filling the soil, so a dense planting through a full season does more than a single plant tucked in a corner. It matters most when you reuse potting mix from year to year, because nematodes can build up in old mix.
Nasturtiums act as a trap crop. Aphids, especially black aphids, often settle on them before they reach nearby vegetables. Grow nasturtiums trailing from a separate pot set an arm’s length from your crop instead of in the same tight planter, so the aphid colony stays on the decoy. Check them at every inspection. When the colony thickens, cut the infested stems and bag them before winged aphids form and spread to your vegetables.
What Physical Barriers Stop Pests Without Chemicals?
Row covers and fine insect netting keep flying and egg-laying insects off the plant, while diatomaceous earth and copper tape turn back crawling slugs and snails at the rim.
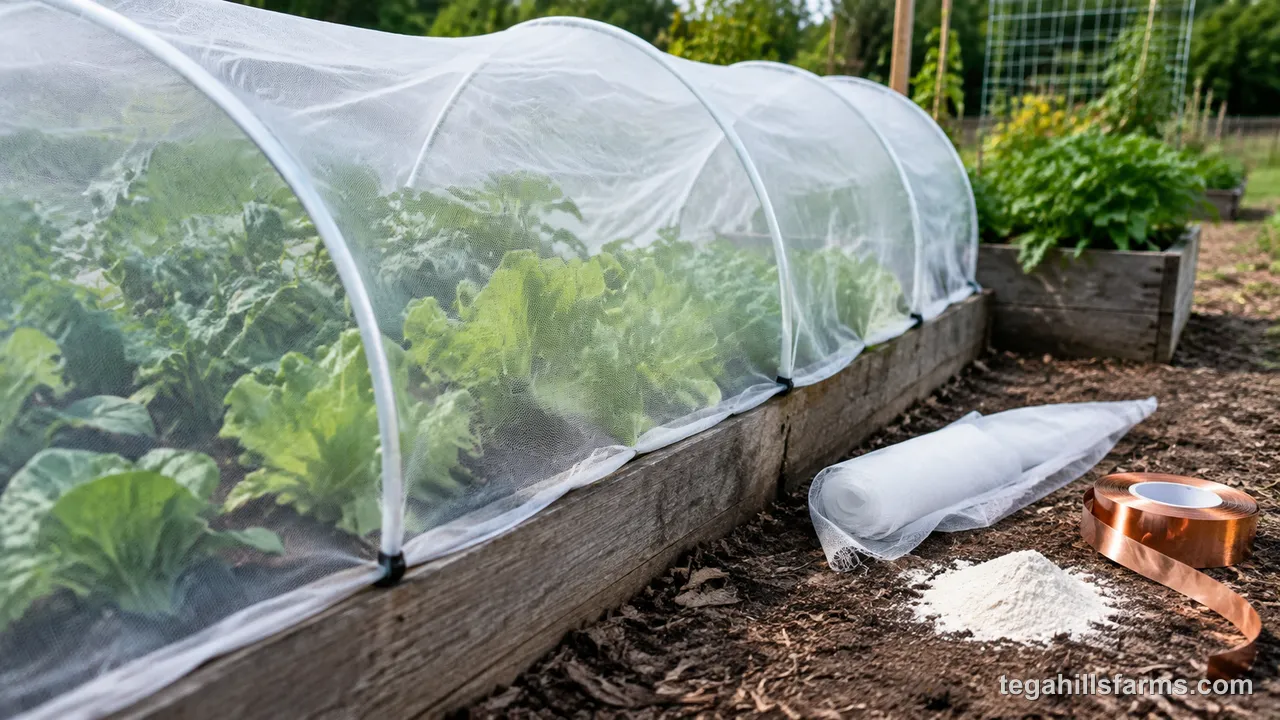
Timing makes or breaks a barrier. Install it before pests arrive, because a cover placed over an already infested plant traps the insects inside with their food and shuts out the predators that would eat them. A planter’s small footprint makes complete coverage easy, which is harder to achieve over a long in-ground row.
Row Covers and Fine Mesh Netting
Floating row cover is a lightweight spun fabric that lets light, air and water through while blocking insects. Insect netting is a woven mesh with more airflow, so it runs cooler in summer heat and suits warm southern zones better.
To cover a planter, bend wire or flexible tubing into hoops, push the ends into the mix, drape the fabric over the hoops, and clip or tie it under the rim. Seal every edge. Flea beetles and caterpillars find gaps quickly. A sealed cover stops white butterflies from laying cabbage worm eggs on brassicas and keeps flea beetles off eggplant and radish seedlings.
Pollination is the trade-off. Leafy greens and brassicas grown for their leaves can stay covered all season. Squash, cucumbers and melons need insects to set fruit, so lift the cover once flowers open or hand-pollinate with a small brush.
Diatomaceous Earth and Copper Barriers
Food-grade diatomaceous earth (DE) is a fine powder made from fossilized diatoms. Its microscopic sharp edges scratch the protective coating of slugs and insects and cause them to lose moisture until they dry out.
Dust a continuous band around the planter rim and over the soil surface when both are dry. DE stops working once it gets wet, so reapply after rain or overhead watering. Wear a dust mask while applying it, and keep it off open flowers, because it harms bees as readily as pests.
Copper tape works differently. When slug or snail slime touches copper, the reaction creates a mild electrical sensation that makes them turn back. Run the tape around the outside of the pot just below the rim. Keep it clean, and trim any leaves that hang over it, since a single drooping leaf gives slugs a bridge. Check the mix for slugs before taping, or you’ll seal them inside with your seedlings.
Which Beneficial Insects Control Planter Pests?
Ladybugs, green lacewings and parasitic wasps eat or parasitize aphids, caterpillars and whiteflies, and you can attract them with flowering plants or buy them for release.
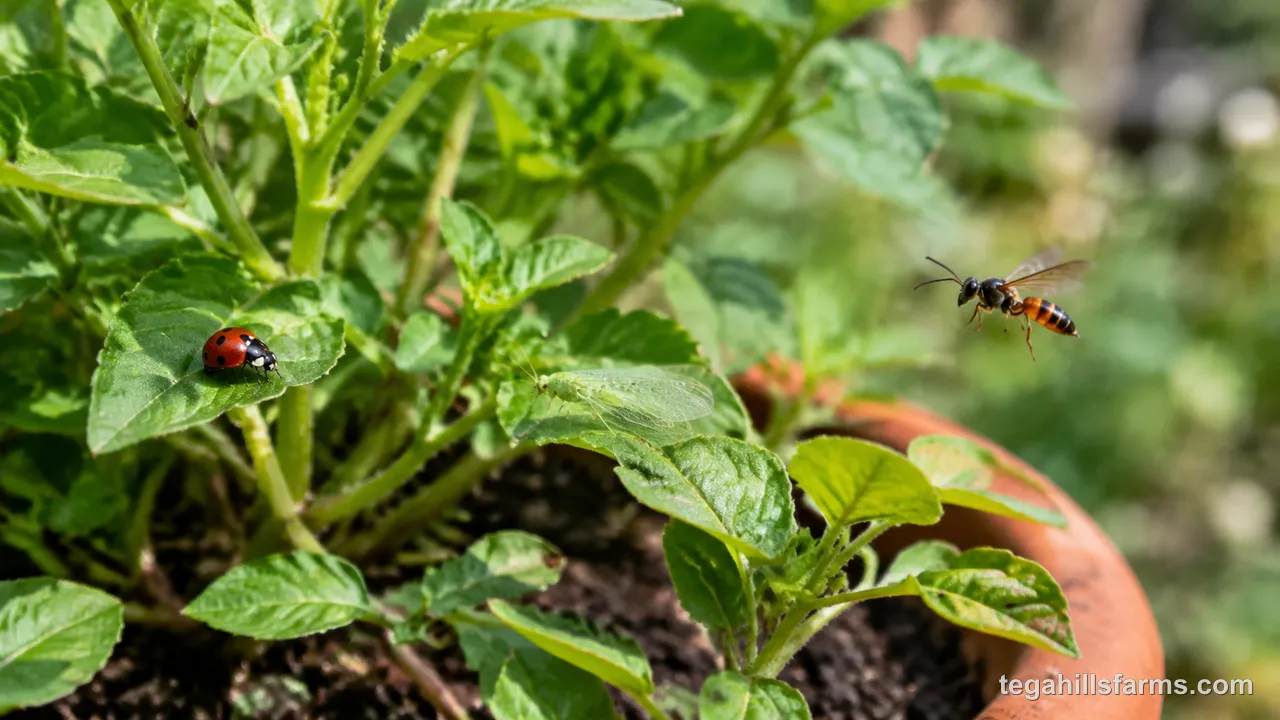
These predators stay only where they find prey, nectar and water. Broad-spectrum sprays kill them along with the pests, so decide on biological control before you spray, not after. Tidy soil still matters, and the steps for how to stop weeds in planters keep competing roots out of your crops. Leave a nearby pot of sweet alyssum or flowering dill all the same, because predators need nectar between meals and a perfectly bare patio gives them nothing.
Ladybugs and Lacewings for Aphids
Ladybug adults and larvae both eat aphids, along with scale insects and mites. Green lacewing larvae, sometimes called aphid lions, are even more aggressive feeders and also take mealybugs and whitefly nymphs. Adult lacewings live on nectar and pollen.
Garden suppliers sell both. Release them at dusk after misting the plants, and only when aphids are already present. With nothing to eat, they leave. Purchased ladybugs tend to disperse within days, so lacewing eggs or larvae often give better results on a patio, since the larvae can’t fly away.
Follow the supplier’s per-plant release guidance. A few planters need only a small portion of a standard package, and you can release the rest over a couple of evenings. A shallow dish of water with pebbles and some flowering herbs nearby gives the adults a reason to stay and lay eggs.
Parasitic Wasps for Caterpillars and Whiteflies
Parasitic wasps are tiny, don’t sting people, and kill pests from the inside by laying eggs in pest eggs or larvae.
Trichogramma wasps lay their eggs inside moth eggs, including those of cabbage loopers and hornworms, so the caterpillar never hatches. They are sold on cards of parasitized eggs, and timing is critical. Release them when moths are actively laying, because they do nothing to caterpillars that have already hatched.
Encarsia formosa parasitizes whitefly nymphs and turns them black as the wasp develops inside. It performs best in warm, enclosed spaces like greenhouses and screened porches. Wild braconid wasps parasitize tomato hornworms. A hornworm carrying white cocoons on its back is already doomed, so leave it in place to release the next generation.
To attract wild parasitic wasps, grow small-flowered plants such as dill, fennel, cilantro allowed to bloom, sweet alyssum and yarrow. Their tiny flowers fit the wasps’ short mouthparts.
What Organic Sprays Work on Planter Pests?
Neem oil, insecticidal soap, Bacillus thuringiensis (Bt), horticultural oil and spinosad cover nearly every common target, each matched to particular insects and applied when leaves are dry and temperatures mild.
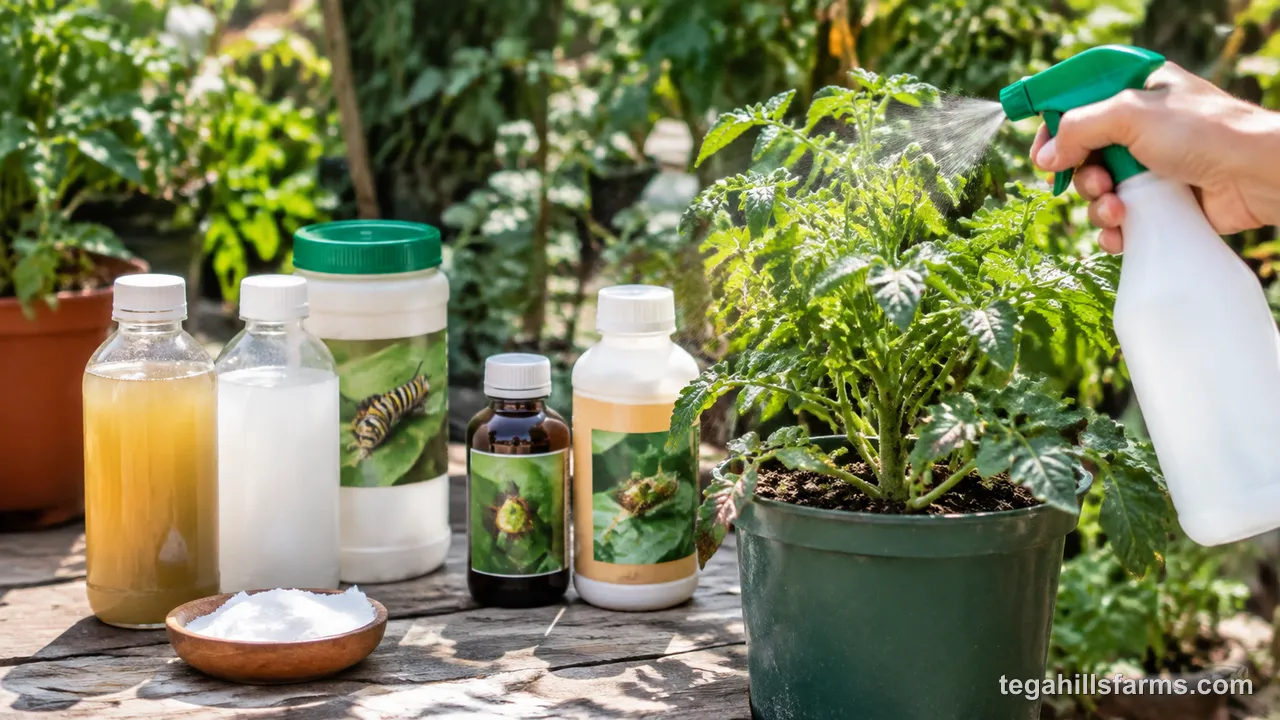
Organic does not mean harmless. Oils and spinosad can kill beneficial insects and bees on contact, and every product carries label instructions for crops, mixing rate and the waiting period before harvest. Read the label, test on a few leaves first, and treat only the plants that need it.
Neem Oil and Insecticidal Soap
Neem oil comes from the seeds of the neem tree. Its active compound, azadirachtin, disrupts insect feeding and molting, and the oil itself smothers soft-bodied pests. Insecticidal soap is made from potassium salts of fatty acids, which break down the cell membranes of aphids, mites and whiteflies on contact.
Neither leaves much lasting residue. Spray must hit the insect directly, so coverage matters more than strength. Mix at the rate on the label, or use a ready-to-use bottle to remove the guesswork, and soak the leaf undersides and growing tips where colonies hide.
Timing prevents phytotoxicity, the leaf burn that oils and soaps can cause on stressed or sun-baked foliage. Spray in early morning or evening, never in direct hot sun, and skip plants that are wilting from drought. Test a few leaves and wait a day before treating the whole plant. Repeat applications as the label directs, because eggs laid before the first spray will still hatch.
Bacillus thuringiensis for Caterpillars
Bacillus thuringiensis is a soil bacterium. Its kurstaki strain (Btk) kills caterpillars only after they eat treated leaves. Inside the caterpillar’s alkaline gut, a protein from the bacterium becomes active and paralyzes the digestive tract. The larva stops feeding soon after and dies over the next few days.
That selectivity is why Bt is my first choice for caterpillars on edible crops. It does not affect bees, ladybugs, people or pets when used as labeled, so the predators you have attracted keep working. A different strain, israelensis, targets fungus gnat and mosquito larvae and can be watered into potting mix.
Spray leaf undersides and new growth, where young caterpillars feed, and apply while larvae are small, since young caterpillars succumb faster. Bt breaks down in sunlight and washes off in rain, so reapply after storms and at the interval the label gives.
Horticultural Oil and Spinosad
These two cover stubborn infestations that soap and Bt can’t handle. Both act more broadly, which also means more risk to beneficial insects.
Horticultural oil is a refined mineral or plant oil that suffocates insects and their eggs. Dormant oil is applied at a heavier rate to bare woody plants, such as fruit trees in large planters, in late winter to kill overwintering scale and mite eggs. Summer oil is a lighter rate for foliage during the growing season. Keep it off plants in heat or drought stress.
Spinosad comes from a fermented soil bacterium and acts as a nerve toxin when insects eat it or contact it. It controls thrips, Colorado potato beetle larvae, leafminers and caterpillars that other organics miss. Spinosad is toxic to bees while wet but poses little risk once dry, so spray at dusk after bees stop foraging and avoid open blooms. Use it sparingly and alternate with other methods so pests don’t build resistance.
How Do You Build an IPM Plan for Planters?
Integrated pest management layers regular inspection, prevention through soil and plant choice, and least-toxic treatment only when damage crosses a set threshold, so each step backs up the others.
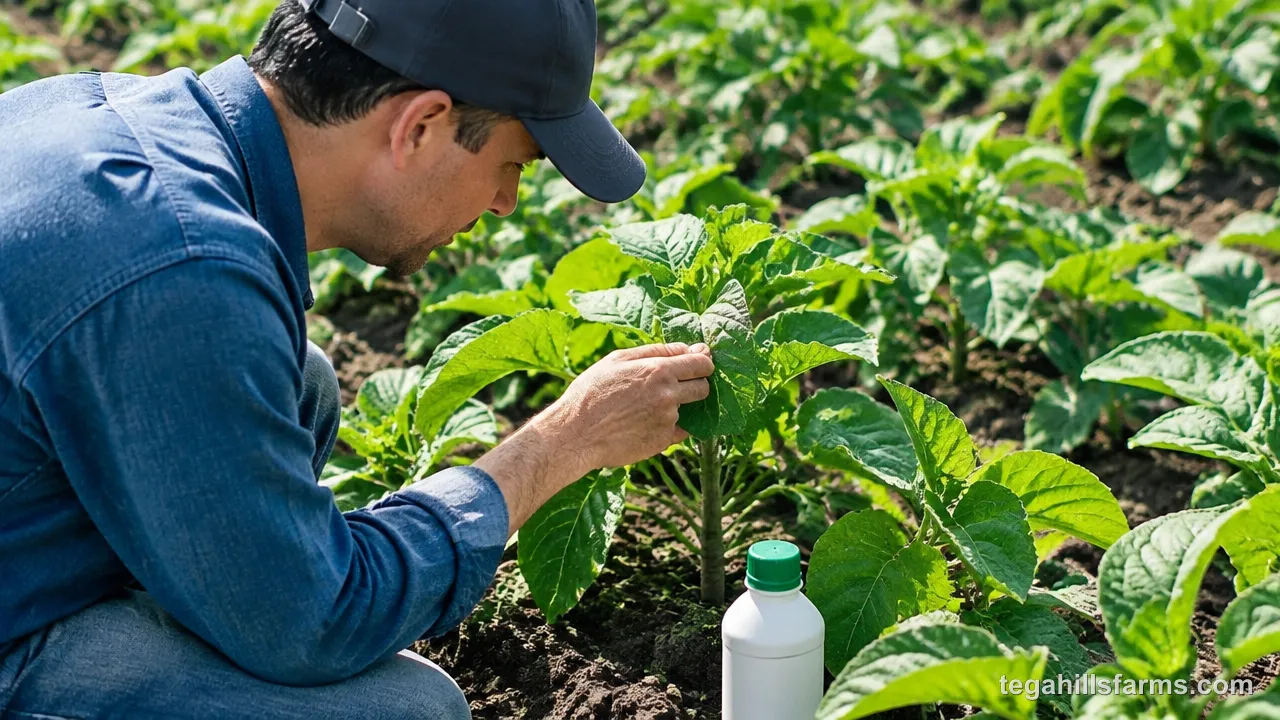
The approach beats spraying on a schedule because you treat only what is actually there, which protects the predators doing free work for you. In planters the plan stays simple. With only a handful of plants, inspection takes minutes and a single spot treatment often settles the problem.
Monitor Twice Weekly and Set Action Thresholds
Inspect each planter at least twice weekly, and more often once summer heat arrives. Turn over leaves to check undersides, look closely at new shoot tips, scan stems for egg clusters, and check the soil surface and rim for slime trails or hovering gnats. Yellow sticky cards tucked into the mix show when flying pests first arrive.
Action thresholds tell you when monitoring turns into treatment. A few aphids on one shoot call for a blast of water or a wipe with your fingers. A colony spreading across several leaves, with no ladybug larvae present, justifies a spot spray. A single hornworm means hand-picking now, because one larva can strip a tomato. Shot holes on established eggplant can be tolerated, while the same damage on seedlings calls for a cover. Notes for each planter help you see which pests return each season.
Layer Prevention, Exclusion, and Treatment
The IPM hierarchy moves from the least intervention to the most, and each layer reduces the need for the next.
- Cultural control comes first: fresh or well-prepared potting mix, varieties suited to your zone, enough space between plants for airflow, and watering that keeps roots moist without soaking the surface.
- Physical exclusion adds row covers, netting, copper tape and DE before pests arrive.
- Biological control brings in companion herbs, trap crops, ladybugs, lacewings, parasitic wasps and Bt, which spares those predators.
- Organic pesticides such as soap, neem, horticultural oil and spinosad come last, spot-treated on the affected plant rather than sprayed across the whole patio.
A single pepper plant in a pot shares its soil and air with every insect that lands on it, and on a sunny patio against a warm wall, a few aphids spotted early in the week can coat the new growth within days. Crowded planters and saucers left full of water speed that up, so a pest that would stay a minor nuisance in an open bed can strip a planter before your next inspection comes around.
What Makes Pest Control Different in Planters?
Planters heat up faster, hold fewer natural predators and pack plants close together, so pest numbers build quickly while help arrives slowly. The same advantages that make planters easy to protect also leave them more exposed once a pest gets in, which is why monitoring and early action carry more weight here than in an in-ground bed.
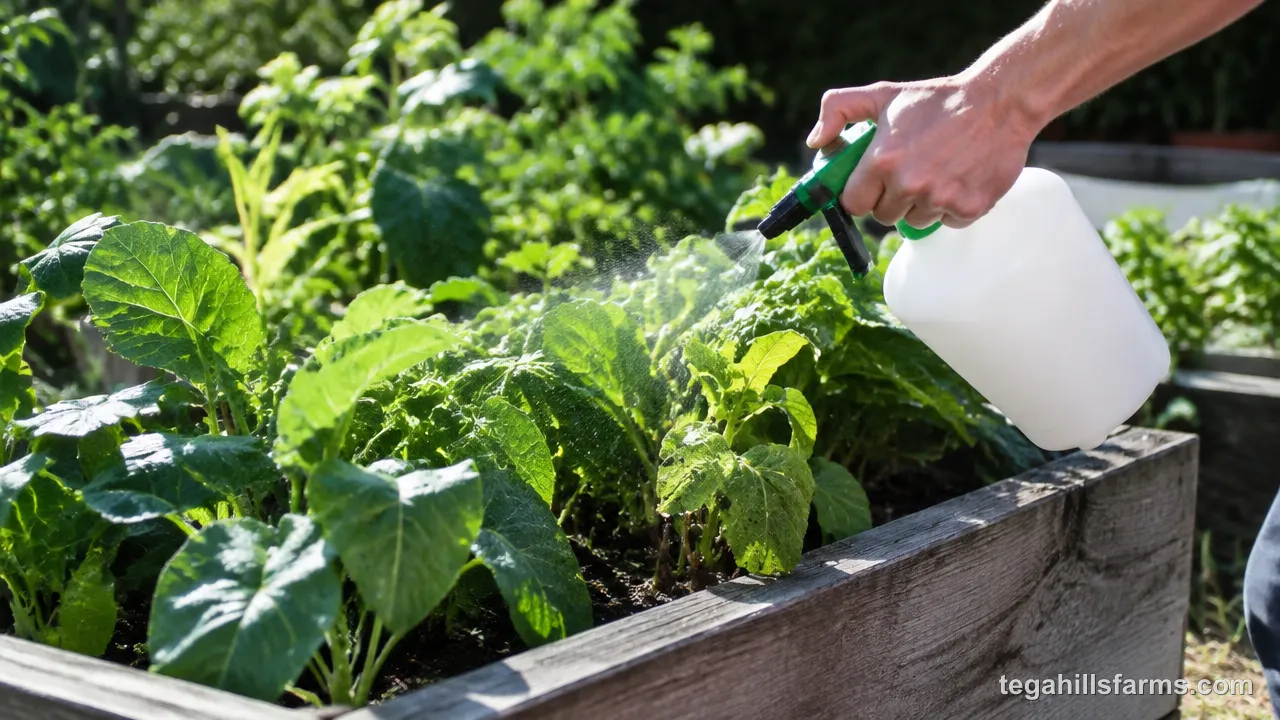
Pests Multiply Faster in Warm, Dry Containers
Dark pots and pots sitting on pavement absorb heat, and their small volume of mix dries out fast. Insects develop faster as temperatures rise, so spider mites and aphids complete each generation sooner in a hot planter than on plants rooted in cooler ground soil. Drought-stressed plants also draw more spider mites.
You can slow this down by choosing light-colored planters, moving pots into afternoon shade during heat waves, watering consistently, and misting leaf undersides on hot days, since mites dislike humidity.
Containers Lack Ground-Dwelling Predator Habitat
Ground beetles, rove beetles, predatory mites and spiders live in leaf litter, permanent mulch and undisturbed soil, and they overwinter there. Fresh bagged potting mix contains none of them, and a raised pot on a deck has no connection to the ground where they live.
Flying predators such as ladybugs and lacewings do find planters, while ground hunters rarely do. Mulching the mix surface with shredded leaves or straw, grouping pots together, and keeping a perennial herb planter through winter give ground-dwelling predators somewhere to settle.
When Should You Start Pest Prevention?
Pest prevention starts before planting, steps up when summer heat peaks, and finishes with fall cleanup. Your USDA zone shifts each stage. In warm southern zones, pests stay active for much of the year and prevention never really stops. In cold northern zones, frost breaks the cycle, but eggs and pupae that overwinter in pots and debris return as soon as spring warms up.
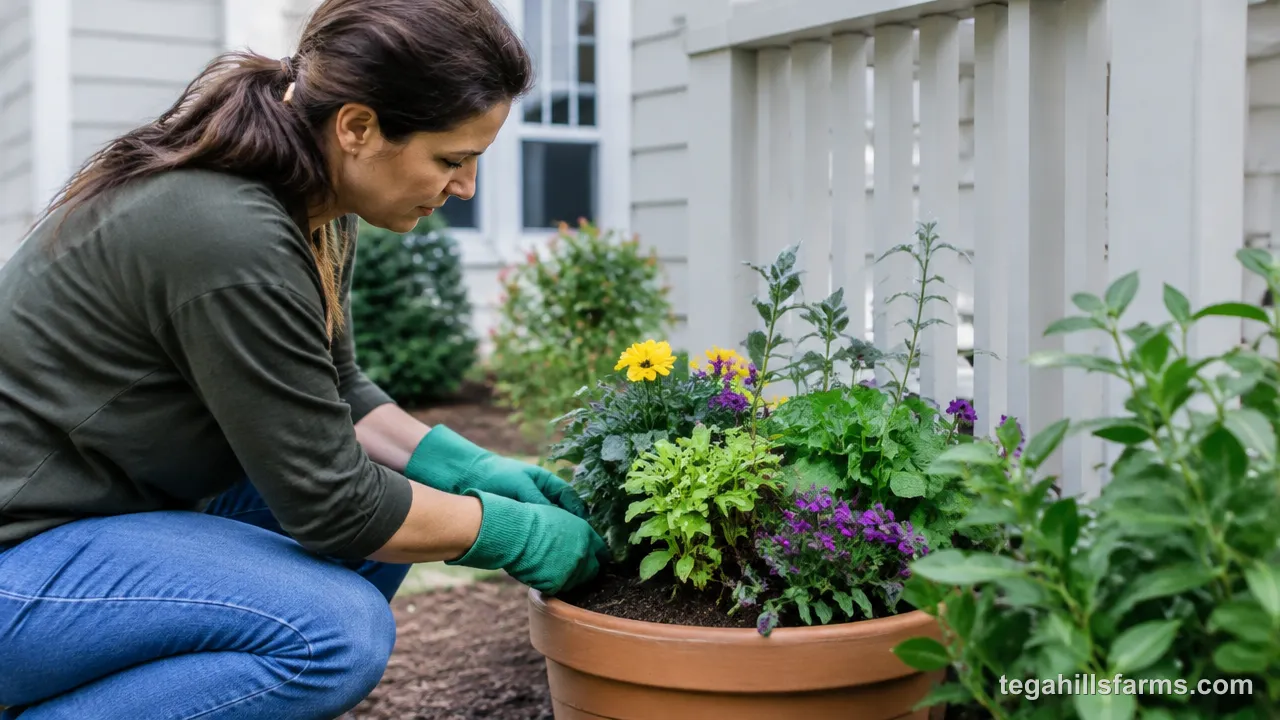
Mid-season is when populations explode, so increase inspections once nights stay warm and growth is fast.
Prepare Soil and Barriers Before Planting
Prepare reused potting mix at least 30 days before planting. Loosen it, sift out grubs and old roots, and blend in compost so it has time to settle before seedlings go in. Fresh potting mix needs no waiting period and starts clean, which makes it the safer choice for pots that had pest trouble last year.
Install row covers or netting on planting day, before the first butterflies or flea beetles find the seedlings. Sow nasturtiums a little ahead of the main crop so they are established and attracting aphids by the time those pests arrive.
Remove Plant Debris and Treat Soil in Fall
Fall cleanup removes the places pests use to survive winter. Pull spent plants and bag any that carried pests or disease instead of composting them. Scrape the mix surface for the pearly white egg clusters of slugs and check for gnat larvae in the top layer.
Replace or refresh the top few inches of mix in heavily infested pots. Empty planters you won’t use over winter, scrub them with soapy water, and store them dry and upside down. In cold zones, bring terracotta indoors so it doesn’t crack in a freeze.
What If Organic Treatments Don’t Work?
When a pest keeps rebounding after repeated, correctly timed organic applications, the plant is often too far gone to be worth saving. Clear signs include stunted growth, most of the foliage damaged, pests returning to every new shoot, or mottled and distorted leaves that suggest an aphid- or whitefly-spread virus that no spray will cure.
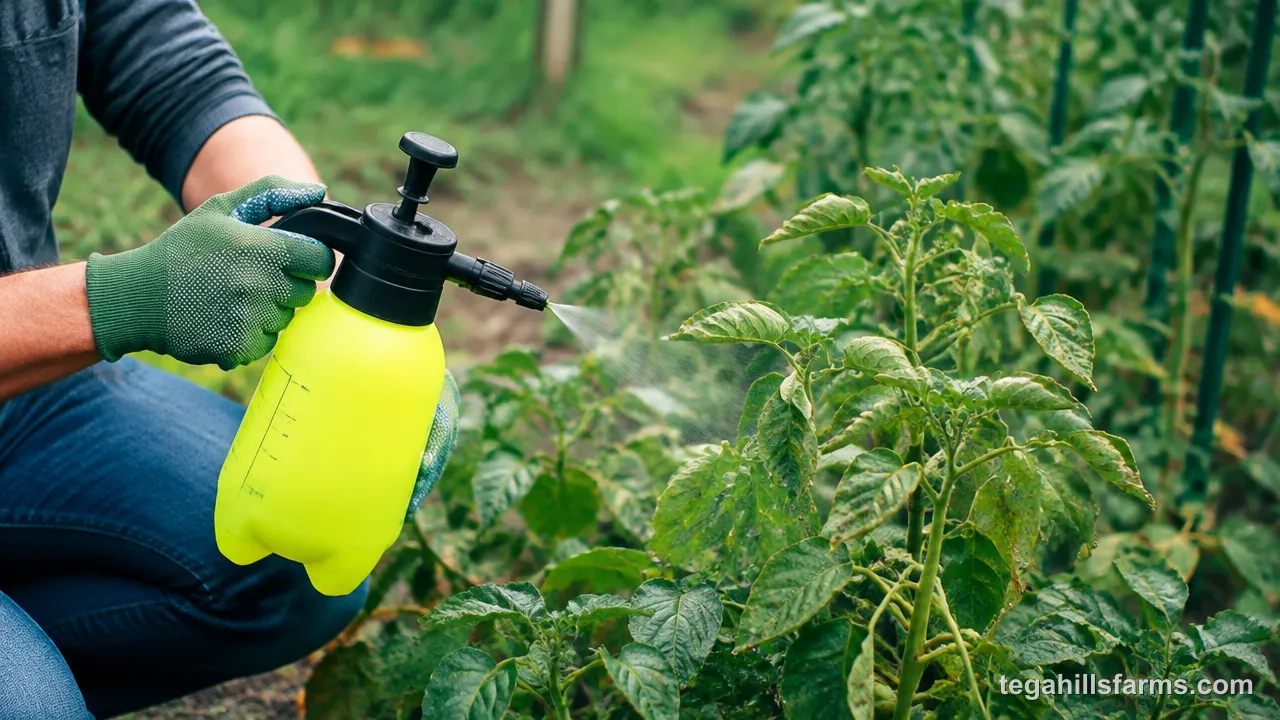
In a planter, replacing the plant is often faster than fighting on. Bag the infested plant, discard the mix if the pest lives in soil, clean the pot, and start over with a fresh transplant. Late in the season, it may make more sense to let that planter rest until spring.
Synthetic insecticides are the remaining option. They generally act faster and last longer, and they also kill beneficial insects and pose greater risk to bees. If you use one, confirm that your crop is listed on the label and follow its rate and pre-harvest interval exactly. Your county Cooperative Extension office can confirm the pest’s identity first, so whatever you apply is aimed at the right target.

Write Your Review
No reviews yet. Be the first to share your experience!