

A clogged chainsaw carburetor is one of the most common reasons a saw runs poorly or not at all. The good news is that most carburetor problems can be fixed at home with basic tools and simple fuel additives — no professional service required. This guide covers every cleaning method from a quick in-tank treatment to a full disassembly and ultrasonic restoration.
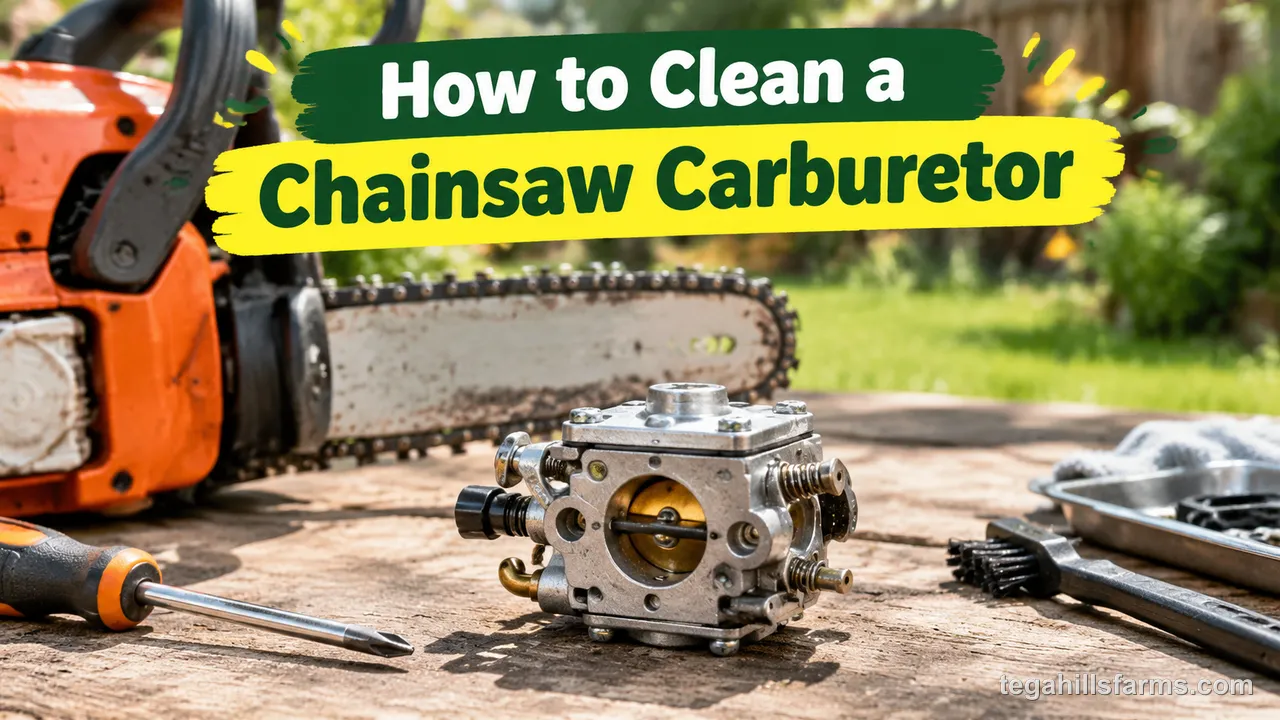
If your chainsaw fires up but immediately stalls, the carburetor is one of the first places to look. But before you touch anything, understanding why modern fuel gums up the carburetor in the first place helps you decide whether cleaning is even necessary — and which method will actually work.
The three main approaches are adding a fuel additive (no disassembly), manually disassembling and cleaning the carburetor with solvent, or ultrasonic cleaning for heavily varnished units. Each level takes more time, but also handles worse contamination. Most home users only need the first or second method.
Why a Chainsaw Carburetor Gets Dirty in the First Place
A chainsaw carburetor gets dirty because of how it works and what modern gasoline contains. Understanding both gives you a clear picture of why cleaning is necessary and what the cleaner actually does.
What a Carburetor Does in a Gas Chainsaw
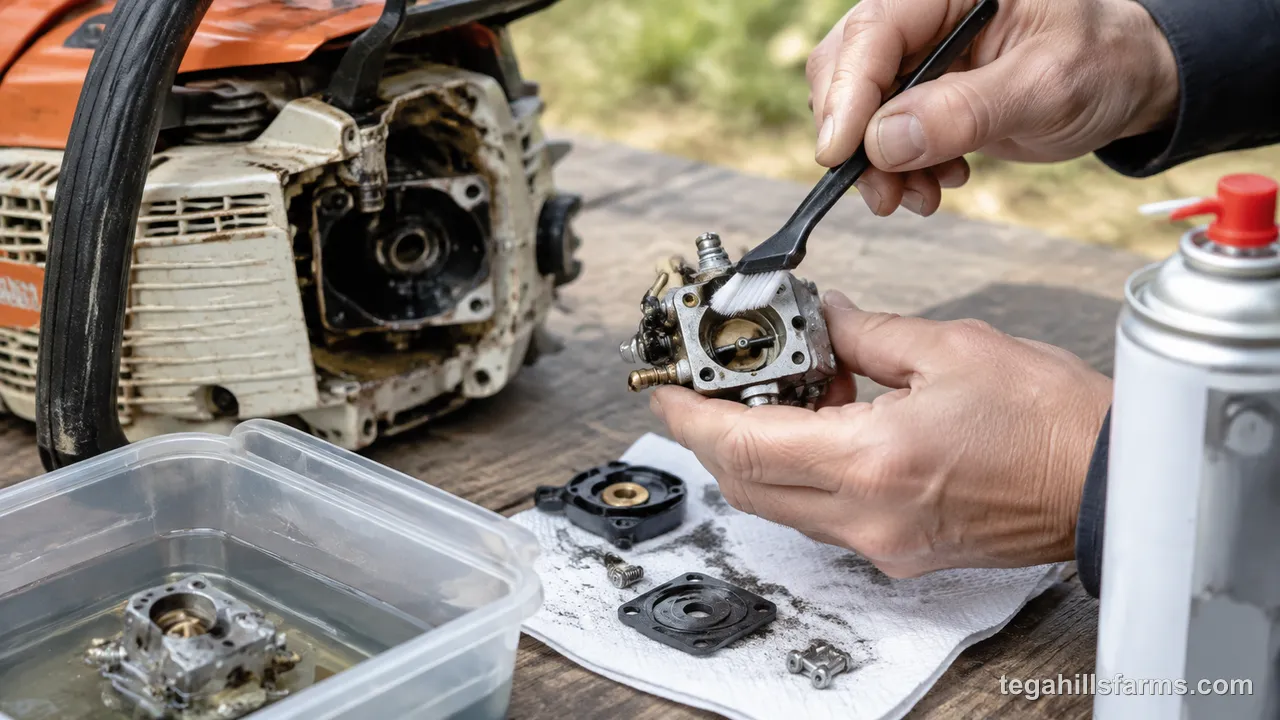
The carburetor is the part that mixes fuel and air before the mixture enters the engine cylinder. It has small passages, jets, and a diaphragm that control how much fuel flows at any given throttle position. When these passages are clean, the mixture ratio stays correct and the engine runs smoothly. When they clog, the mixture becomes too rich (too much fuel) or too lean (too much air), and performance suffers immediately. The carburetor sits between the fuel tank and the combustion chamber — it’s a precision device that depends on free-flowing tiny orifices.
Why Ethanol-Blended Gasoline Wreaks Havoc
Nearly all gasoline sold in the United States contains ethanol, typically E10 (up to 10% ethanol). Ethanol attracts moisture from the air, and that moisture causes the ethanol to separate from the gasoline. That separation leaves behind a gummy varnish that clogs the carburetor’s small passages and jets. Ethanol also degrades rubber seals and diaphragms over time, making matters worse. Even with fuel stabilizers, sitting for more than 30 days in a small engine can start the varnishing process. This is why chainsaws used seasonally — especially ones that sit through winter — develop carburetor problems far more often than ones used weekly.
How to Tell If Your Chainsaw Carburetor Needs Cleaning
Before you take anything apart, confirm the carburetor is actually the problem. A quick checklist of symptoms and a few quick ruling-out steps will tell you whether cleaning is worth your time.
Your chainsaw carburetor likely needs cleaning if the saw shows one or more of these symptoms:
- The saw starts but dies immediately when the throttle is released
- The engine stalls or bogs down under load
- The saw is hard to start or requires repeated pulling
- The saw runs roughly — surging, sputtering, or stumbling
- There is black smoke from the exhaust under normal cutting
If you have been dealing with a chainsaw that fires up but immediately stalls, a clogged carburetor is one of the main suspects.
Carburetor Problems vs Other Fuel System Issues
Not every running problem points to the carburetor. A few other common causes produce similar symptoms, and checking them first can save you unnecessary disassembly.
Rule out these issues first:
- Spark plug: A fouled or worn spark plug causes hard starting and poor running. Pull the spark plug and look for black carbon deposits, oil fouling, or a worn electrode. If the porcelain insulator is cracked, replace it. A quick look at the spark plug tells you a lot before you touch the fuel system. You can read more about diagnosing spark plug issues in our guide on chainsaw spark plug troubleshooting.
- Fuel filter: A clogged fuel filter restricts fuel flow and mimics carburetor symptoms. Check the filter inside the tank — it’s usually a small mesh screen at the end of the fuel pickup line.
- Fuel lines and tank vent: Cracked fuel lines or a clogged tank vent (which prevents proper vacuum in the tank) can cause running problems that look like carburetor issues. Inspect the lines for cracks and check that the vent hole in the tank cap is clear.
If the spark plug, fuel filter, and fuel lines all check out fine, the carburetor is the next place to look.
How to Clean a Chainsaw Carburetor Without Removing It
The easiest approach is to clean the carburetor internally using a fuel additive that dissolves varnish while the saw runs. This method works for early-stage contamination and requires no disassembly whatsoever.
Using B12 Chemtool to Clean the Carburetor Internally
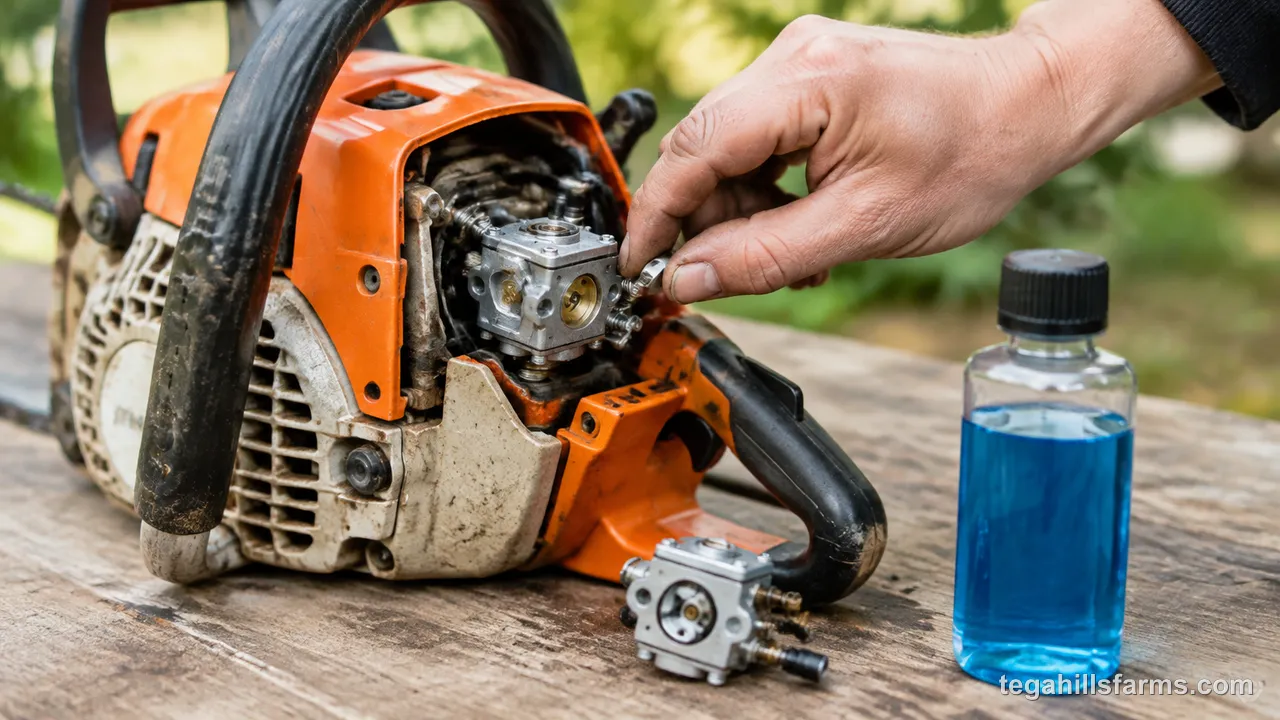
B12 Chemtool is a widely available fuel-system cleaner that dissolves ethanol varnish and gum deposits. For a chainsaw carburetor, the standard ratio is 1 ounce of B12 per gallon of fuel — roughly a capful for a chainsaw-sized tank. Run the saw at half-throttle for 10 to 15 minutes, then let it sit for 24 hours so the cleaner works on the deposits. After the soak, restart and run another 10 minutes at varied throttle. The chemical clears the tiny jets and passages by dissolving the varnish that blocks fuel flow. Most light to moderate contamination clears up with one treatment. For severe cases, a second treatment a week later does the job. This is the method to try first before any disassembly.
Sea Foam as an Alternative Fuel Additive
Sea Foam is another fuel-system cleaner that works similarly to B12 but uses a different solvent blend. The typical ratio for chainsaws is 1 to 2 ounces per gallon of fuel. Sea Foam is particularly good at softening old gum deposits that have hardened in the tank and lines. Some users prefer Sea Foam for chainsaws because it also lubricates the upper cylinder and fuel pump diaphragm while it cleans. Both B12 and Sea Foam work on the same principle — they dissolve varnish and restore flow through contaminated passages. If B12 is unavailable, Sea Foam is a solid substitute. Either product gets the carburetor clean enough for light to moderate buildup without touching a single bolt.
How to Clean the Carburetor with Full Disassembly
When additives don’t fully restore performance, the carburetor needs physical cleaning through disassembly, solvent and brush cleaning, or ultrasonic cleaning. This means removing it from the saw, taking it apart, and cleaning each component with solvent and a brush.
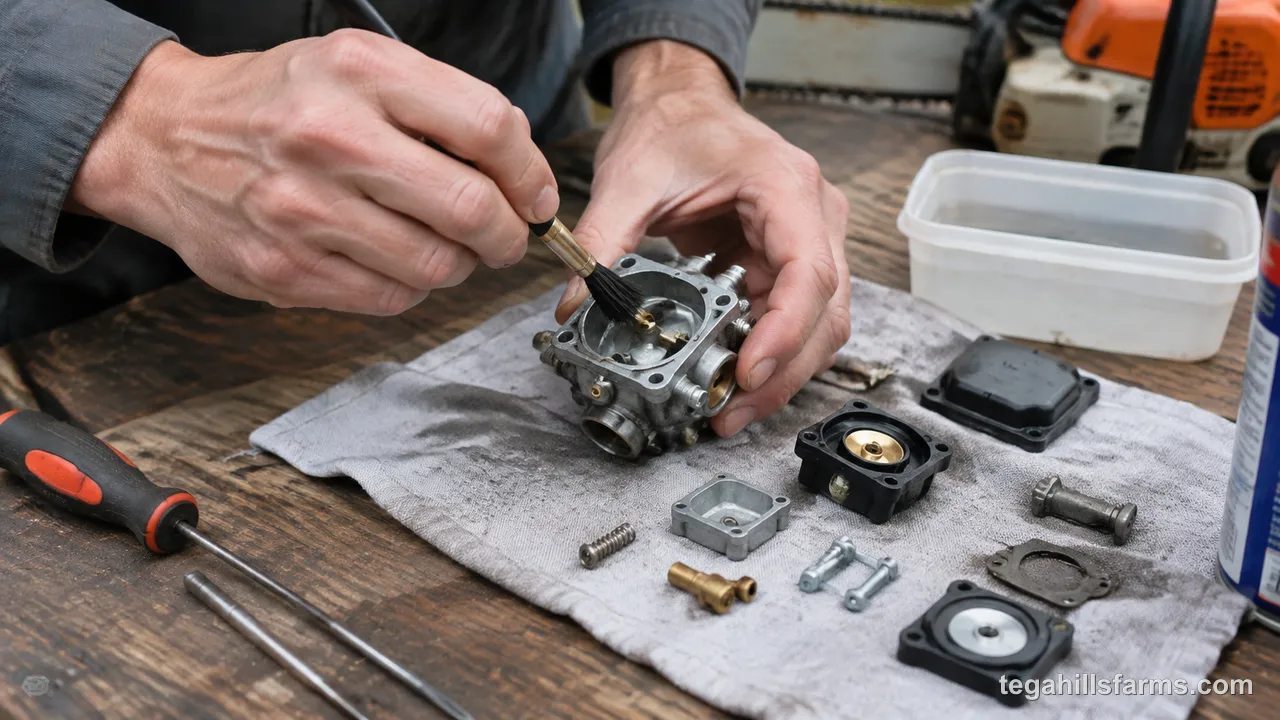
Removing and Disassembling the Carburetor
The removal process varies slightly between brands, but the overall steps are the same for Stihl, Husqvarna, and Echo chainsaws.
Steps to remove the carburetor:
1. Shut off the saw and let it cool. Remove the bar and chain to clear the workspace.
2. Drain the fuel tank or run the saw dry. This prevents spills when you pull the carburetor.
3. Remove the air filter cover and the air filter itself.
4. Remove the top cover or side cover to access the carburetor. On most saws, this is two or three screws.
5. Disconnect the throttle linkage and any primer lines attached to the carburetor body. Take a photo before disconnecting anything — this makes reassembly much easier.
6. Loosen the screws holding the carburetor to the intake manifold, then pull the carburetor straight off.
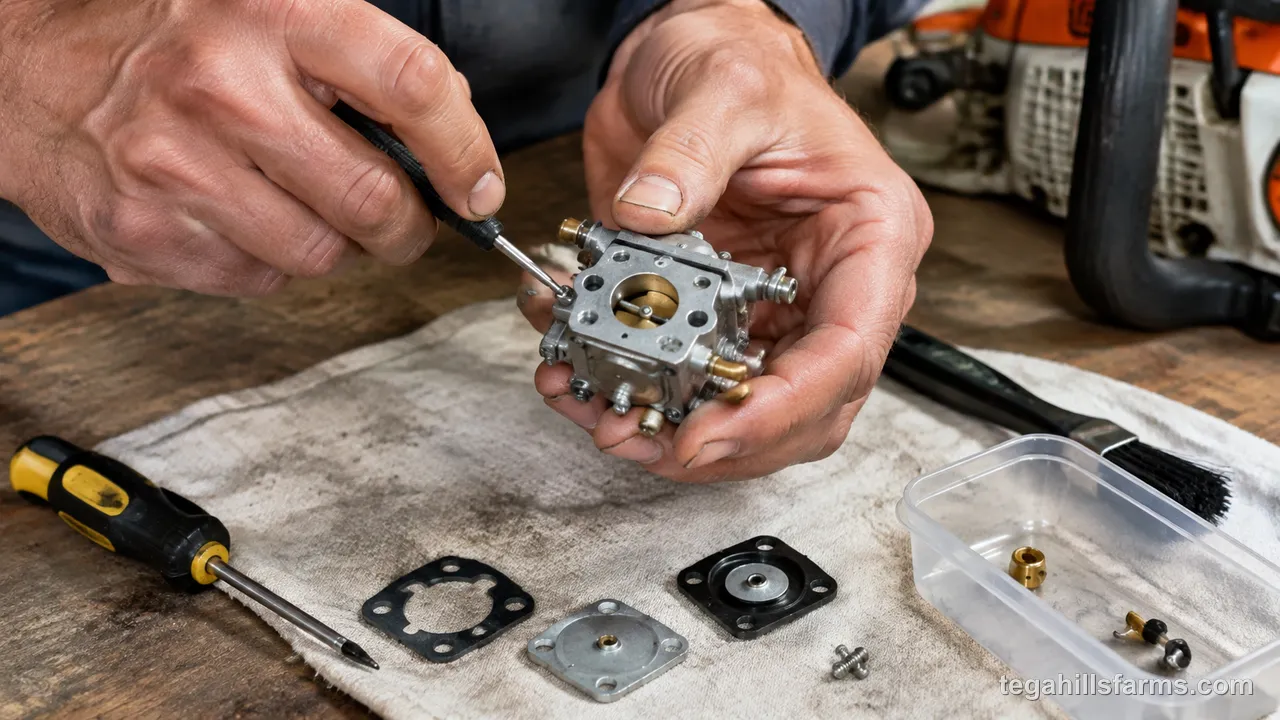
7. On the bench, remove the bowl from the bottom of the carburetor (usually one screw or a bayonet fitting). Then remove the metering diaphragm cover (typically two screws).
Keep all screws, gaskets, and small parts organized — carburetors have several tiny pieces that scatter easily. With the cover off, you can see the diaphragm and the needle valve that control fuel flow. Any varnish or discoloration on these parts confirms contamination.
Cleaning with Mineral Spirits and a Brush
After disassembly, mineral spirits (also called white spirits) is the standard solvent for cleaning carburetor internals. It’s strong enough to dissolve dried varnish but gentle enough not to damage rubber diaphragms or plastic components if used correctly.
Cleaning procedure:
1. Soak the bowl, needle valve, and any small metal parts in mineral spirits for 15 to 30 minutes.
2. Use a soft brass brush to scrub accessible passages and the inside of the bowl. A pipe cleaner or compressed air helps blow out tiny jets that a brush can’t reach.
3. Spray the metering chamber with mineral spirits and wipe it clean with a lint-free cloth.
4. Inspect all passages and jets — hold them up to light to make sure they are clear. Any visible discoloration means more scrubbing is needed.
5. Let all parts air-dry completely before reassembly. Residual solvent can cause running problems just like varnish.
Do not soak rubber diaphragms in solvent — just wipe them clean with a cloth dampened with mineral spirits. Harsh solvents damage the rubber and cause the diaphragm to lose its flexibility, which changes the fuel metering.
Ultrasonic Cleaning for Deep Carburetor Restoration
For carburetors that have been neglected for a season or more, hand cleaning may not reach everything. Ultrasonic cleaners use high-frequency sound waves in a cleaning solution to vibrate debris loose from blind passages and tiny crevices that brushes cannot reach.
An ultrasonic cleaner is a benchtop device that costs between $40 and $150. You fill it with a cleaning solution — either a commercial ultrasonic cleaning fluid or a mix of water and a few drops of dish soap — and place the disassembled carburetor parts inside. Run the cycle for 10 to 15 minutes, then rinse with clean water and let everything dry.
The benefit of ultrasonic cleaning is thoroughness — it restores flow in the smallest jets without physical scrubbing that could damage precision surfaces. For a one-time deep clean on an old saw, it’s faster and more effective than manual methods. If you expect to do this regularly, an ultrasonic cleaner pays for itself quickly compared to professional carburetor service.
How to Adjust the L and H Screws After Cleaning
After any carburetor disassembly or cleaning, the L (low-speed) and H (high-speed) adjustment screws almost always need resetting. These screws control the idle and full-throttle mixture, and disturbing the carburetor shifts their effective position.
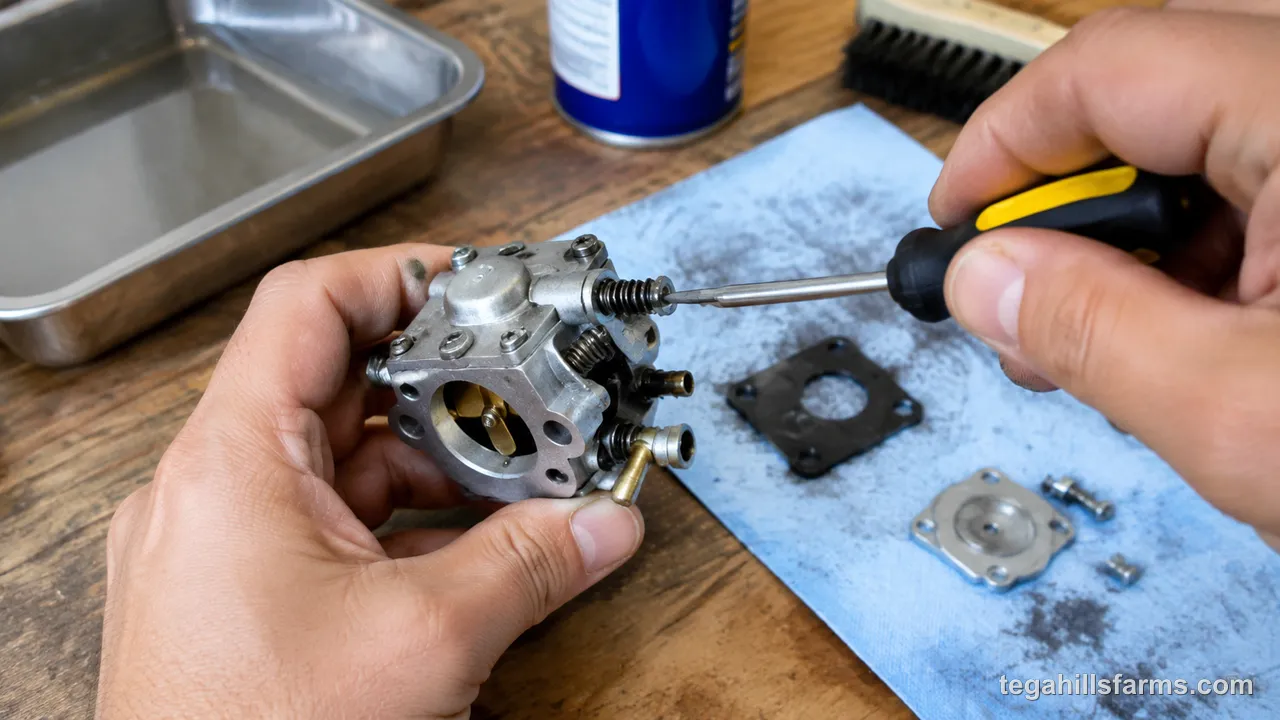
The L screw governs the fuel-to-air ratio at idle and low engine speeds. The H screw does the same at full throttle. When the carburetor is reassembled, the screws may be seated against new surfaces or slightly out of position, changing the mixture from what it was before. Starting the saw and resetting these screws is a normal and expected step after any carburetor work.
Basic adjustment approach:
1. Turn both screws gently in until they seat (do not over-tighten), then back each out 1.5 to 2 turns as a starting point.
2. Start the saw and let it warm up for a minute.
3. Adjust the idle speed screw so the chain just barely moves at idle.
4. Turn the L screw in small increments until the engine runs smoothly without stalling or stumbling.
5. Rev the engine to full throttle and adjust the H screw the same way — smooth acceleration, no sputtering.
6. Fine-tune the idle speed again after adjusting H.
Consult your owner’s manual for the manufacturer’s specific starting positions for your model. Every saw is slightly different, but the 1.5-turn starting point works as a baseline for most small-engine carburetors.
Keeping the Carburetor Clean for Good
Prevention is far easier than cure. A few consistent habits with fuel and storage can keep your carburetor clean for years, so you never have to repeat the cleaning process.
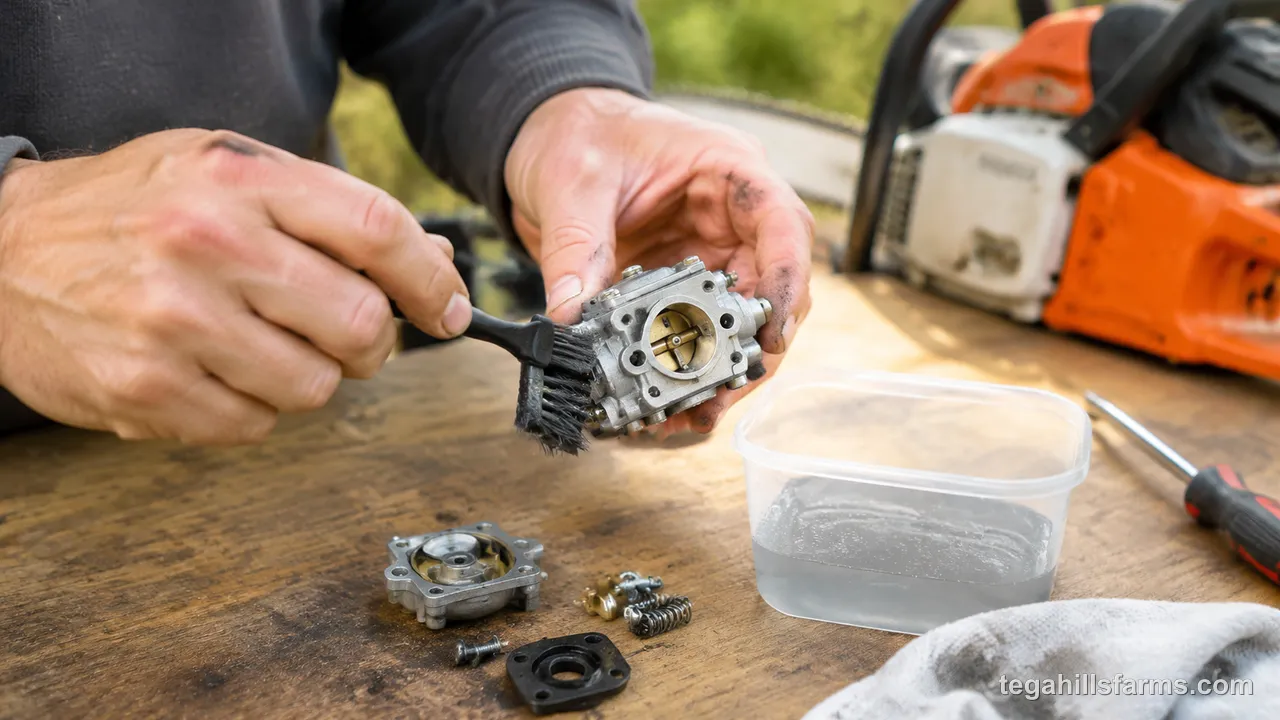
Fuel System Habits That Prevent Carburetor Problems
The single biggest factor in carburetor life is fuel freshness. Running the saw dry before storage eliminates fuel left sitting in the carburetor bowl, where varnish builds fastest. If you cannot run the saw dry, use a fuel stabilizer — add it to the tank before filling, not after — and run the saw for a few minutes so the stabilizer circulates through the entire fuel system.
Never use fuel that has been sitting for more than 30 days in a small engine. Ethanol-blended gas degrades quickly, and even with stabilizer, fuel older than 60 to 90 days creates problems. Mixing a fresh half-tank each spring is a habit that prevents most carburetor issues entirely.
For seasonal equipment, draining the fuel and running the carburetor dry before winter storage is the single most effective step you can take. Our guide on how to winterize a chainsaw covers the full storage procedure, including fuel system prep. During the season, running the saw at full throttle for a few minutes every week or two keeps fuel fresh in the system and prevents moisture buildup.
Contextual Border
The methods above cover every level of carburetor cleaning, from a simple fuel additive treatment you can do right now to a full ultrasonic cleaning for carburetors that have been neglected for seasons.
Safety Precautions When Cleaning a Chainsaw Carburetor
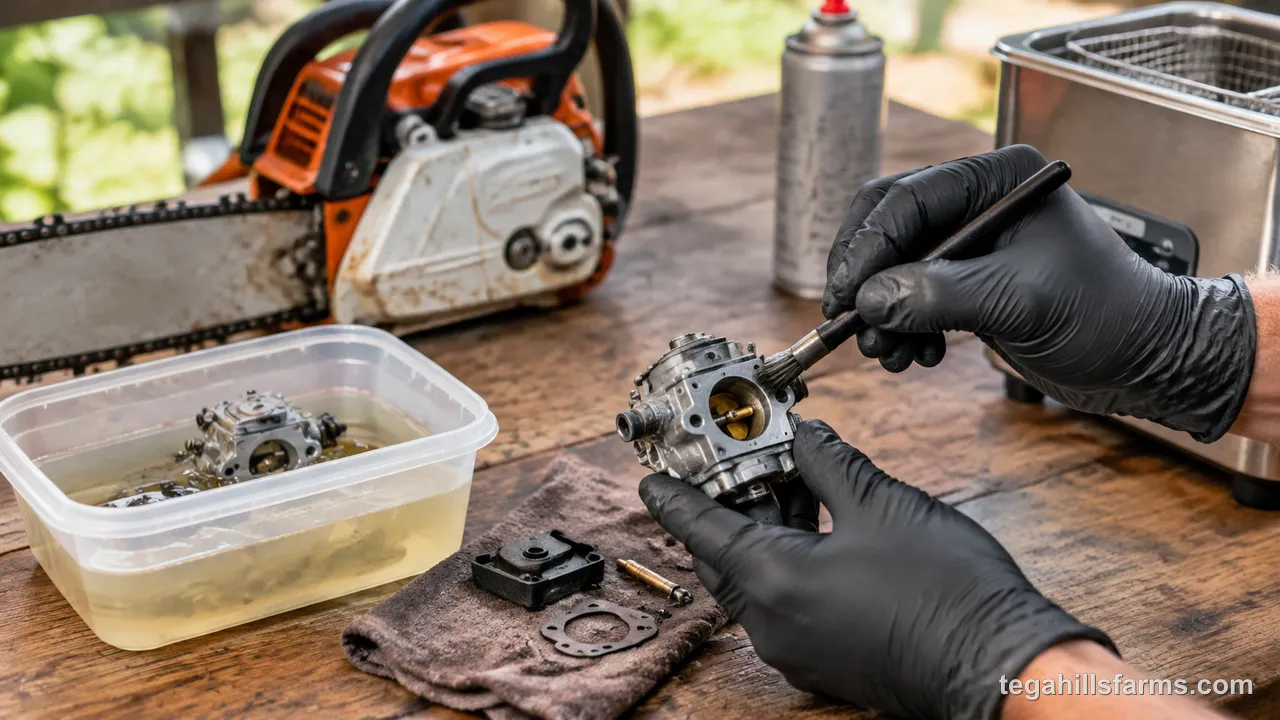
Carburetor service involves handling fuel and solvents and removing the spark plug for safety. A few specific precautions keep you safe during the cleaning process.
Handling Old Gasoline and Cleaning Chemicals Safely
Old gasoline is flammable and produces harmful vapors. Always work in a well-ventilated area — preferably outdoors, away from sparks, open flames, or anything that could ignite fuel vapor. Never store old fuel; dispose of it at a designated household hazardous waste collection site.
Mineral spirits and other carburetor cleaning solvents are flammable and can irritate skin and eyes. Wear chemical-resistant gloves and safety glasses when handling these materials. Work on a bench or surface that can be cleaned easily if fuel or solvent spills.
Keep a Class B fire extinguisher nearby when working with fuel and solvents. Our guide on chainsaw safety tips covers general shop safety practices that apply to any fuel-system work.
Removing the Spark Plug Before Working on the Carburetor
Always remove the spark plug before disassembling the carburetor. This prevents the engine from firing accidentally if the throttle linkage is bumped or the flywheel is turned. With the spark plug out, you can also check its condition while you have access — a fouled plug is often part of the problem when a carburetor is dirty.
To remove the spark plug, pull off the boot and use a spark plug socket wrench. Lay the plug aside where it cannot fall into the open cylinder. When reassembling, install the spark plug last — after the carburetor is reconnected and everything is back in place.
Frequently Asked Questions About Chainsaw Carburetor Cleaning
Can I use carburetor cleaner spray instead of mineral spirits?
Carburetor cleaner spray works for light contamination on accessible surfaces, but it does not soak into small passages or dissolve heavy varnish as effectively as mineral spirits. Spray cleaners are useful for wiping down the exterior and the metering chamber after disassembly. For the bowl and jets, soaking in mineral spirits does a more complete job.
How often should I clean my chainsaw carburetor?
With proper fuel management, most homeowners never need to clean the carburetor at all. If you run the saw dry before storage and use fresh fuel each season, the carburetor stays clean indefinitely. Only clean when symptoms appear — hard starting, stalling, or surging that the troubleshooting steps confirm points to the carburetor.
Will cleaning fix a chainsaw that overheats?
Carburetor problems do not directly cause overheating, but a severely rich fuel mixture (too much fuel, not enough air) can lead to fouled spark plugs and sluggish performance that feels like overheating. If your saw is actually overheating — smoking, losing power, or smelling burnt — the carburetor is unlikely to be the cause. Check the chain tension, bar oil flow, and air intake first. You can read more about diagnosing chainsaw overheating in our dedicated guide.
My chainsaw blows black smoke. Is that the carburetor?
Black smoke means the engine is running too rich — too much fuel, not enough air. This often points to a dirty carburetor, but a stuck choke or a clogged air filter can produce the same symptom. Check the air filter and choke operation before assuming the carburetor is at fault. Our guide on chainsaw blowing smoke covers the full checklist for this symptom.
Can I damage my chainsaw by cleaning the carburetor incorrectly?
Physical damage is unlikely if you keep the screws organized and do not over-tighten anything on reassembly. The main risk is using the wrong solvent — harsh chemicals can dissolve rubber diaphragms and soften plastic parts. Stick to mineral spirits or a commercial carburetor cleaning solution, and never soak rubber components. Reassembly mistakes are more common than cleaning mistakes: take photos before disassembly and follow the manual for your specific model.










Write Your Review
No reviews yet. Be the first to share your experience!