

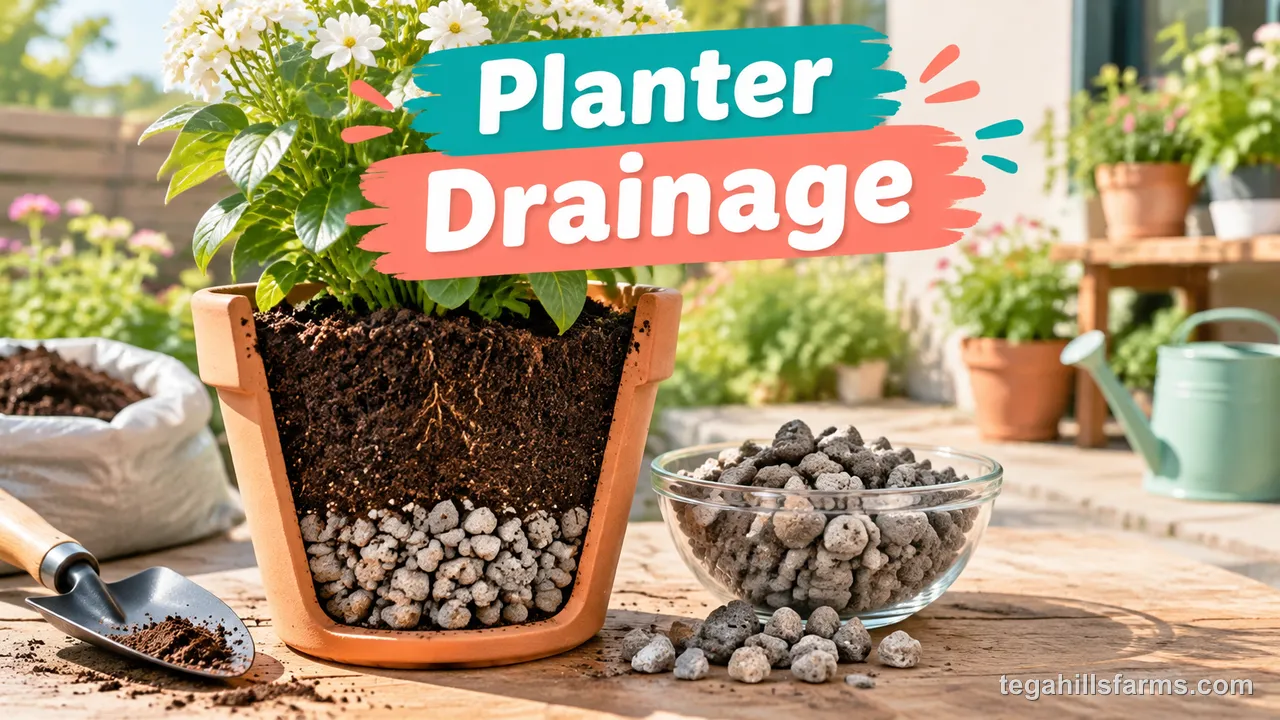
The planter drainage solutions that work are open drainage holes, a potting mix with coarse mineral amendments blended all the way through, and, for containers you can’t drill, a draining inner pot or a protected reservoir that keeps roots above standing water. Gravel at the bottom is not one of them, despite how often that advice gets repeated.
Each fix depends on what your planter is made of and where it sits. Glazed ceramic, terracotta, plastic, wood and metal each need a different drill bit and technique. An indoor pot without a hole needs a different approach than a patio container that can drip onto concrete.
The real worry behind all of this is root rot. Roots sitting in saturated soil can’t take in oxygen, and by the time leaves wilt or yellow, the damage below the surface is often well underway.
If you’re potting up something this week, start with the holes. A good mix and careful watering both help, but neither can make up for water that has nowhere to go.
Why Does Drainage Matter for Container Plants?
Holes in the base let excess water escape, so air can move back into the soil and roots keep getting the oxygen they need to grow and take up nutrients.
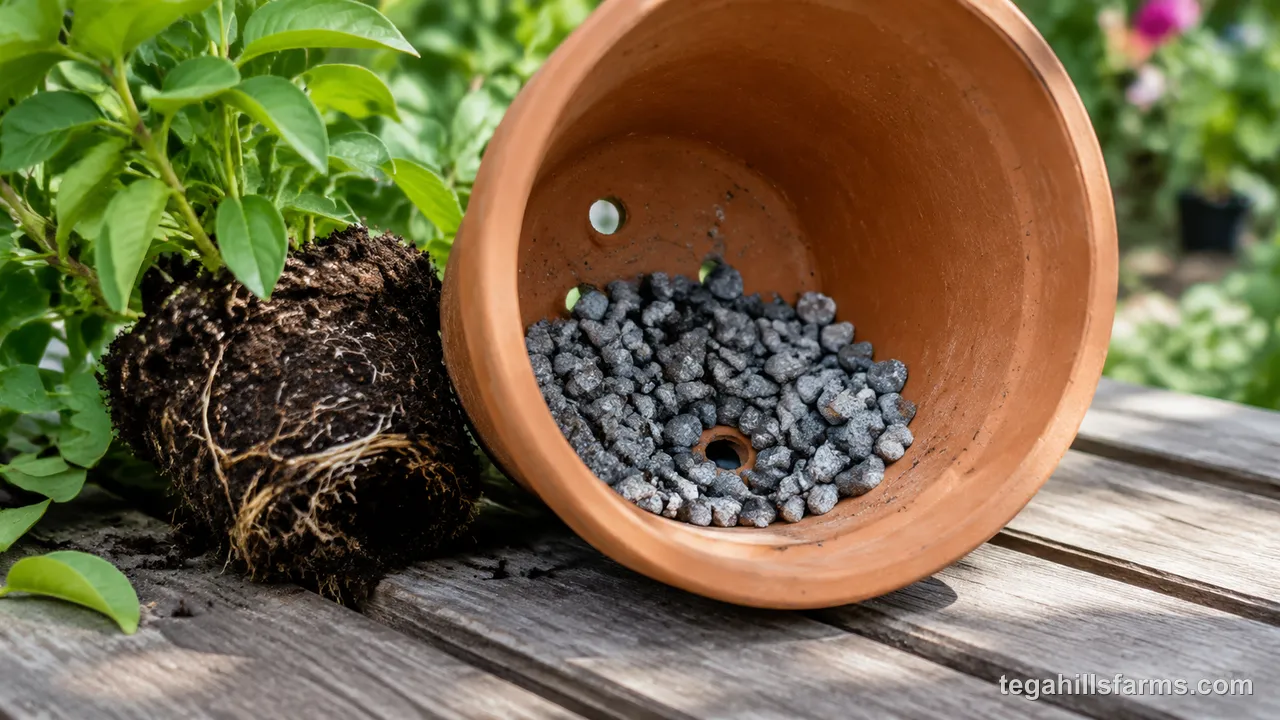
Potting soil is full of tiny pore spaces. After watering, those pores briefly fill with water, then drain and refill with air. Roots depend on that cycle because they respire, just like leaves. When water can’t leave the container, the pores stay flooded, oxygen runs out, and the soil turns anaerobic. Roots in that state start to die back, and water-loving fungi and water molds such as Pythium and Phytophthora move in, which is what gardeners call root rot.
Containers are less forgiving than garden ground. In a bed, gravity pulls extra water down into the subsoil below. A pot has a hard floor, so every drop that the plant doesn’t use or the air doesn’t evaporate stays put unless a hole lets it out. This is why drainage counts among the core factors in how to choose a planter that keeps plants healthy through the season, alongside size and material.
Waterlogging rarely kills a plant in a day. It weakens roots over a stretch of wet weeks, so the plant looks thirsty even while its soil stays soggy.
Does Gravel at the Bottom Really Help Drainage?
No — a coarse layer under the soil raises the waterlogged zone closer to the roots, because water won’t move from fine soil into coarse rock until the soil above it is fully saturated.
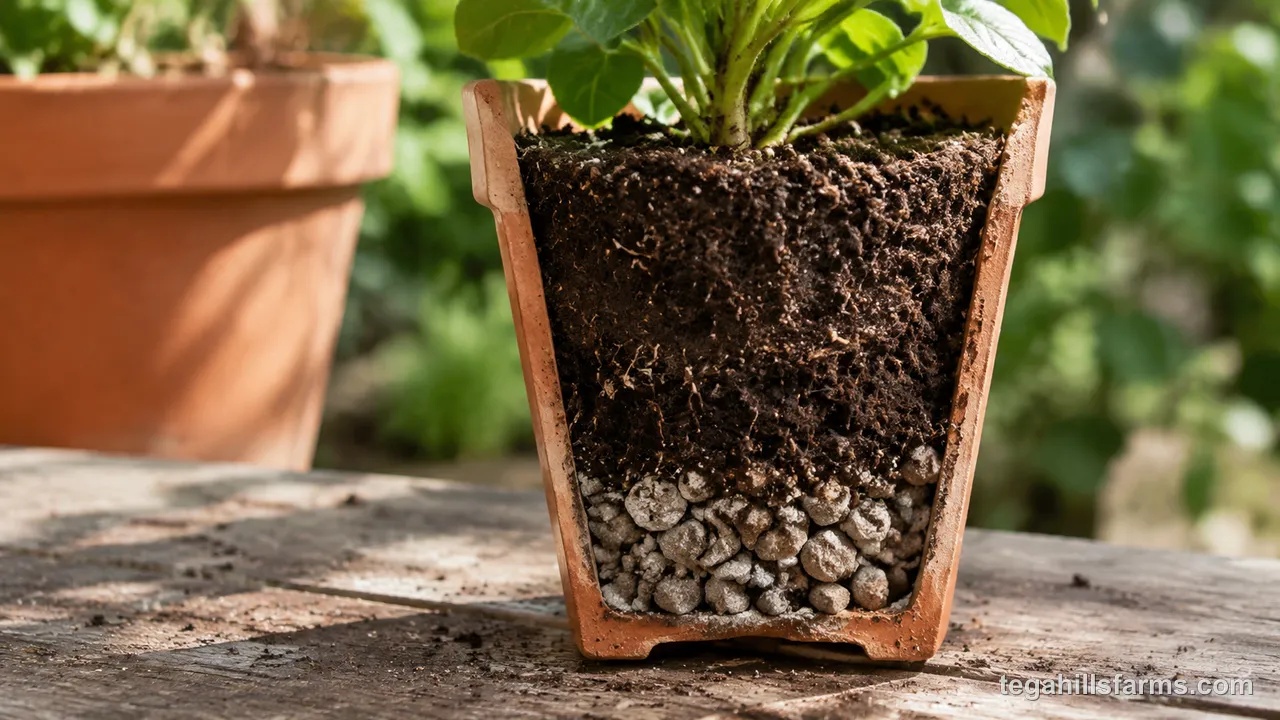
The reason is a perched water table. Fine soil holds water tightly in its small pores through capillary action. Large gaps between rocks can’t pull that water down, so it stays perched in the bottom layer of soil until the soil can’t hold any more. Adding gravel doesn’t remove that wet layer; it lifts it higher in the pot, right where many roots are growing.
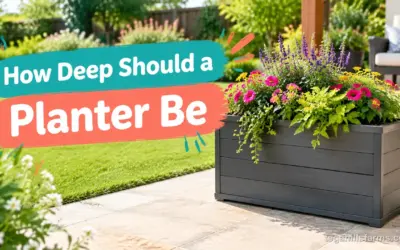
Gravel also takes up space roots could have used. A layer of rocks in a container effectively makes the soil column shorter, and a shorter column has a larger share of its depth sitting in that saturated zone. Knowing how deep a planter should be for your crop matters more than any bottom layer, because extra soil depth gives roots more room above the wet zone.
The fix that does work is simple: fill the whole container with a free-draining potting mix and make sure the holes stay open.
What Are the Best Materials for Planter Drainage?
The right material depends on where it goes, whether blended through the mix or used as bulk fill underneath, and on how much weight your container can carry.
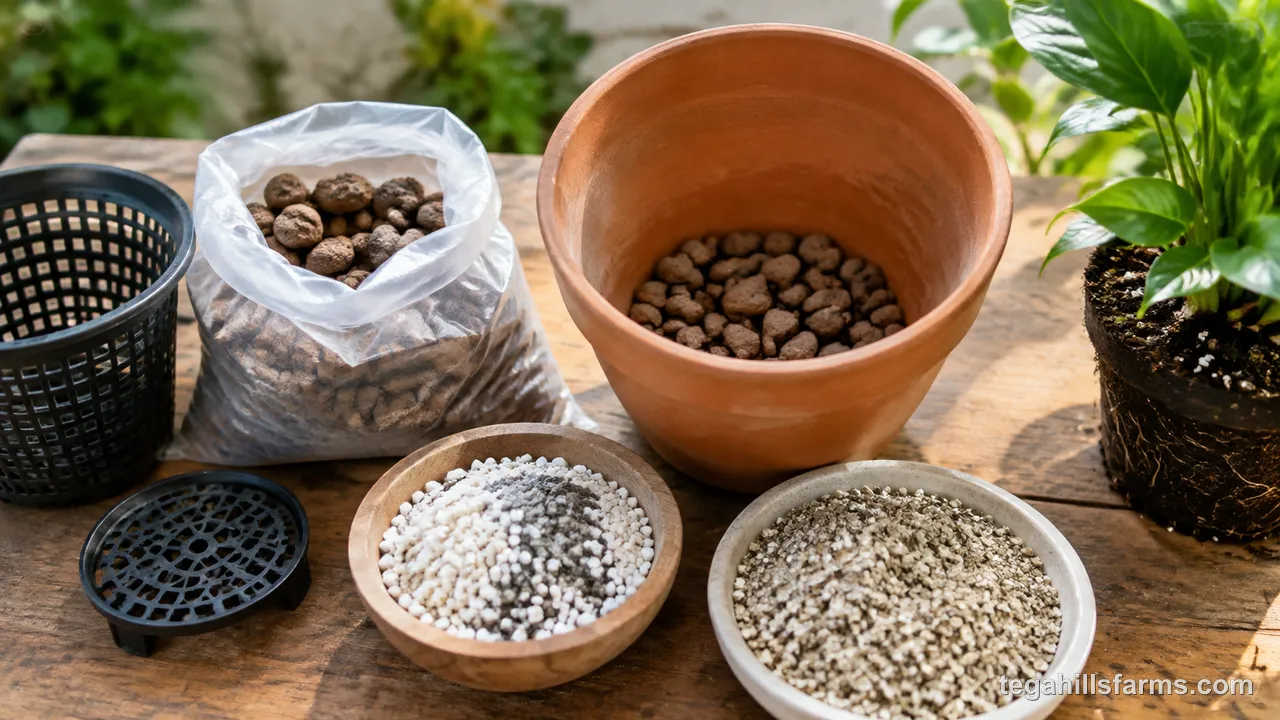
That distinction matters because a material can improve soil structure, reduce weight, or save potting mix, and those are three different jobs. Coarse amendments mixed throughout change how water moves in every part of the root zone. Fill at the bottom mostly saves soil and lightens a big planter, and it still creates a perched water layer above it. Choosing the wrong one for the job leads to a pot that looks well built but stays wet where the roots are.
Commercial Drainage Products
Purpose-built fill such as Better Than Rocks replaces rocks in the bottom of large planters with a lightweight material, made from 75% recycled plastic. The manufacturer recommends filling one-third of the container with it, then adding potting mix on top.
The main benefit is weight and soil savings. A big patio planter filled entirely with damp potting mix can be hard to move, and lightweight fill cuts that load while reducing how much mix you buy.
It works best in deep containers growing plants with shallow roots, such as annual flowers, lettuce or herbs. For deep-rooted crops like tomatoes, giving up a third of the depth costs root room, so I’d fill those planters with potting mix all the way down.
Mineral Amendments for Soil Mix
Perlite, pumice and crushed lava rock improve drainage when they’re blended evenly through the potting mix, because their coarse particles create larger pores that drain quickly and refill with air.
Perlite is expanded volcanic glass. It’s very light and widely sold, though it tends to float to the surface after repeated watering. Pumice does the same job without floating, since it’s heavier and stays where you mix it. Crushed lava rock adds noticeable weight, which helps steady top-heavy planters, and its porous surface holds a little moisture.
The key is mixing, not layering. Blending these amendments throughout keeps the soil texture uniform, so water moves down smoothly instead of stopping at a boundary. Herbs like rosemary and thyme, succulents and Mediterranean plants benefit from a grittier blend, while leafy vegetables prefer a mix that holds more moisture.
Lightweight Household Alternatives
Packing peanuts, empty plastic bottles with the caps screwed on, and crushed aluminum cans all work as cheap filler in the bottom of oversized planters. They do the same job as commercial fill: they reduce weight and save potting mix.
Check packing peanuts before using them. Starch-based peanuts dissolve in water and will collapse into a sticky mess, so only polystyrene foam works. A layer of landscape fabric between the filler and the soil keeps mix from sifting down into the gaps.
Newspaper is different. A sheet laid over the holes keeps soil from washing out while you get a plant established, and it breaks down over time. Keep filler to the lower part of the container so roots still have a deep column of real soil.
How to Add Drainage Holes to Planters
Most planters can be drilled with a household drill if you use a bit matched to the material and a slow, steady speed that cuts without cracking, melting or tearing.
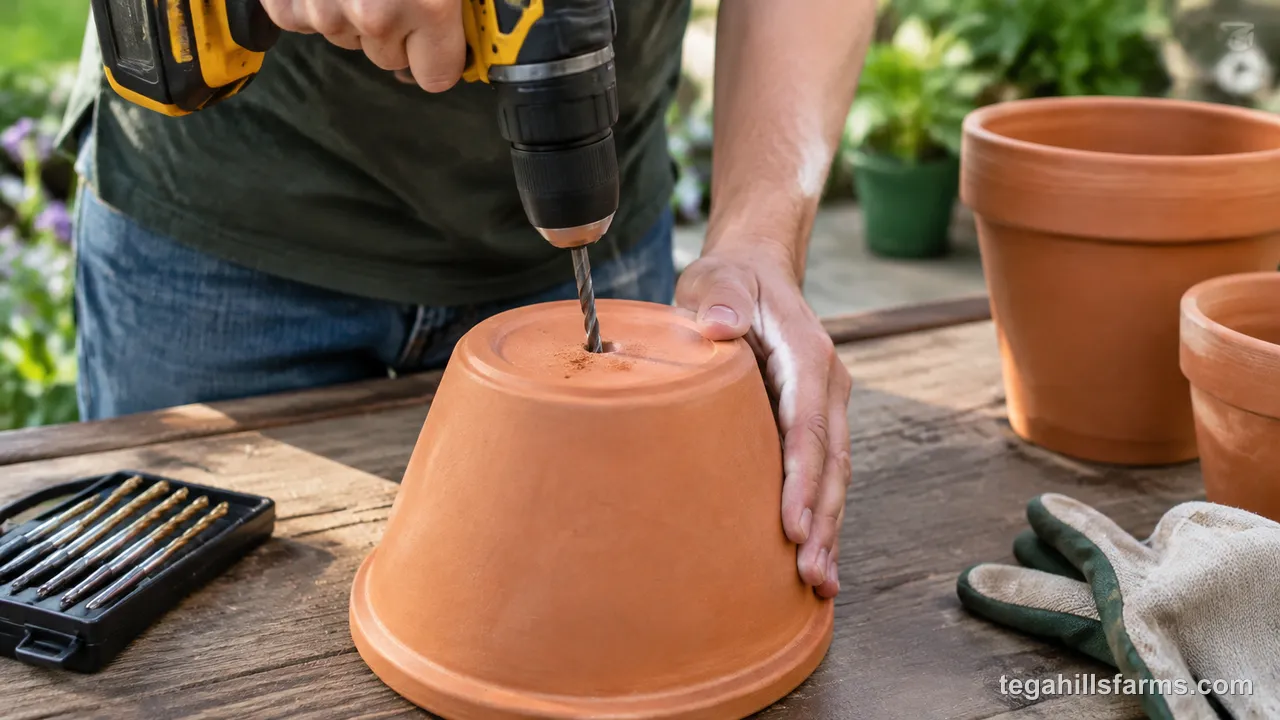
Drilling is worth the effort because a hole solves the drainage problem at its source, where every other approach only manages it. Turn the planter upside down so you’re drilling through the base, wear safety glasses, and plan for several holes spread across the bottom instead of one. Multiple holes keep draining even when roots or debris block one of them.
Drilling Ceramic and Terracotta Pots
Ceramic and terracotta drill cleanly with a diamond-tipped or carbide-tipped bit, light pressure and a surface kept wet, which keeps heat from building up and cracking the pot.
Glazed ceramic is the harder of the two, so a diamond tile bit is the better choice there. Unglazed terracotta is softer and usually cuts with a carbide-tipped masonry bit.
Put an X of painter’s tape where you want the hole; the tape stops the bit from skating across a smooth glaze. Start at a low speed, holding the bit at a slight angle to score a groove, then straighten it once the bit bites. Keep a trickle of water on the spot the whole time. Turn off hammer mode, because the impact can crack the pot. Ease off as the bit breaks through, since the last thin layer is where chips happen.
Drilling Plastic and Resin Planters
Plastic and resin are the easiest planters to drill: a standard twist bit or a step bit goes through quickly with little risk of cracking.
Start with a small pilot hole, then widen it to the size you want. A step bit is handy here because it enlarges the hole gradually and leaves a cleaner edge. Run the drill at a moderate speed, because high speed generates friction that melts plastic and leaves gummy strings around the hole. Trim any ragged burrs with a utility knife so they don’t catch roots or trap soil.
Thin, older plastic can turn brittle in sun and cold. Drill those pots gently and support the base from below, or the plastic around the hole may split.
Drilling Wood and Metal Planters
Wooden planters take a spade bit or a Forstner bit, while metal containers need a bit rated for metal and a little cutting oil to keep the edge cool and sharp.
For wood, drill through from the inside until the bit’s tip pokes out, then finish from the outside to avoid splintering. Wood rots fastest where it stays wet, so raise the planter on feet or blocks to let the bottom dry between waterings.
For metal, make a small dent with a center punch so the bit doesn’t wander, then drill slowly. Cutting through galvanized steel removes its protective coating at the edge of the hole, which is where rust starts. A dab of rust-inhibiting paint around each fresh hole protects it.
What Can You Do When You Can’t Add Drainage Holes?
The working strategies keep roots physically above any water that collects in the container or limit how much water goes in to begin with.
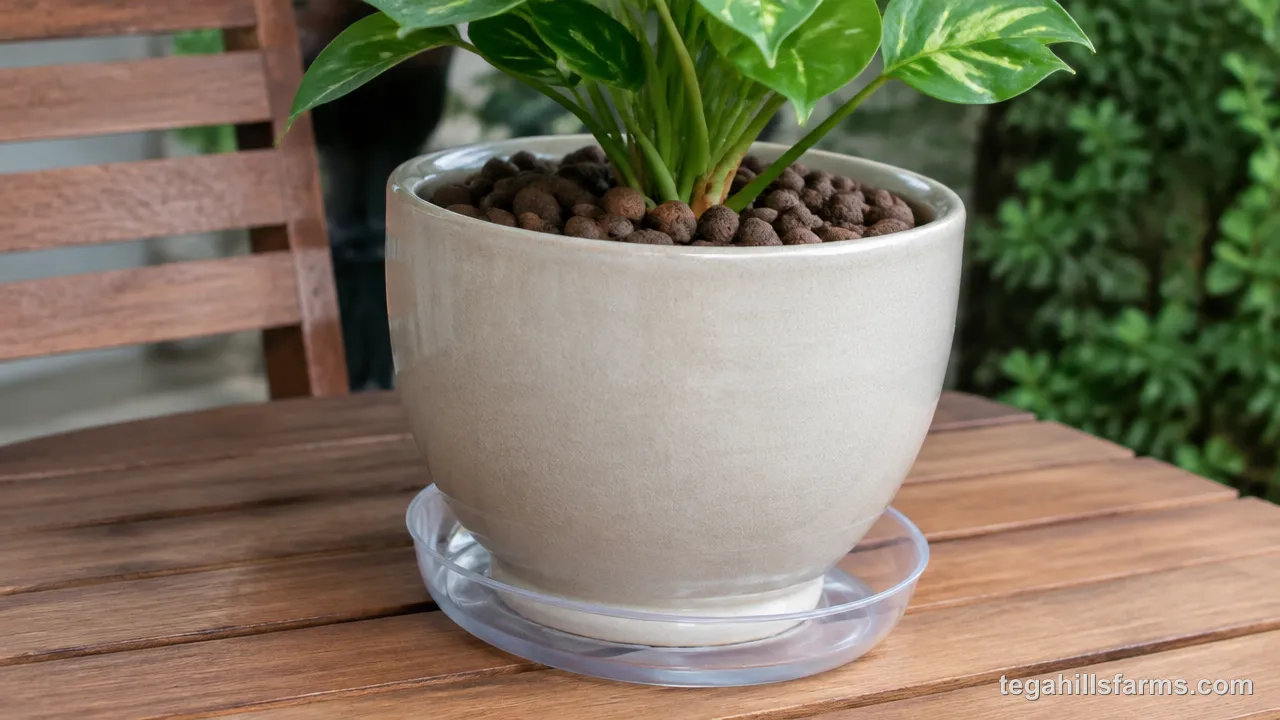
Some planters can’t or shouldn’t be drilled: an heirloom pot, a container that sits on a hardwood floor, or a thin glazed piece you don’t want to risk. In those cases, the goal shifts from letting water out to stopping it from touching the roots. Choosing what to plant in a planter without holes matters too, because a plant that tolerates dry spells forgives a small watering mistake far better than one that wants constant moisture.
Use the Cachepot Method
Double potting puts a plant in a plain nursery pot with drainage holes, then sets that pot inside the decorative container, called a cachepot. Water drains from the inner pot into the outer one, away from the soil.
The detail that makes it work is lifting the inner pot. A few stones, an upturned saucer or a small block in the bottom of the cachepot keeps the nursery pot above whatever water collects. Without that gap, the inner pot sits in a puddle and wicks it straight back up.
For any decorative pot without a hole, this is the method I’d reach for first. You can also lift the inner pot out, water it at the sink and let it drain before putting it back.
Add a Charcoal and Pebble Layer
When double potting isn’t practical, a bottom layer of pebbles topped with horticultural charcoal creates a small reservoir where overflow can collect below the soil.
This is not drainage, and it still forms a wet zone like the one gravel creates. Its only role is to give a modest amount of excess water somewhere to sit other than the root zone. Activated or horticultural charcoal on top of the pebbles helps keep that trapped water from turning sour. A piece of landscape fabric or mesh over the charcoal keeps soil from filling the gaps.
The reservoir works only if you water lightly. Once it fills, the water rises into the soil, and the roots end up waterlogged.
Water More Carefully and Less Often
In a container with no exit, water only in small amounts and only after the soil has dried, because any water the plant doesn’t use has nowhere to go but evaporation.
Check moisture before every watering. Push a finger into the soil down to your second knuckle; if it feels damp, wait. A moisture meter gives a reading deeper in the pot, which helps with tall containers where the surface dries long before the bottom.
Pour slowly and stop well before water would pool. Containers indoors in low light and cool rooms dry out slowly, so they need water far less often than the same plant would on a sunny patio.
A planter can drain beautifully in spring and stall by late summer, because roots wrap around the holes, fine soil washes into them, and pot feet sink into a soft deck. When that happens, water sits at the bottom out of sight while the surface looks normal, and the first warning you get is a plant collapsing from rot in soil you’d assumed was fine.
How to Tell If Your Planter Drainage Is Working
Water working its way out of the holes soon after you water, and soil that dries from the surface down over the next few days, mean drainage is doing its job. Standing water on top or no flow from the base means something is blocked.
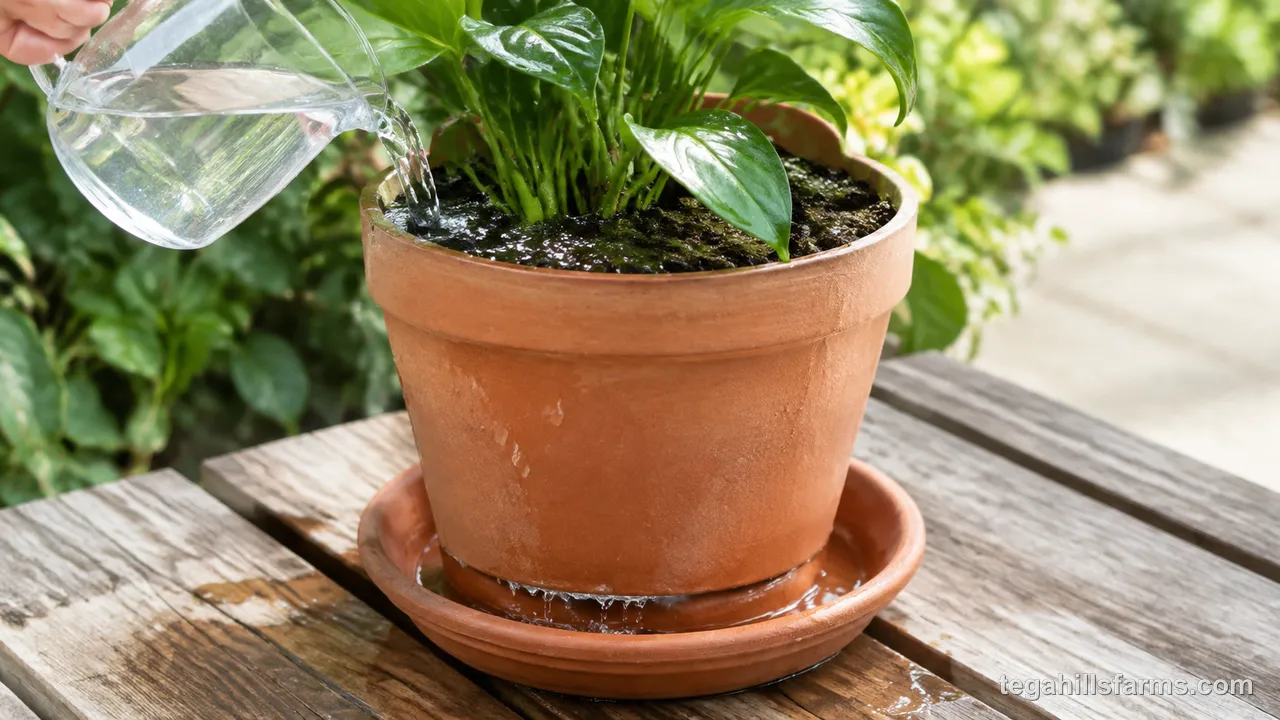
A pour test confirms it. Water slowly until liquid should appear underneath, then watch. A healthy pot starts dripping steadily; a stalled one stays dry underneath while the soil surface turns muddy.
Lift or tip smaller pots a day or two later. A pot that still feels heavy and soggy at the bottom is holding water. Sour smells, green algae on the soil, and swarms of fungus gnats point the same way.
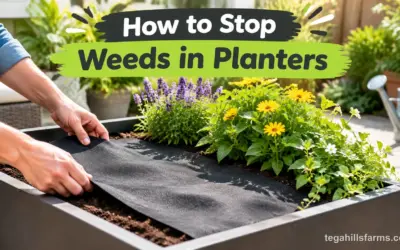
When drainage stalls, check the holes first for roots or compacted soil. Fabric you laid down while working out how to stop weeds in planters can also clog with fine silt over a season.
What to Do If You’ve Already Overwatered
Stop watering, tip out any standing water, and let the soil dry from the top down. Most overwatered plants recover if roots get air again before rot spreads.
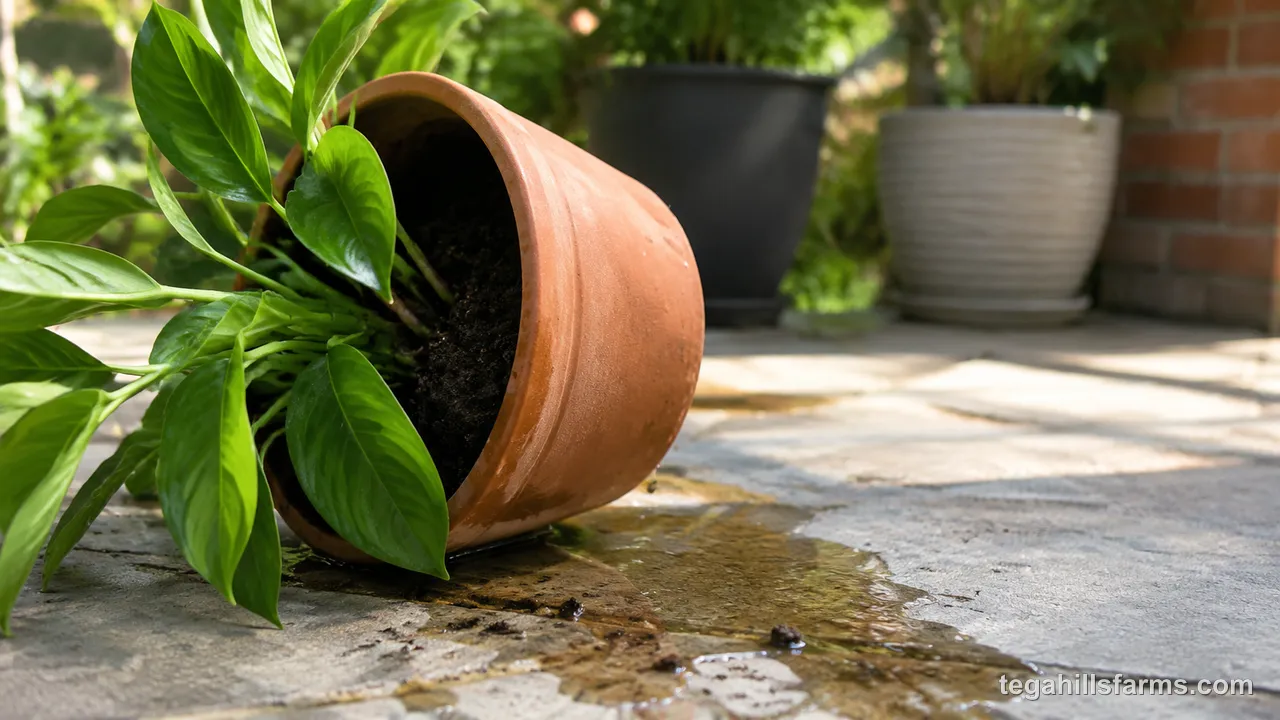
Move the planter somewhere bright but out of harsh afternoon sun, with good airflow, so the soil dries without stressing wilted leaves further. Poking a few holes into the soil with a chopstick lets air reach the lower roots faster.
If the plant keeps wilting after the surface dries, slide it out of the pot and look at the roots. Healthy roots are firm and white or tan. Rotting roots are brown, mushy and slough off when touched. Trim the damaged ones with clean shears, then repot into fresh, barely moist mix, in a container with working holes.
Soggy soil also attracts fungus gnats, whose larvae feed on tender roots. Drying the soil is the first step in planter pest control for gnats, since the larvae need constant moisture to survive.
Common Questions About Planter Drainage
How many drainage holes does a planter need?
More than one is safer for anything bigger than a small pot. Several holes spread across the base keep water moving even when roots or debris block one. Large planters benefit from holes near the edges as well as the center, so water doesn’t pool in a low corner.
Can I cover drainage holes to keep soil from washing out?
Yes. A piece of window screen, mesh, landscape fabric or a coffee filter over each hole holds soil in while letting water pass. Avoid covering the hole with a solid shard or stone pressed flat, because that can seal the opening instead of protecting it.
Do self-watering planters need drainage?
They still need an overflow hole. Self-watering planters hold a reservoir below the soil on purpose, but the overflow keeps heavy rain from filling the reservoir past its limit and flooding the root zone. Check that the overflow outlet stays clear, especially on outdoor planters.
Does planter size affect drainage?
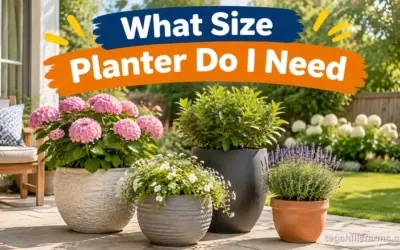
It does, because an oversized container holds far more wet soil than a small root system can use, and that extra soil stays damp for days. Matching the container to the plant keeps the root zone drying evenly, which makes knowing what size planter you need part of managing drainage.
Is it okay to leave a saucer under a planter?
A saucer is fine as long as you empty it. Water left standing in the saucer wicks back up into the soil and keeps the bottom roots wet. Pour it off about half an hour after watering, or set the pot on pot feet inside the saucer.
Write Your Review
No reviews yet. Be the first to share your experience!