

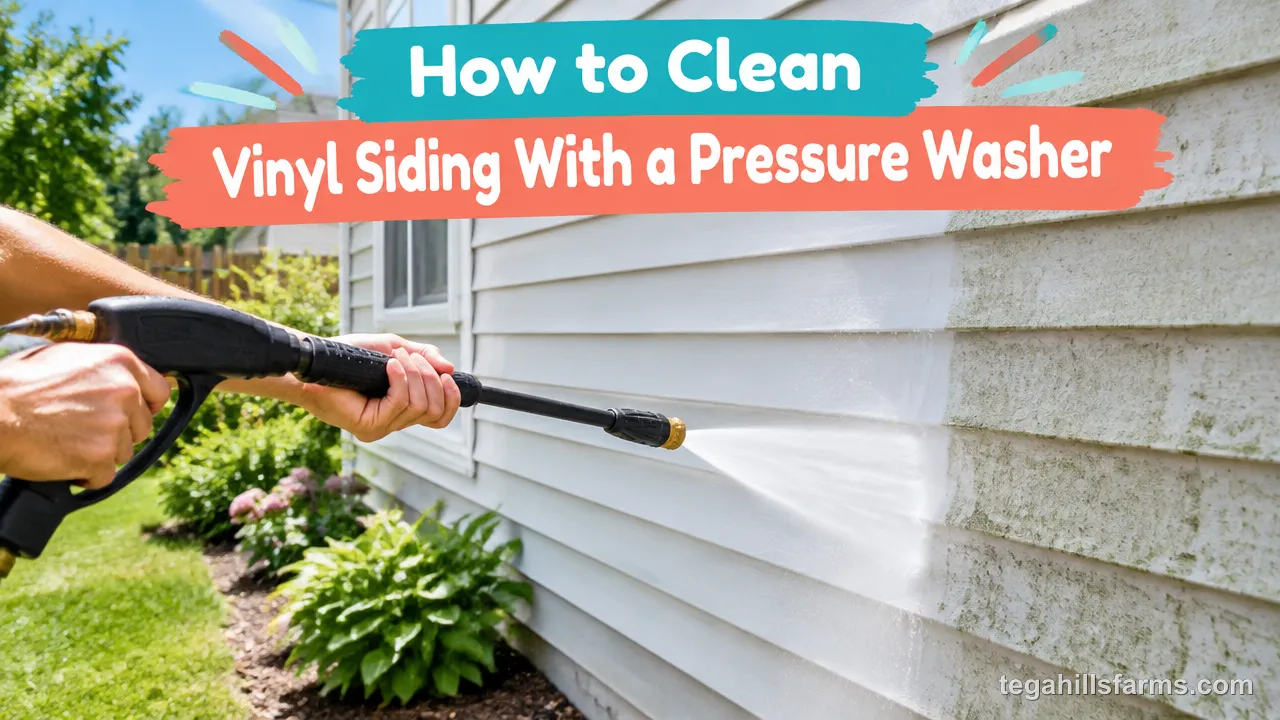
You can clean vinyl siding safely with a pressure washer if you keep the force low and spray in the right direction. Use a light-duty machine with a wide-angle tip and a siding-safe detergent, and aim level or slightly downward so the spray lifts dirt instead of driving water behind the panels. Work one wall at a time from the top down, and give the detergent time to work so the pressure doesn’t have to.
The right setup depends on your house. A single-story ranch with dust and pollen needs little more than soap and a gentle rinse. A shaded wall streaked with green mildew needs a bleach-based mix and more patience. Siding height, the outlets and vents you have to protect, and the plants growing against the foundation all shape what you buy and how you work.
What goes wrong is rarely a dirty wall. Vinyl panels overlap like shingles, so they shed rain from above but let a jet of water in from below. Water forced into that gap can soak the sheathing behind the siding and stay there long after the outside looks clean. Too much pressure can also crack or gouge thin panels in a single pass.
What Equipment Do You Need?
Your kit is decided by how much force reaches the vinyl. The machine, the spray tip and the cleaning chemistry trade off against each other: the gentler the spray, the more the detergent has to do. Planning around that balance keeps you from buying more machine than siding can handle.
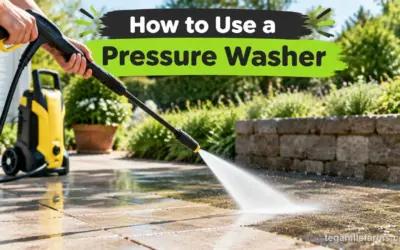
If there’s no machine in your garage yet, knowing how to choose a pressure washer helps you match one to your siding and to the other cleaning jobs around the house. Anyone new to the controls should also read up on how to use a pressure washer, including startup and releasing trapped pressure, before aiming it at a wall. A soft-bristle brush on an extension pole handles the spots the spray shouldn’t hit hard.
Pressure Washer Type and Power
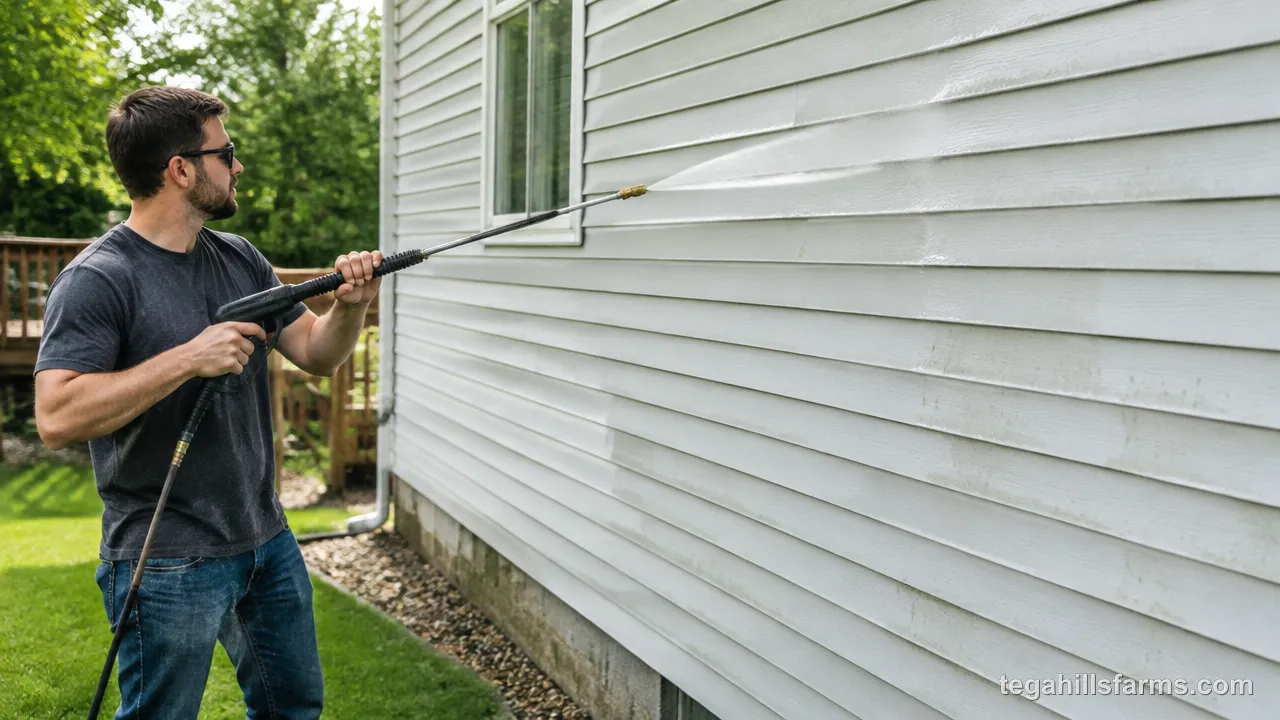
A light-duty electric pressure washer has enough power for vinyl siding. The job calls for a gentle, even rinse, not peak force. The PSI rating measures how hard the water hits each square inch, and thin vinyl panels don’t need much of it. A high rating doesn’t speed up siding work. It narrows the margin before the spray splits a panel or strips its surface.
A gas pressure washer can clean siding too, but its output leaves less room for error. With gas, the nozzle choice and your distance from the wall carry all the safety. A pressure washer also uses far less water than an open hose: STIHL rates its machines at 80 percent less water than a garden hose, which matters when you rinse an entire house.
Nozzle and Spray Tip
The white 40-degree tip is the safest for vinyl because it spreads the water into a wide, gentle fan. Use the green 25-degree tip only for stubborn spots, and only from a careful distance. The narrower fan concentrates force, so it cleans faster but can mark the surface.
Keep the red 0-degree and yellow 15-degree tips off siding entirely. Both produce a cutting stream that can etch a line into vinyl or blow out a seam. Skip turbo or rotary nozzles as well, since they pulse a pinpoint jet. The black soap tip drops pressure low enough for the machine to draw detergent, and it’s the tip you use to apply cleaner before the rinse.
Cleaning Solution and Detergent
A detergent labeled for siding or exterior house washing removes everyday dirt, pollen and chalky film without harming vinyl. Run it through the machine’s soap tip or detergent tank, and choose a formula rated for pressure washer use so it doesn’t foul the pump.
Some cleaners work better by hand. Simple Green Oxy Solve is mixed at 1.5 cups of cleaner in 2 gallons of water in a bucket, then scrubbed on with a soft brush instead of sprayed. Hand-scrubbing suits small stained areas near windows and trim where you’d rather not use pressure at all.
Save bleach-based solutions for mildew and algae. They need a different mix and more care around plants.
How Do You Prepare the Area Before Washing?
Preparation controls where the water and detergent end up. The spray rarely damages a house by itself. Problems start when water gets into an outlet, a dryer vent or a gap around a window, or when runoff carries cleaner onto shrubs. Soak plants along the foundation with a garden hose before you start, because wet leaves absorb less of the detergent that drips onto them. Move patio furniture, grills and planters away from the walls so you have clear footing.
Cover Windows and Openings
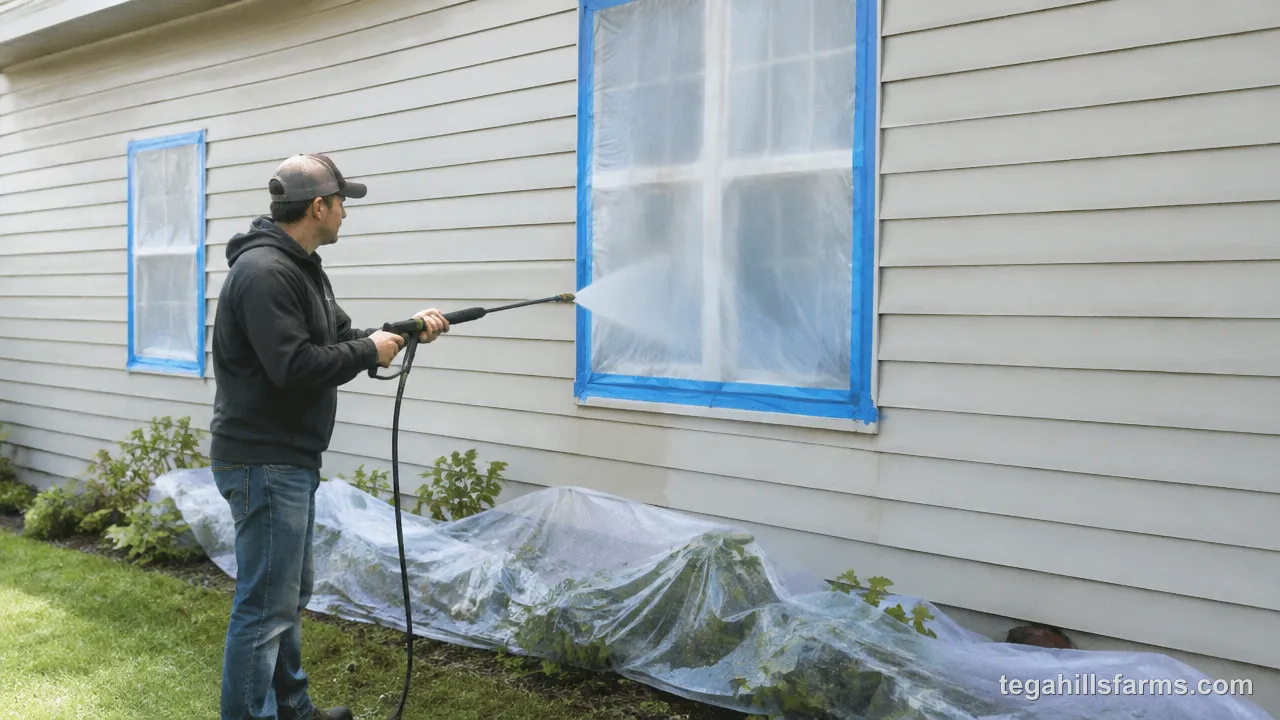
Electrical outlets, light fixtures and vents are the first things to seal, since water inside them causes damage that stays hidden. Tape plastic sheeting over exterior outlets and fixtures, and switch off their breaker if you can. Cover dryer, bathroom and attic vents with plastic and painter’s tape, because their flaps open inward easily under spray.
Close every window tightly and check the seals. A worn gasket lets water run straight onto the sill inside. Leave the small weep holes along the bottom of the siding panels open. They drain water that gets behind the vinyl, and taping them traps moisture against the wall.
Remove Loose Dirt and Debris
Brushing and pre-rinsing loose material first lets the pressure washer and detergent work on the bonded film rather than pushing debris around. Sweep cobwebs, wasp nests and leaf litter off the siding, soffits and window corners with a soft brush. Left in place, they turn into muddy streaks once water hits them.
Then wet the walls with a garden hose. Wet vinyl spreads detergent evenly and slows how fast the solution dries, which gives the cleaner more time to loosen dirt before you rinse.
What Is the Correct Washing Technique?
Safe washing comes down to controlling where the spray lands. Vinyl panels shed water moving downward but take it in from below. Every choice about distance, angle and order serves that one rule. Siding needs a lighter touch than flat concrete: when you learn how to clean a driveway with a pressure washer, you can lean in and let the tip scrub, but that approach on a wall drives water into the laps.
Distance from the Siding
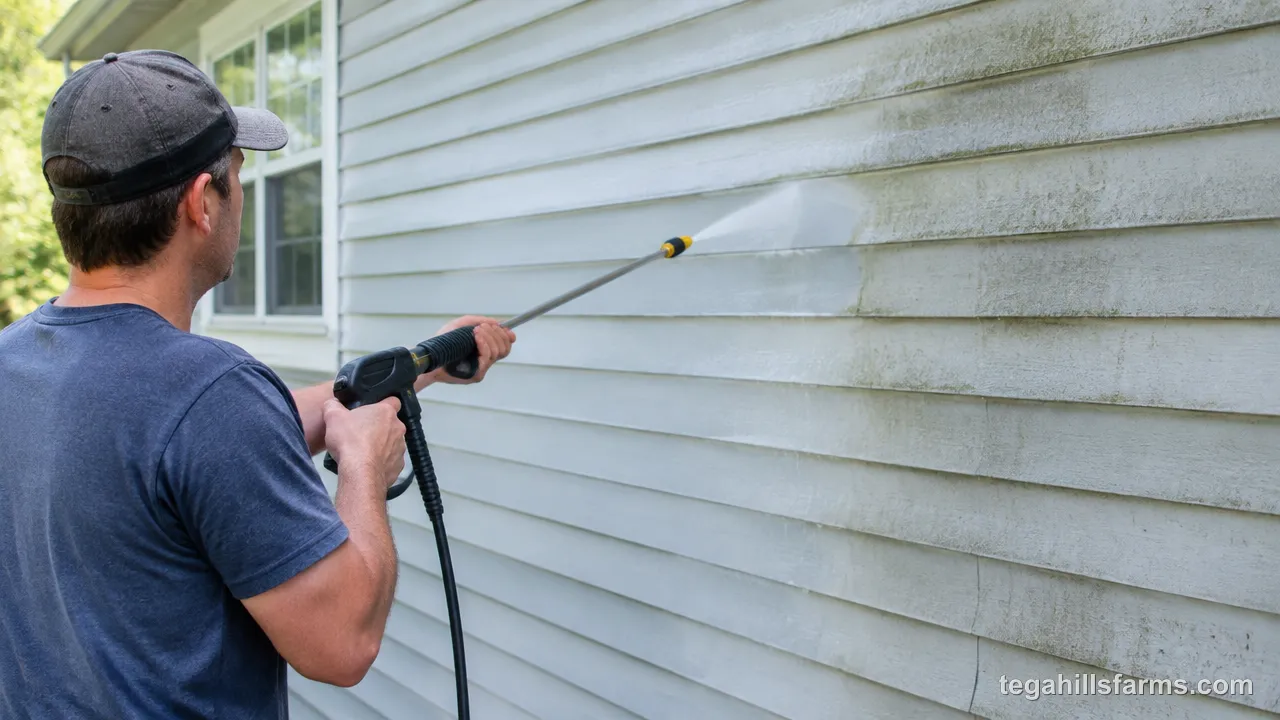
The right distance is the farthest point at which the dirt still lifts. Start well back from the wall and step closer slowly until the film starts to rinse away. Hold that spacing for the rest of the wall. The spray cone narrows as you approach, so a small step forward concentrates a lot more force on the panel.
Watch the surface as you go. Fine lines, a fuzzy or chalky texture, or panels visibly flexing under the spray all mean you’re too close. Back off right away, because any damage happens in the first pass, not after several. Stubborn spots get more detergent time or a brush, not a closer nozzle.
Direction and Pattern
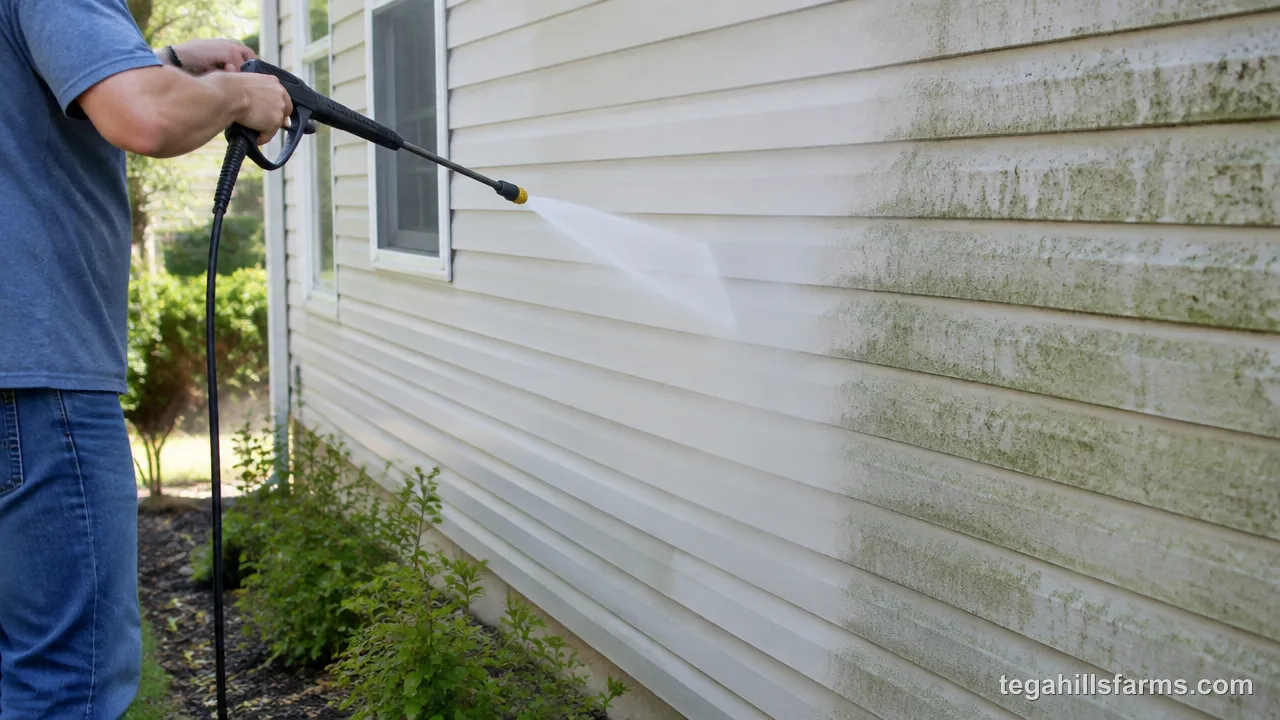
Aim straight at the wall or slightly downward. Sweep side to side along the length of each panel, following the horizontal lap lines. A downward angle pushes water over the lip of each overlap, the same way rain runs off, so it can’t get behind the panel.
Overlap each pass slightly so no dry stripe is left between sweeps. Uneven coverage leaves light and dark bands that stand out once the wall dries. Keep the wand moving at a steady pace. Holding it still on one spot concentrates force and soaks that seam. Around windows, doors and corner trim, angle the spray away from the gaps instead of into them.
Where to Start and How to Progress
Work one wall at a time, in sections you can reach comfortably without stretching. Apply detergent from the bottom up so it doesn’t run down a dry wall and leave clean streaks. Then rinse from the top down so dirty water flows over panels you haven’t finished yet instead of the ones you just cleaned.
Start on a shaded wall and follow the shade around the house as the day goes on. Detergent dries fast in direct sun and leaves a film that’s harder to remove than the original dirt. Finish each section’s rinse before moving to the next one, so cleaner never sits drying on a wall you’ve walked away from.
How Do You Handle Mold and Mildew?
Mildew and algae need a bleach-based solution plus dwell time to kill the growth, while ordinary dirt comes off with detergent and a rinse. Pressure alone can lighten a green stain, but living spores stay in the vinyl’s texture and regrow, especially on shaded walls.
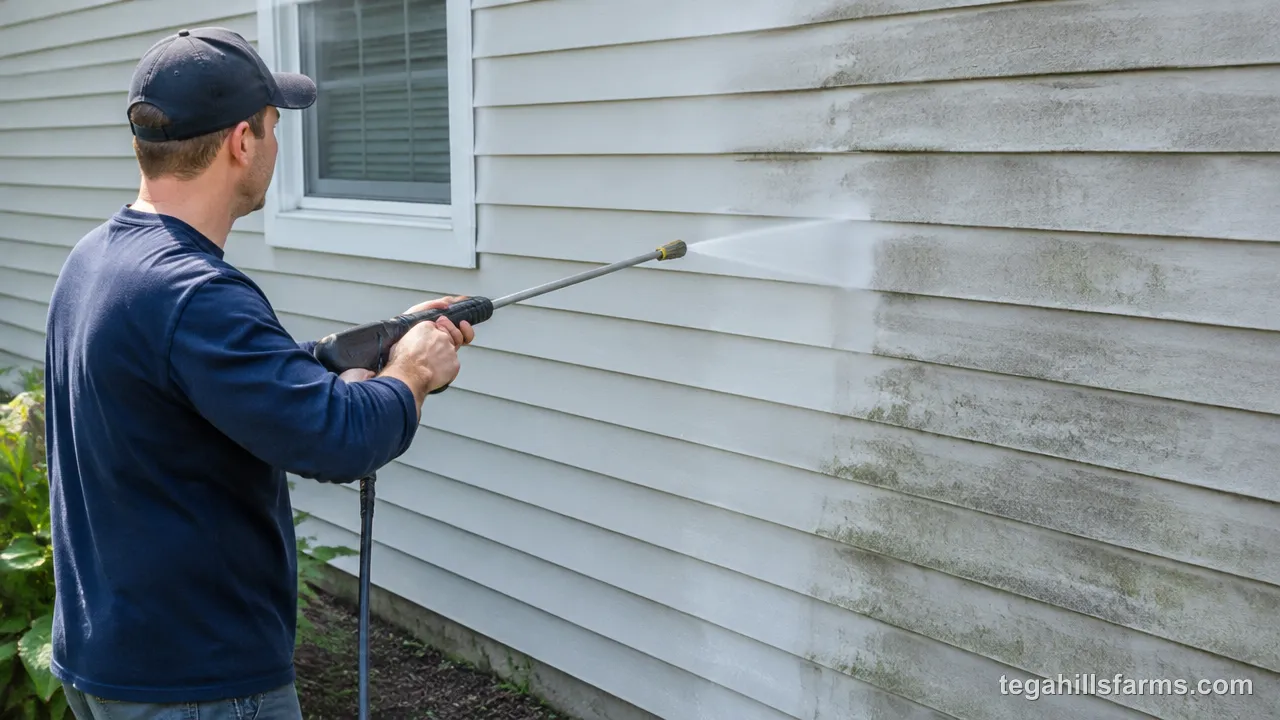
One mildew mix used for vinyl siding combines 1/3 cup detergent, 2/3 cup trisodium phosphate, 1 quart of 5% sodium hypochlorite (household bleach) and 3 quarts of water. Apply it by hand or at low pressure and let it sit for 5 to 10 minutes. In direct sun, watch it closely and mist the wall if it starts to dry. Don’t make the solution stronger, because higher bleach concentrations can damage vinyl.
Bleach also changes your prep. Soak plants before and after, and never mix it with ammonia-based cleaners, which releases toxic gas. Ordinary dirt needs none of this, so treat only the walls that actually show growth.
What Should You Do After Washing?
The job ends with a thorough final rinse, full drying and a daylight inspection. Rinse each wall from the top down until no suds or slick feel remain. Leftover detergent dries into a dull film that attracts new dirt. Soak plants along the foundation again to flush away any cleaner that dripped onto them.
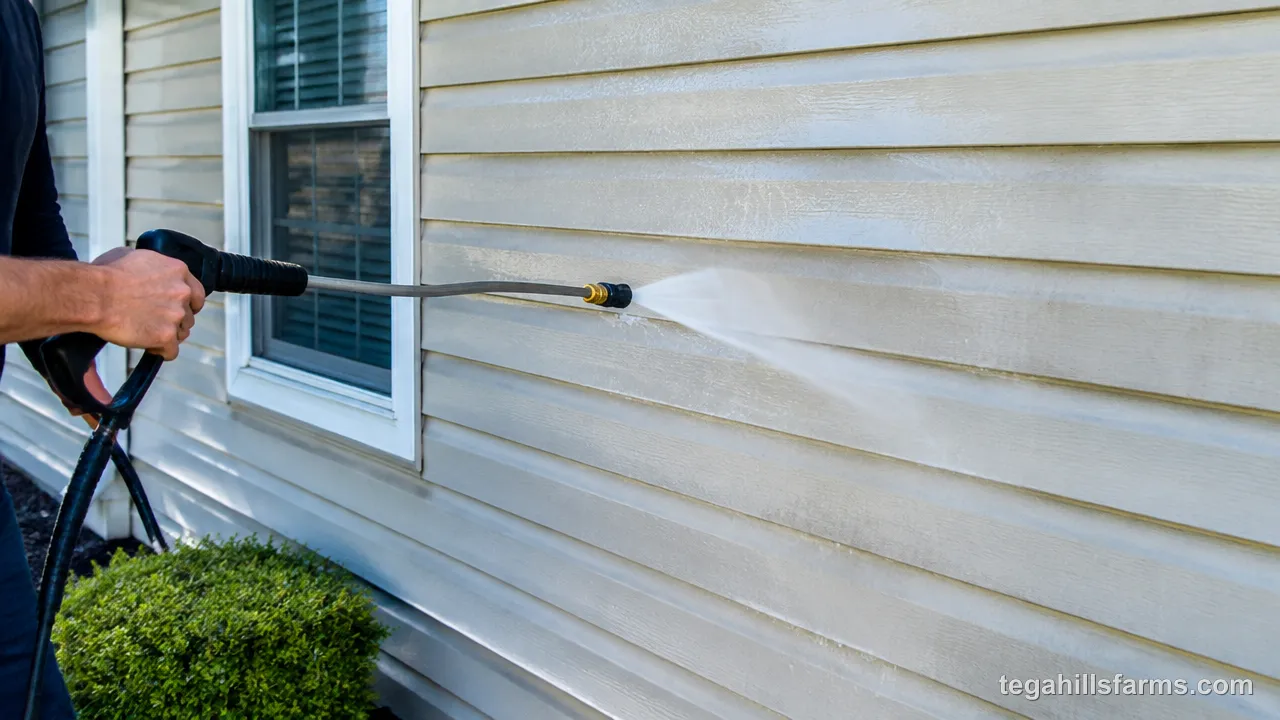
Let the siding air-dry completely before uncovering outlets and vents, so water doesn’t run into them when you pull the plastic off. Then walk the house in good light. Missed areas show up as faint stripes or a lingering film, and hard water can leave spots on darker panels. Spot-rinse those sections instead of rewashing the whole wall.
Check the inside as well. Look at walls and sills near windows for damp spots, since a leak is easiest to fix the same day. Make sure no panels were knocked loose from their locking edges.
What Mistakes Should You Avoid?
Most siding damage comes from too much force and the wrong spray angle. Both are easy to cause and expensive to fix. Two smaller mistakes ruin the finish rather than the panels: washing in direct sun, which bakes detergent onto the wall, and skipping the final rinse, which leaves a dull residue. Machine problems waste a day too. Gas left in the tank all winter is a common reason a pressure washer won’t start on the morning you planned to wash.
Using Excessive Pressure
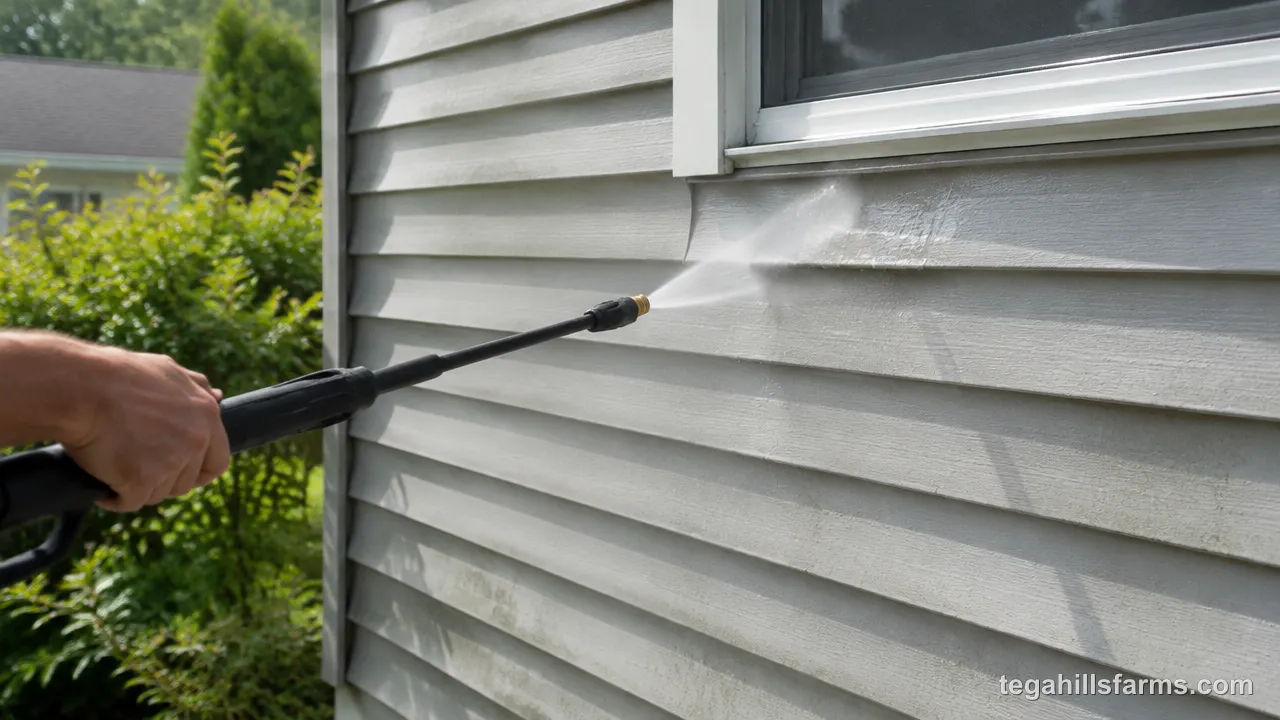
Too much pressure cracks, gouges or chalks vinyl because the panels are thin and only lightly fastened. A narrow tip held close can split a panel along its grain or cut a visible line into the surface. Strong spray can also pop panels out of their interlocking edges, leaving gaps that let rain in long after the washing is done. Once the surface texture is blasted away, that spot looks different from the rest of the wall and collects dirt faster. A cracked panel has to be replaced, and matching faded siding is rarely exact.
Spraying at the Wrong Angle
Spraying upward drives water under the lap of each panel and into the wall cavity behind the siding. Vinyl isn’t sealed at its overlaps. It relies on gravity to shed water, so an upward jet defeats the whole design. Water trapped against the sheathing dries slowly and can lead to mold, rot or stains on interior walls weeks later.
Spraying straight into joints causes the same trouble on a smaller scale. Seams, J-channel around windows and corner posts are open gaps by design. Keep the wand at a level or downward angle, and reach high sections with an extension wand or soap kit instead of tilting the nozzle up from the ground.
A north-facing wall under a maple can turn green within a single season while the sunny side of the same house still looks clean, and light-colored or textured panels show that film sooner than dark, smooth ones. Leave the growth until it’s thick and it takes stronger mixes and more passes to lift, which puts more chemical on the vinyl and on the plants below.
How Often Should You Pressure Wash Vinyl Siding?
Once a year is the standard schedule for most vinyl siding, usually in spring or early summer when pollen and winter grime have built up. That yearly wash keeps dirt and mildew light enough for detergent and gentle pressure to handle.
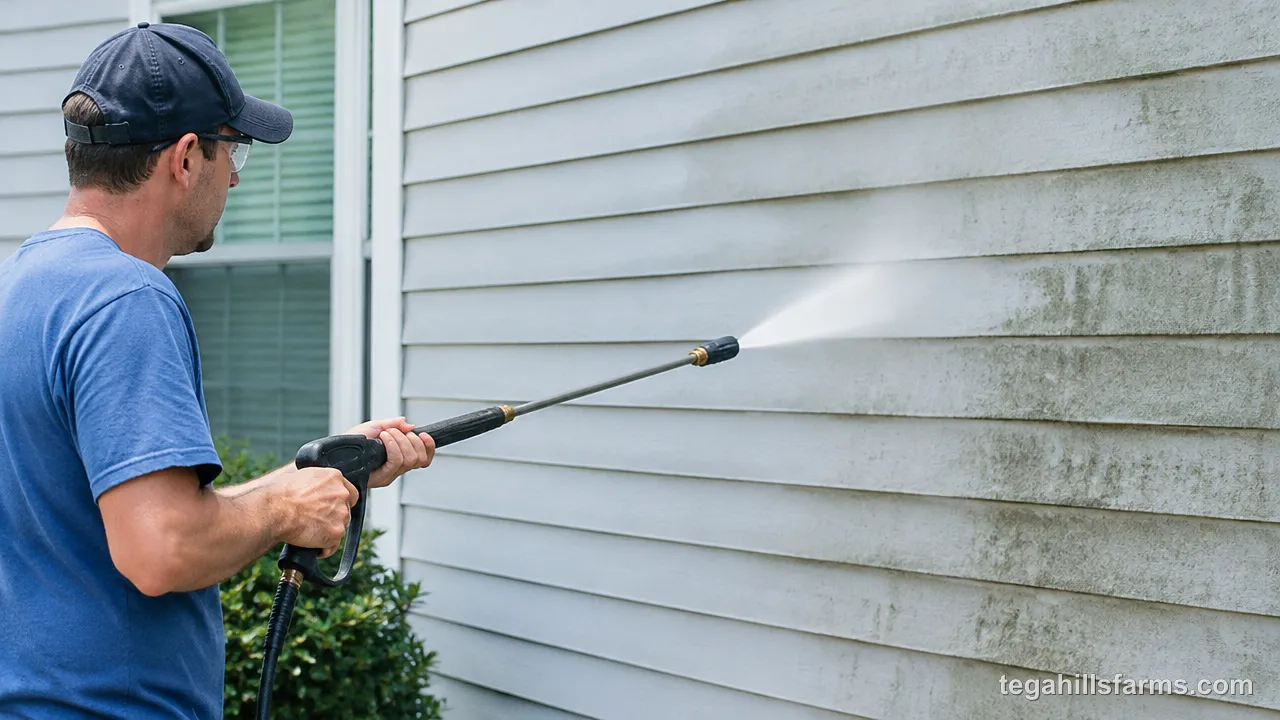
Your own house may need a different pace. Walls in heavy shade, homes in humid regions, and siding under trees that drop sap and pollen grow mildew faster and may need a mid-season touch-up on those walls alone. A house near a gravel road or a construction site collects dust quickly. A sunny, open lot in a dry climate can often go longer.
Let the siding tell you. A green or gray film on the shaded side, or a chalky smear when you wipe a panel, means it’s time.
Should You Use an Electric or Gas Pressure Washer?
For most vinyl siding, an electric pressure washer is the better fit. It provides plenty of output for this gentle job, weighs less to move around the house, and runs quietly enough for a weekend morning. It plugs into a GFCI-protected outdoor outlet. Check the manual before using an extension cord, since the wrong gauge can starve the motor. I’d steer most homeowners toward electric for siding alone.
A gas pressure washer earns its place when the house is large, outlets are scarce, or the machine will also handle heavy work like stripping decks and concrete. The tradeoffs are more noise and weight, plus fuel and oil to manage. Gas engines need off-season care, and maintenance plays a big part in how long pressure washers last, whichever power source you pick.
When Should You Hire a Professional?
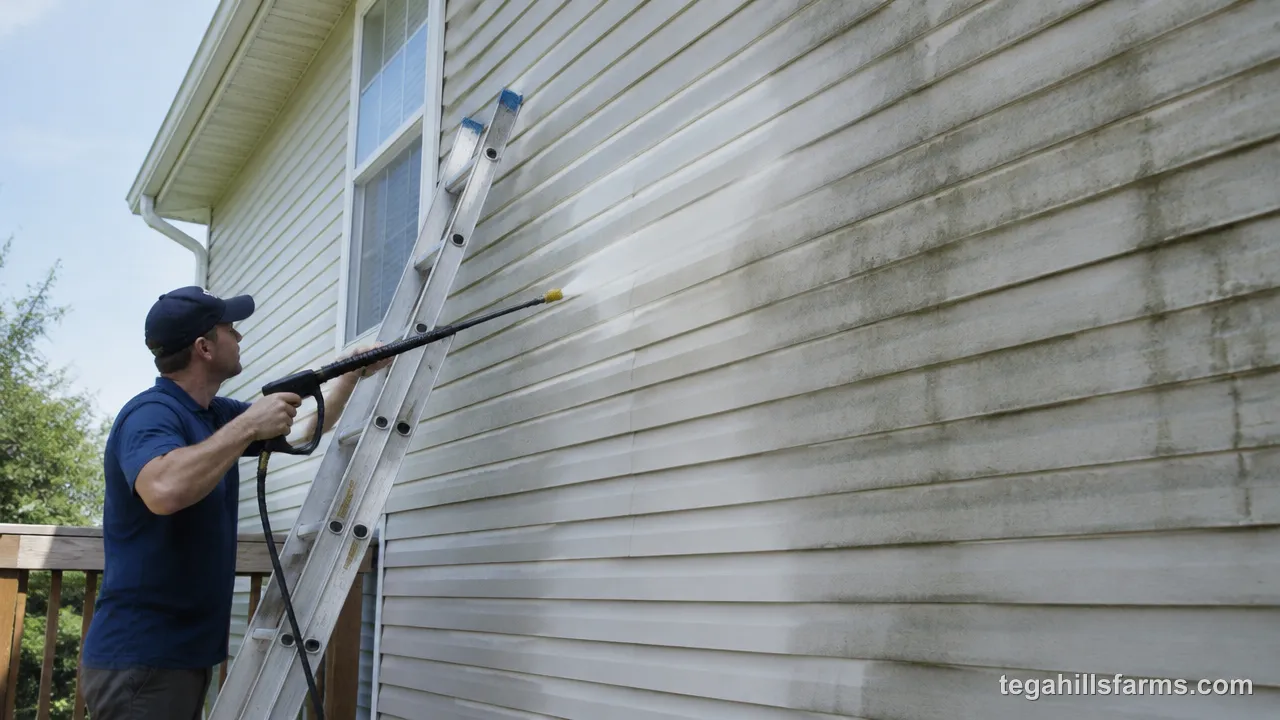
A professional makes sense when you’d have to run a pressure washer from a ladder. The spray’s kickback can push you off balance at the worst moment. A high-pressure soap kit can reach up to 25 feet from the ground, so if your siding runs higher than that, or the ground below it slopes too much for a steady stance, the job is safer with a crew that has staging and long wands.
Hiring out also makes sense when mildew covers most of the house, when panels are already cracked or loose, or when siding sits over a steep roofline. If you don’t own a machine and only need one wash a year, compare a service quote against renting one and against how much a pressure washer costs if you’d also use it on decks and walkways.
Frequently Asked Questions
Should you use hot or cold water on vinyl siding?
Cold water works fine for vinyl siding because the detergent, not the water temperature, loosens dirt and mildew. Hot-water pressure washers are mostly heavy commercial machines and add nothing a homeowner needs for this job. Let the cleaner sit for its dwell time, rinse with cold water, and the finish comes clean without extra heat.
Can you pressure wash siding from a ladder?
Avoid it. The spray pushes back against your hands, and that kickback can throw you off balance on a ladder. Work from the ground with an extension wand or a soap kit for upper sections. If you can’t reach the top of a wall safely that way, it’s a job for a professional crew.
What can you use instead of an extension pole?
A telescoping soft-bristle brush attached to a garden hose handles upper siding without any pressure at all. Scrub on the detergent, then rinse with the hose. A soap kit on the pressure washer also reaches high areas from the ground. Both options keep you off ladders and avoid tilting the nozzle upward.
Can you pressure wash vinyl siding without detergent?
Plain water rinses off loose dust and pollen, but it won’t break down the oily film or mildew that dulls siding. Without detergent, you’ll be tempted to move closer or switch to a narrower tip, which is how panels get damaged. A siding-safe cleaner lets the low-pressure rinse do the work safely.
Is it safe to pressure wash near electrical outlets?
It’s safe if you prepare first. Tape plastic over outlets and fixtures, turn off their breaker when possible, and aim the spray away from them rather than straight in. Plug an electric pressure washer only into a GFCI-protected outlet, and keep the plug and cord connection off wet ground while you work.
Write Your Review
No reviews yet. Be the first to share your experience!