

A driveway cleans up in four stages. First sweep and inspect the slab. Then wet it and lay down detergent with a low-pressure soap tip. Next, wash downhill in overlapping passes with a medium-angle tip or a surface cleaner, and finish with a rinse. Oil stains get their own treatment before the main wash, because a degreaser has to pull oil out of the pores before water pressure can carry it away.
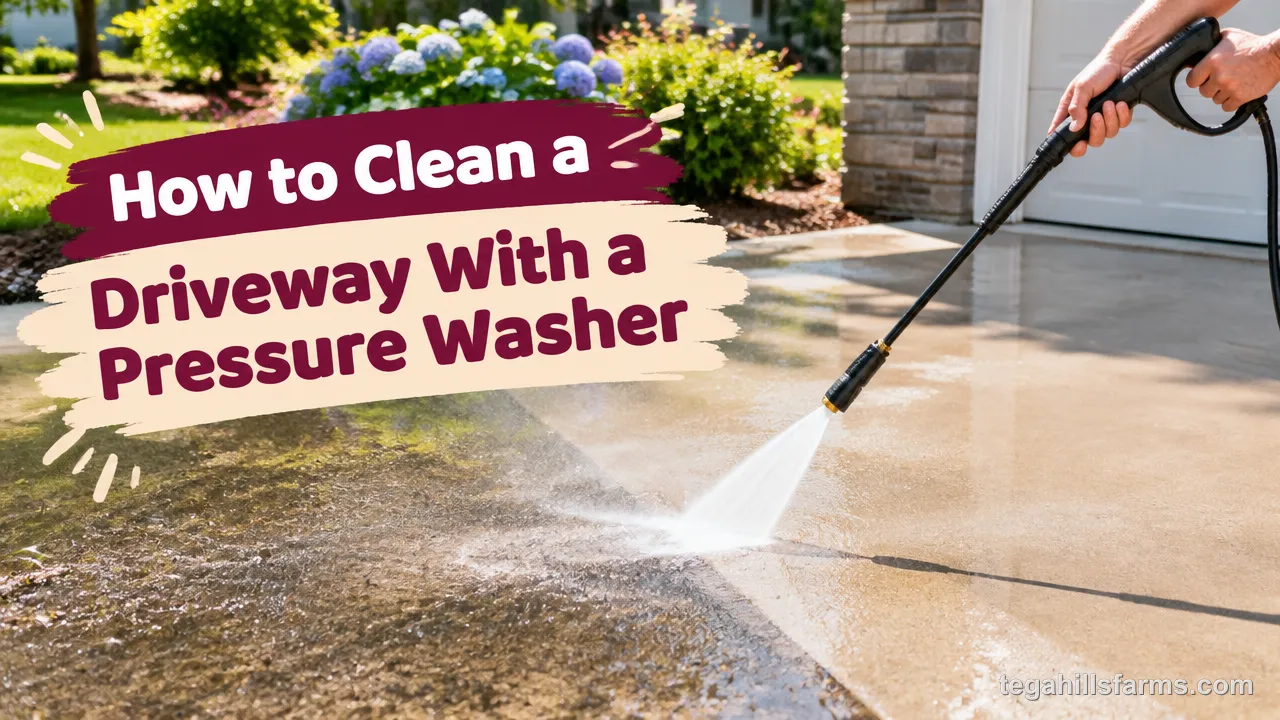
Raw machine power matters less than matching the tip, the pressure and your technique to the surface. Sound concrete handles a firm stream. Asphalt, pavers and aging slabs give way much sooner, so a tip that works fine on one surface can scar another.
The real risk on a driveway is damage: stripes, etched lines, washed-out joints, or an oil spot that spreads into a wider gray smear. Each of these comes from a specific habit. The usual causes are a tip that’s too narrow, a wand held too close, a pause in one spot, or blasting oil before a cleaner has broken it down. That means each one can be avoided.
Plan the job for a mild, overcast morning and treat the oil spots first. The degreaser can then do its work while you sweep and set up the machine.
What Pressure Washer Setup Do You Need to Clean a Driveway?
A driveway job calls for a machine rated at 3,000 PSI or less for concrete, with enough water flow (GPM) to rinse loosened grime quickly, plus a spray wand, a nozzle set, a surface cleaner and detergent.
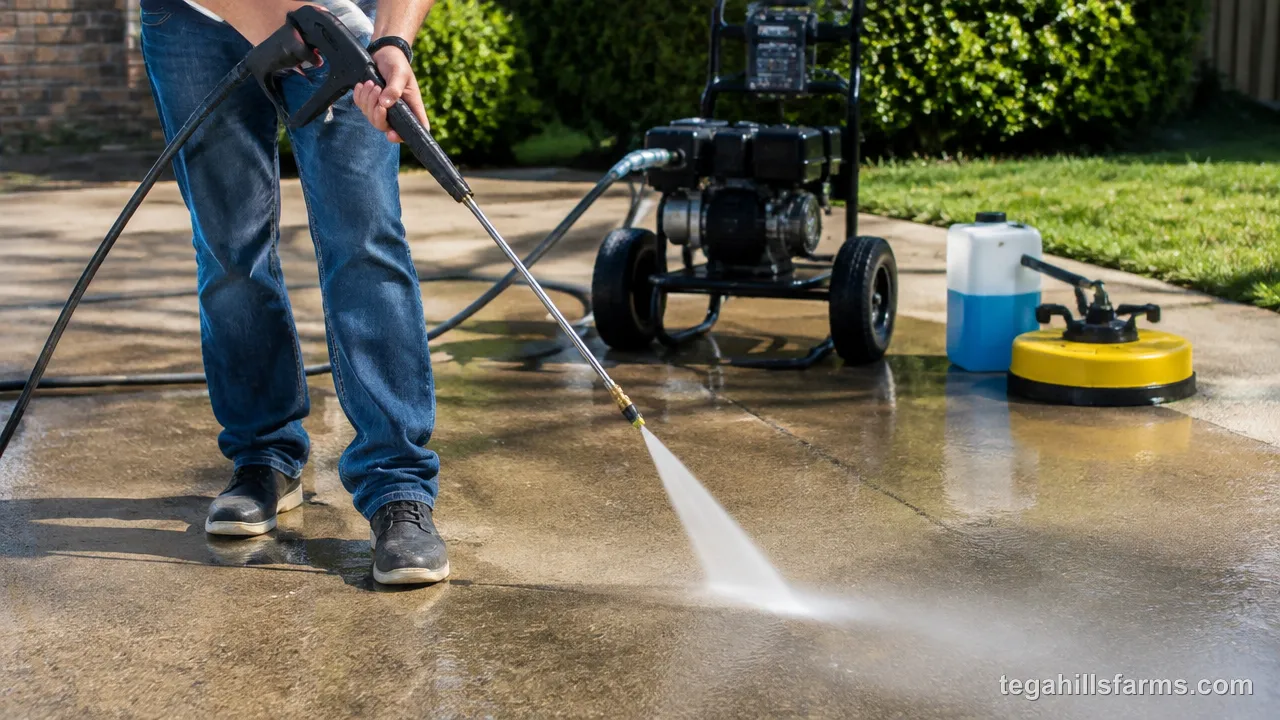
Pressure (PSI) is what breaks dirt loose from the surface. Flow (GPM) is what carries that dirt off the slab. Extra flow speeds up rinsing without the risk that extra pressure brings. Above that pressure limit, concrete can etch or crack. Asphalt is softer still, so it needs lower pressure and a wider tip.
Each accessory has its own job:
- The wand keeps your hands back from the stream.
- The nozzles set the spray angle.
- A surface cleaner spins jets under a hood, so flat areas clean evenly.
- Detergent loosens the grime that water alone slides over.
You’ll also need a 50-foot garden hose to connect the machine to the spigot. If you don’t own a machine yet, the guide on how to choose a pressure washer explains which pressure and flow ratings suit driveway work.
How Do You Prepare a Driveway Before Pressure Washing?
Most of the damage in a driveway wash is set up before the engine starts. Loose debris, hidden weak spots and the wrong weather cause more trouble than the spray itself. Prep takes far less time than repairing a gouged slab or rewashing a streaked one.
How Do You Clear and Protect the Area First?
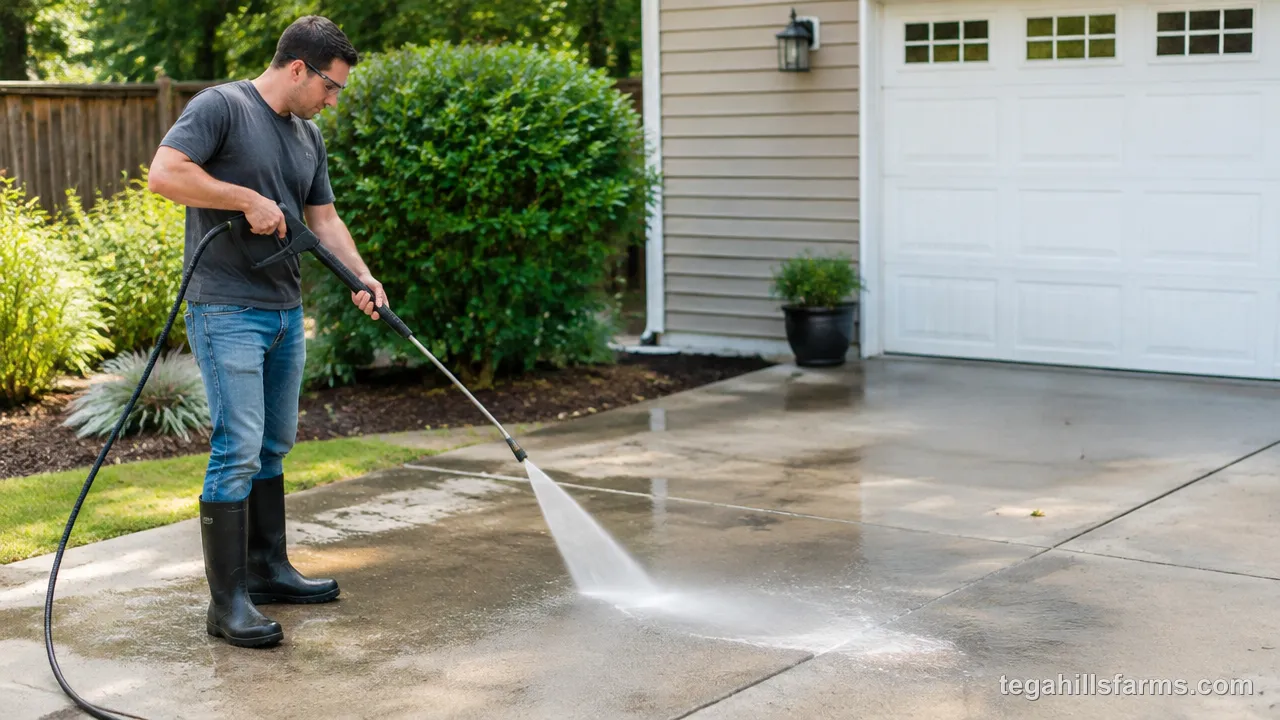
Sweep the whole driveway with a stiff broom, and move vehicles, bins, planters and decor off the slab before you connect the hose. Gravel, leaves and grit become projectiles under pressure. They can chip paint on a nearby car, scratch a garage door, and get sucked into a surface cleaner where they nick the spray bar. Leaf litter also clogs drains and shoots back at your legs.
Runoff is the second concern. Wet down plants along the edges before you start, because damp leaves and soil absorb less detergent. Cover delicate beds with plastic sheeting, but only for the length of the wash, since trapped heat can cook foliage. Close the garage door and any nearby windows.
Siding next to the driveway catches spray and dirty splashback, so aim away from it. Give the siding a plain-water rinse once you’re done.
What Should You Check on the Surface Before You Spray?
Walk the driveway slowly and look for cracks, crumbling edges, worn control joints, a sealer coat that’s peeling in patches, and asphalt that feels soft or looks raveled. These spots need a wider tip and less pressure, or no pressure at all.
A strong stream finds weak spots and widens them. Water forced into a crack washes out the fine material underneath and can break loose the edges. Joints filled with sealant or sand get emptied in a single pass. A failing sealer coat comes off unevenly, leaving blotches that look worse than the dirt did.
Asphalt that’s aging or sun-softened loses surface grit quickly, which exposes the binder below. Mark problem areas with chalk so you remember to ease off when you reach them mid-wash.
What Weather Is Best for Washing a Driveway?
A mild, overcast, dry day gives the best results. The surface stays damp long enough for detergent to work, and you’re not fighting wind or rain.
Direct hot sun is the most common problem. Detergent dries on the slab before it loosens anything, and drying soap leaves blotchy streaks that only another wash removes. In the hot, sunny South and Southwest, early morning or late afternoon is usually the workable window. In the Pacific Northwest and other damp regions, the challenge is finding a dry stretch, so the surface can actually dry and you can see what you missed.
Skip any day with freezing temperatures in the forecast. Water left on the slab or in its pores turns to ice, which creates a slip hazard and can worsen cracks.
How Do You Pressure Wash a Driveway Step by Step?
Your tip choice and how steadily you move the wand decide the result more than the machine’s power rating does. Working in a consistent order keeps detergent active and moves dirt downhill instead of dragging it across concrete you’ve already cleaned.
Which Nozzle Should You Use at Each Stage of the Wash?
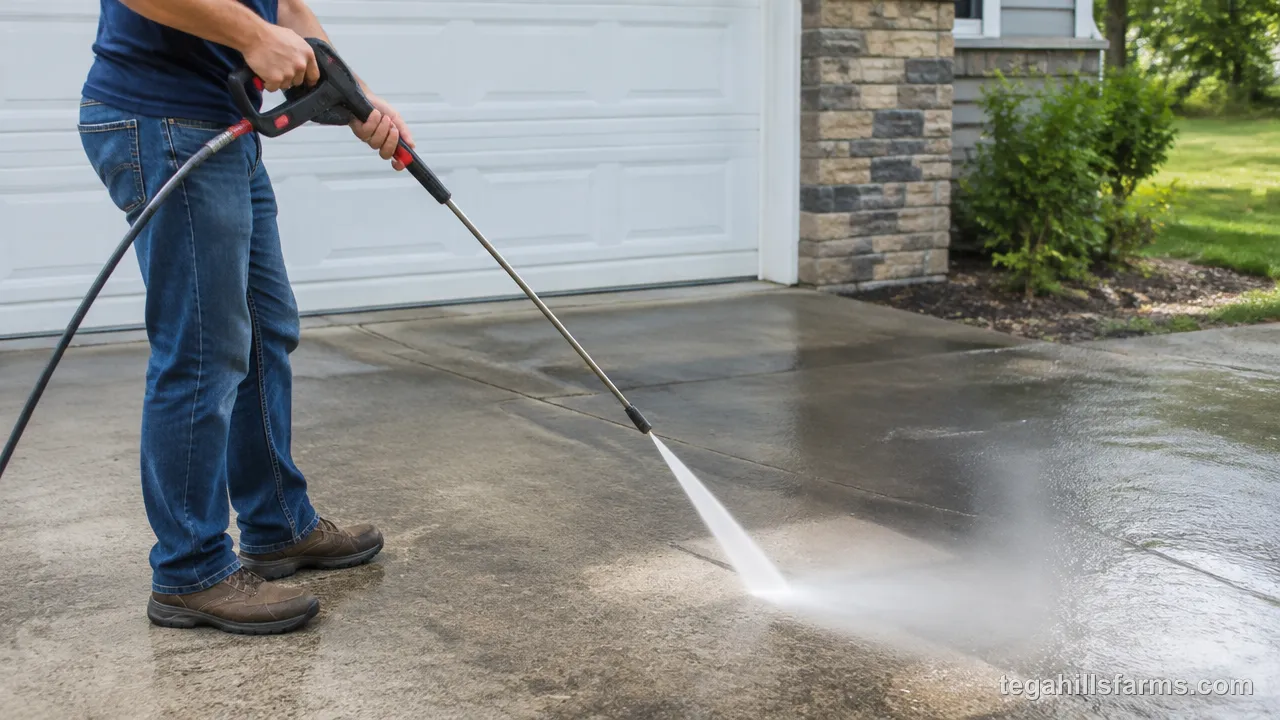
Use the low-pressure soap tip to apply detergent. The soap tip is usually black, and most machines only draw detergent through it. Switch to the white 40-degree tip for wetting the slab and for gentle passes on asphalt or worn spots. For washing and rinsing sound concrete, use the 25-degree tip. It’s narrow enough to cut grime and wide enough to avoid scoring lines.
Keep the 15-degree and 0-degree tips off the driveway. Both focus the stream into a narrow strip that etches concrete in seconds and tears up asphalt. The 0-degree tip carves a groove into almost anything it touches.
Even the right tip behaves differently on every slab, so test it first. Pick a hidden corner, such as behind the trash bins or along the edge by the lawn, and make a short pass. Look for lighter lines or exposed aggregate. If the machine is new to you, learning how to use a pressure washer on a test patch like this costs nothing and shows you how close you can safely work.
How Do You Spray a Driveway for Even, Streak-Free Results?
Split the driveway into sections a few strides wide. Start each one at the highest point and work downhill, so dirty water flows onto unwashed concrete instead of over finished areas.
Apply detergent from the bottom of each section upward. Soap running down a dry slab leaves streaks, while soap spreading onto a wet, already-coated area doesn’t. Overlap each detergent pass 6 to 8 inches onto the last one. Let the detergent sit for 5 minutes, and mist it with plain water if it starts to dry in a breeze.
When you wash, keep the tip at a steady distance and move in smooth, even sweeps. Use the same overlap you used for the detergent. Changing your distance mid-pass is what creates zebra stripes, because the closer strips get more cleaning than the ones beside them.
Hold the wand at a low angle so the spray pushes dirt ahead of you and off the edge, rather than straight down into the pores. Keep moving at all times. If you stop in one spot, even briefly, the stream leaves a bright patch or a shallow etch that stays visible after the slab dries.
Should You Use a Surface Cleaner or a Spray Wand?
On a large, flat concrete driveway, a surface cleaner gives a more even finish with far less effort than a bare wand. The jets spin at a fixed height under the hood, so every square foot gets the same treatment, and stripes rarely appear. The hood also contains spray that would otherwise hit your shins, the car and the siding. On a wide slab, it covers ground faster than overlapping wand passes.
The wand still has jobs the surface cleaner can’t do. It reaches the strip along the garage door, the edges by the lawn, steps, curbs, and corners too tight for the hood. You can also aim it, which matters when flushing grit out of a joint or rinsing loosened dirt toward the street.
I’d use both: the surface cleaner for the open field and the wand for the edges and the final rinse. On a short driveway or a cracked slab, a wand used with a wide tip is enough on its own.
How Do You Rinse and Finish the Job?
Rinse the whole driveway from the top down with the tip you washed with. Push the loosened dirt and detergent off the edge in one direction until no suds remain. Residue left behind dries as a dull film and attracts new grime faster.
Let the slab dry fully, then walk it in good light. Missed patches and faint stripes show up much more clearly on dry concrete, and a quick second pass on those spots finishes the job.
Shut off the machine, then squeeze the trigger to relieve the pressure trapped in the hose. Run clean water through the detergent line for a minute so soap doesn’t dry inside the injector. Drain the hoses before you coil them.
How Do You Remove Oil Stains From a Driveway?
Oil comes out with chemistry first and pressure second. A degreaser breaks the oil down inside the pores, and the washer only flushes away what the cleaner has already loosened. How old the stain is and what the driveway is made of decide which cleaner to use and how many rounds it takes.
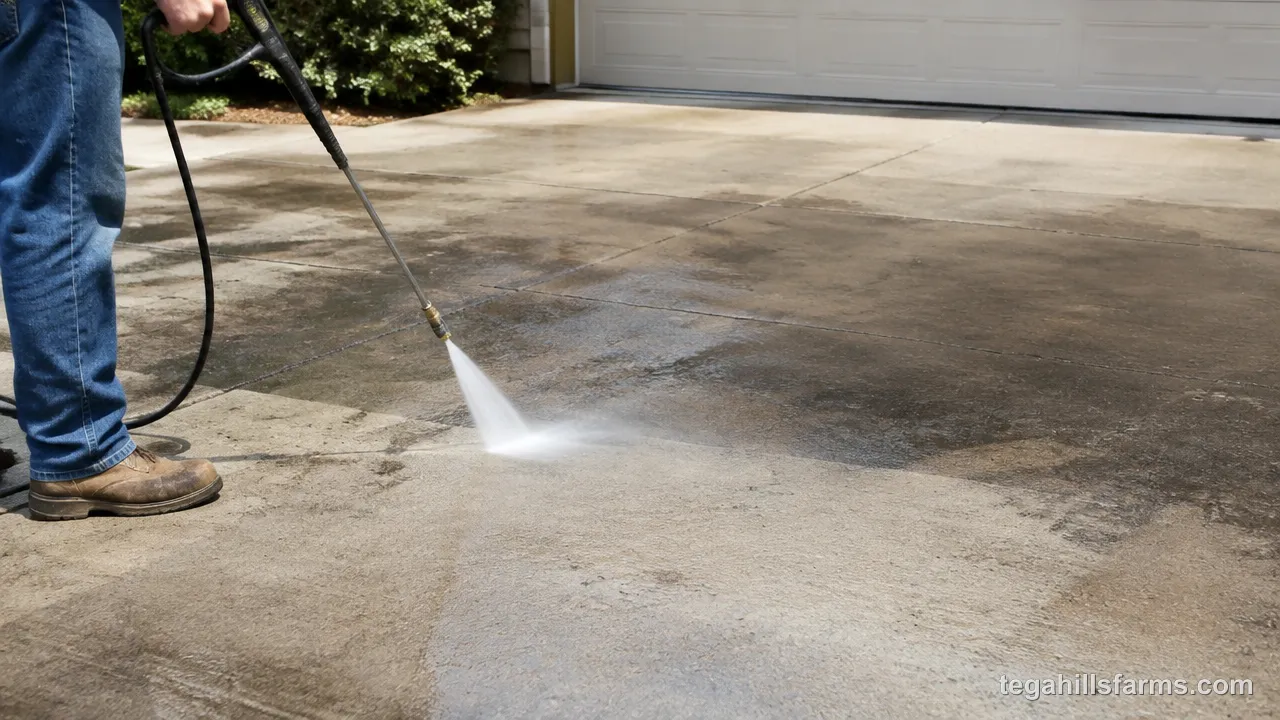
How Do You Treat Fresh Oil Stains Compared With Old Ones?
Act on a fresh spill right away. Blot up the liquid with rags, then cover the spot with an absorbent and let it pull the oil up before it soaks in. Oil that hasn’t reached deep into the pores often lifts almost completely.
An old stain is a different job. Over weeks and months, oil works deep into porous concrete and spreads outward beneath the surface. A cleaner has to sit long enough to reach it and break it down, and dark set-in stains usually need two or three rounds before they fade.
Pressure alone is the wrong tool for old oil. The stream pushes some oil deeper and spreads the rest outward, so the result is often a larger, lighter smudge instead of clean concrete.
How Do You Apply a Degreaser and Wash It Out?
Start by wetting the stain and the area around it with plain water. A damp surface keeps the degreaser working on top instead of soaking straight into dry pores.
Choose a degreaser rated for concrete driveways, and dilute it exactly as the label directs. Spray it from about 6 inches above the stain so it lands where you want it rather than drifting onto plants. Scrub with a stiff nylon brush to work the cleaner into the pores, then let it sit for the dwell time printed on the label. Keep it from drying out by misting lightly if the sun hits it, since dried degreaser stops working.
Rinse with the 25-degree tip on concrete, starting at the edge of the stain and working inward so loosened oil doesn’t spread across clean areas. If a shadow remains once the slab dries, repeat the treatment rather than turning up the pressure.
Why Is Oil on Asphalt Handled Differently Than on Concrete?
Asphalt is held together by a petroleum-based binder, so the same solvents that dissolve motor oil also dissolve the driveway. Solvent-heavy degreasers and harsh stain removers can soften the surface, strip out the binder, and leave a pitted, grayish patch that looks worse than the stain did.
Use a mild, water-based cleaner labeled safe for asphalt. Work it in with light brushing rather than hard scrubbing, and rinse with a wide tip at low pressure. Expect some fading rather than complete removal, because the dark surface hides stains well enough that faded is usually good enough.
Test any cleaner in a hidden spot first, and wait a day to check for softening or color change before treating the visible stain.
What About Mold, Algae, and Rust Stains?
Green or black patches in shady, damp spots are biological growth, such as algae, mold or mildew. Orange-brown marks near a metal railing, a parked trailer or a spot where fertilizer spilled are rust. Each needs its own cleaner, because a degreaser does little to either one.
Growth needs a cleaner that kills it. Pressure alone only knocks off the top layer and leaves the roots in the pores. Rust is a mineral deposit, so it calls for an acid-based rust remover made for concrete, applied only to the stain and rinsed thoroughly.
Growth tends to return wherever shade and moisture stay put, such as under trees, along the north side of the house, or next to a downspout. Trimming back overhanging branches or redirecting a downspout slows regrowth more than washing more often.
Should You Seal a Driveway After Pressure Washing?
Sealing is worth it on concrete that stains easily or faces wet, freeze-thaw winters, because a penetrating sealer slows how fast oil and water soak into the pores.
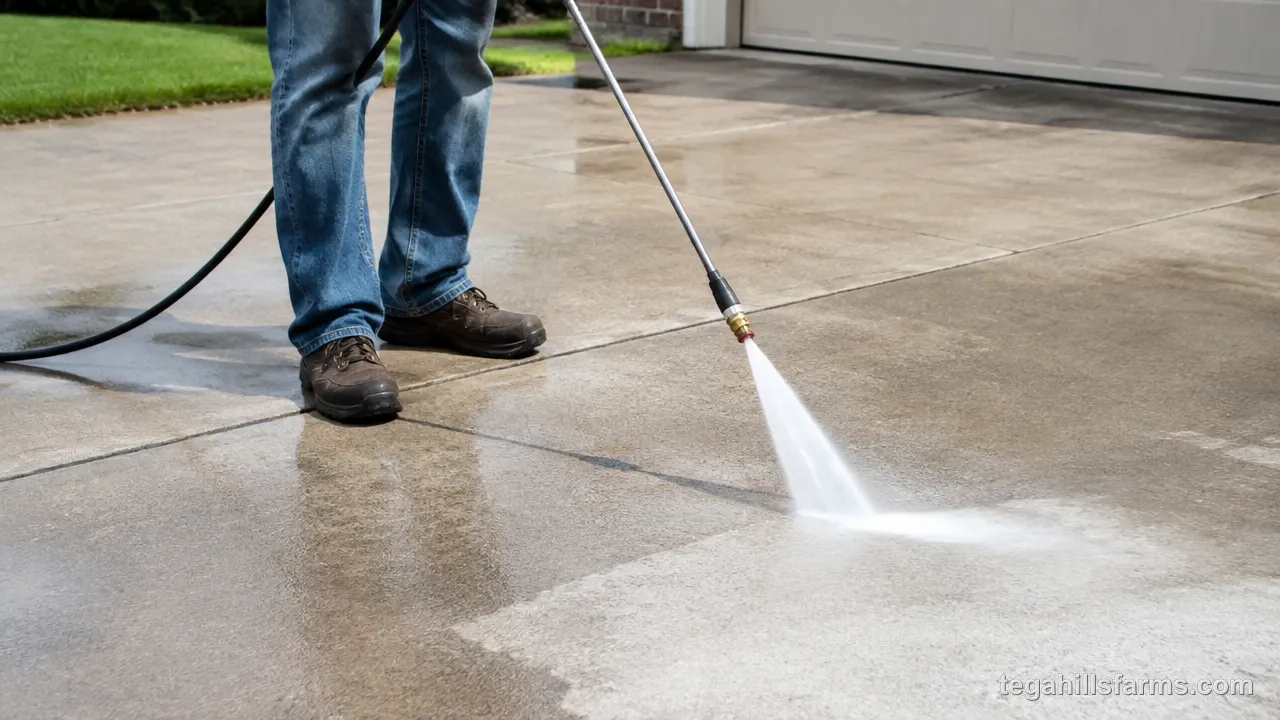
A freshly washed slab is the ideal time to seal, since the pores are open and free of grime. Skip sealing if the concrete is sound, rarely sees oil, and sits in a dry climate. In that case the added protection is small.
The slab must be completely dry before any sealer goes on. Water trapped under the coat clouds the finish and keeps the sealer from bonding, so follow the dry time on the product label. Coverage varies by product. Southeast Softwash Super Seal, a siloxane sealer, covers roughly 200 square feet per bottle, depending on how porous the concrete is. After rolling on a waterproof sealer, keep vehicles off for 24 hours.
A single pass with the wrong tip held a few inches too close can leave a permanent etched line across concrete, and asphalt can lose its top layer just as fast. The machine is at risk too: a pump left running while the trigger stays released for too long can cook its seals in one afternoon, and the first sign may be a machine that won’t hold pressure when you need it.
What Mistakes Damage a Driveway or a Pressure Washer?
Most driveway damage comes from a handful of habits, and each one leaves a recognizable mark.
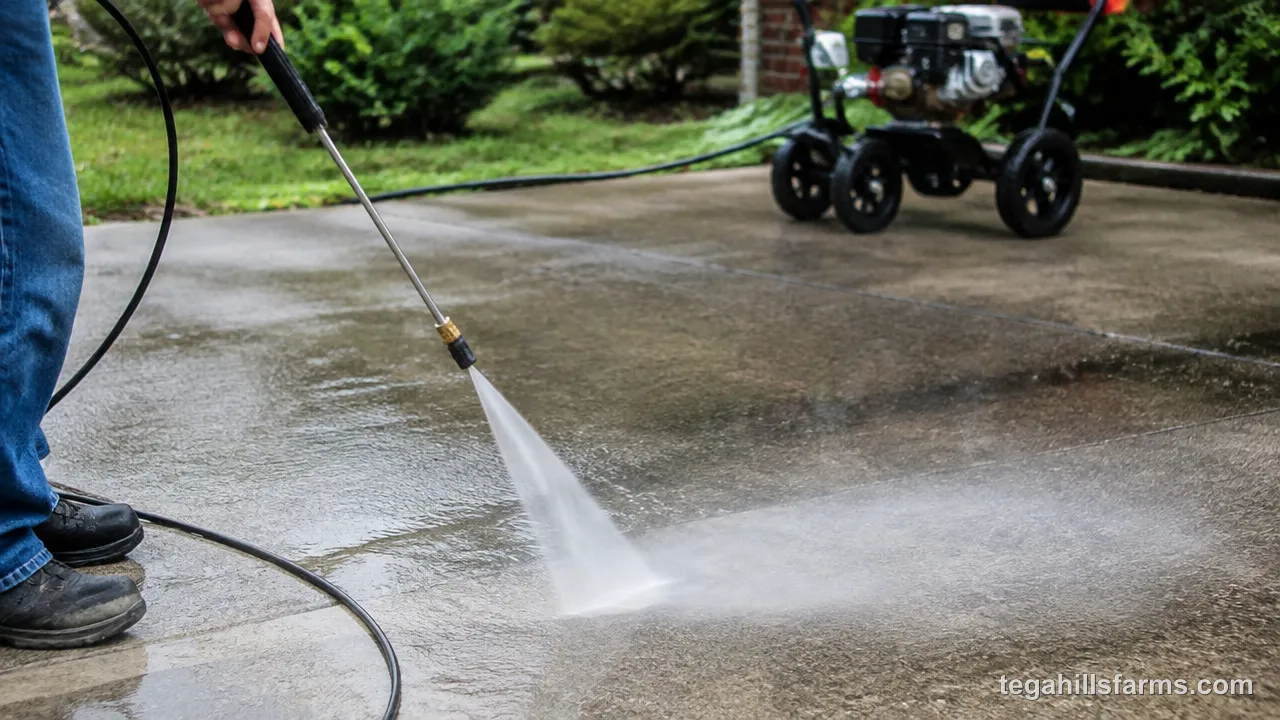
Zebra stripes come from uneven passes. When the tip drifts closer and farther, or the passes don’t overlap, the strips get different amounts of cleaning and dry in alternating shades. Gouges and etched lines come from tips that are too narrow or held too close. Concrete loses its smooth top layer, and the exposed aggregate stays rough and bright.
Joints suffer when the stream points straight into them. Sealant, backer material and paver sand all wash out, which lets water and weeds in. Spraying at a steep angle under slab edges or garage door seals forces water beneath, where it erodes the base.
The machine has its own weak point. If you hold the trigger released and let the pump run with no water moving through it, the trapped water heats up and wears the seals, which cuts into how long pressure washers last. When a gas unit stalls mid-job and the pressure washer won’t start again, the usual suspects are low oil, stale fuel or a fouled spark plug, not the driveway work itself.
Which Driveway Surfaces Need a Gentler Approach?
Natural stone, sandstone, pavers set in sand, old or flaking concrete, and aging asphalt all need a wider tip, lower pressure, and more cleaner and brushing than a sound concrete slab.
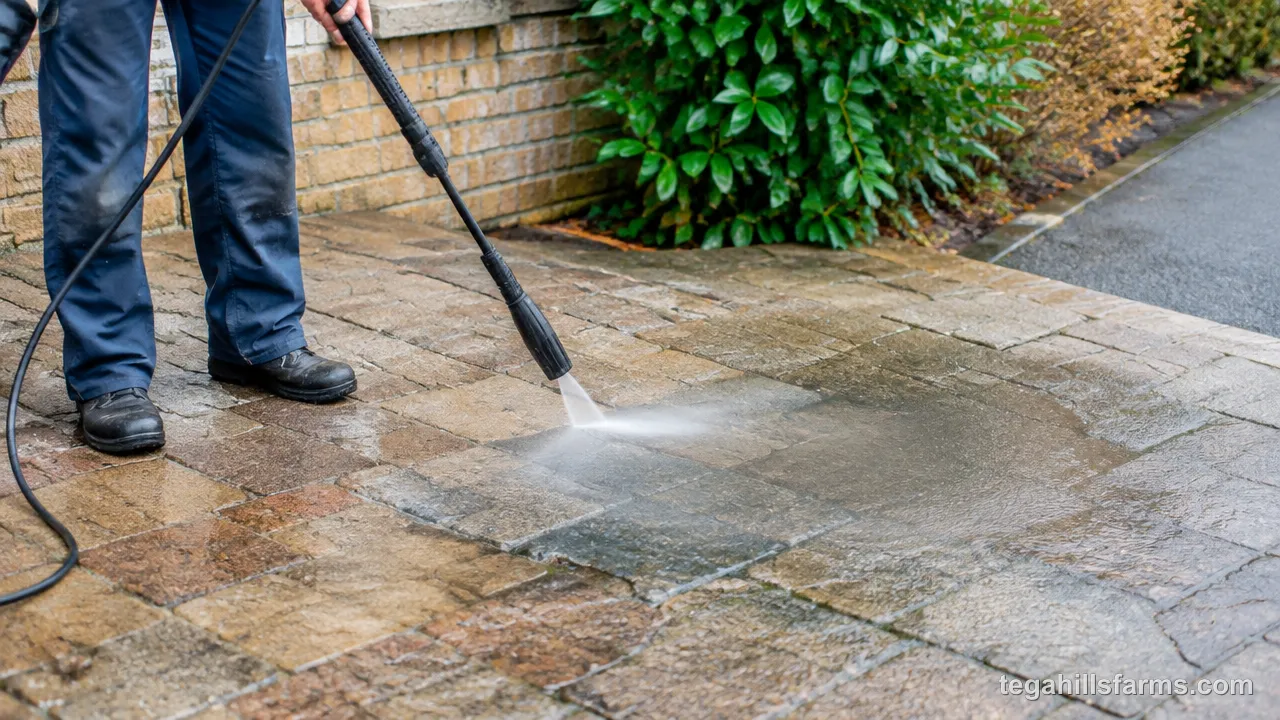
Sandstone and other soft stone are the most fragile. The surface is made of grains held loosely together, so a strong stream wears it away and roughens it in a single pass. Pavers are usually durable themselves, but the sand in the joints is what holds them in place. Washing it out loosens the pavers and leaves room for weeds, so the joints typically need fresh polymeric sand afterward.
Old concrete with scaling or flaking has already lost its strongest layer, and pressure peels off more. Aging asphalt has a dried-out binder that gives up its surface grit easily.
For all of these, lean on the cleaner and the brush, use the 40-degree tip or a surface cleaner on a low setting, and accept a slightly less dramatic result in exchange for a surface that survives.
How Can You Clean a Driveway Without a Pressure Washer?
A garden hose, a stiff broom and the right cleaner handle general dirt, while oil stains respond better to absorbents and poultices that pull oil out of the pores. These methods are slower than a machine, but they carry almost no risk of etching or loosening joints.
Garden Hose and Stiff Brush Method
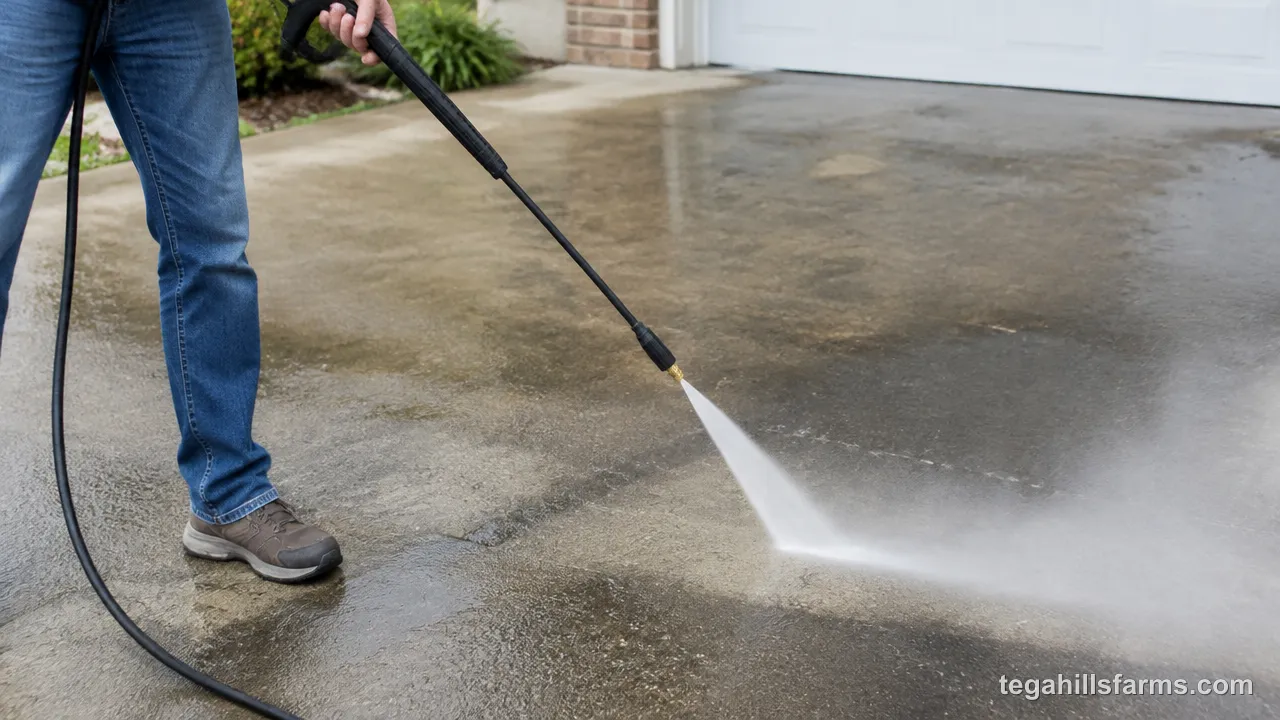
Wet the driveway thoroughly with a garden hose, then spread a driveway-safe cleaner over one section at a time. Scrub it in with a stiff push broom, working in overlapping strokes so the bristles reach into the surface texture. Give the cleaner a few minutes to loosen grime, keeping it damp, and then rinse with a jet or fan setting on the hose nozzle, working downhill.
This method handles dust, tire marks, moss and light grime well. Set-in stains and heavy growth take more rounds and more scrubbing, because a hose doesn’t have the force to flush the pores the way a pressure washer does.
For a small driveway or a light seasonal cleanup, the extra effort is a fair trade for not having to buy or rent a machine.
Absorbent and Poultice Methods for Oil Stains
On a fresh spill, pour a thick layer of clay cat litter or another absorbent powder over the oil and grind it in under your shoe. Leave it for several hours or overnight, then sweep it up. The dry granules pull liquid oil up out of the pores before it sets. A second layer lifts more if the first comes up dark.
An older stain needs a poultice. Mix an absorbent powder with a degreaser or solvent into a thick paste, spread it over the stain, and cover it with plastic so it stays wet. As the paste slowly dries, it draws dissolved oil upward into itself. Scrape or sweep off the dried paste, scrub the spot, and rinse.
Deep stains often need several poultices. Each round lightens the shadow a bit more. On asphalt, use only a water-based cleaner in the paste.
When Is Hiring a Professional Better Than Doing It Yourself?
Hiring a professional makes sense for a very large or steep driveway, natural stone or other delicate surfaces, heavy staining spread across much of the slab, or when you’d rather not buy or rent equipment at all.
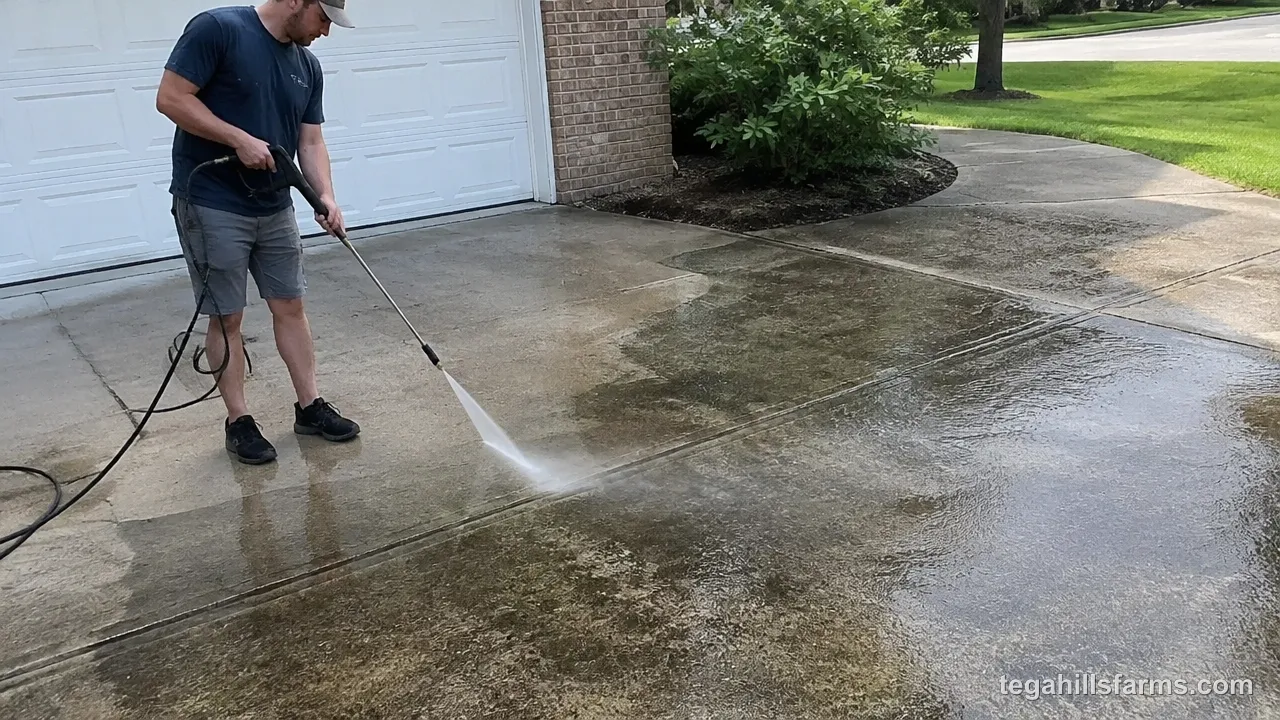
A pro brings commercial surface cleaners, hot-water units that cut oil faster, and experience judging how much pressure a given surface can take. That last point matters most on stone and aged asphalt, where a mistake is permanent. Steep slopes add a safety problem, since wet concrete and a hose underfoot make footing uncertain.
Doing it yourself is simpler on a basic concrete slab in decent shape. The technique is learnable in one afternoon, a rental covers a one-time job, and owning a machine pays off if you’ll also wash a deck, siding or a patio. If you’re weighing buying against hiring, check how much a pressure washer costs before deciding.
Driveway Pressure Washing FAQs
How often should you pressure wash a driveway?
Wash it when grime, growth or stains build up enough to notice, which for many driveways means a full wash each spring or fall. Shady, damp driveways need it more often than sunny ones. Between full washes, treat oil spots as they appear so they never get the chance to set in.
Do you need hot water to clean a driveway?
No. A cold-water pressure washer with the right detergent cleans a residential driveway well. Hot-water units cut grease faster, which is why professionals use them on heavy oil staining. For a homeowner, a good degreaser and enough dwell time close most of that gap at a fraction of the equipment cost.
Can you use bleach to clean a driveway?
Diluted bleach kills mold and algae on concrete, but it harms nearby plants and lawn edges, so wet them down first and rinse them after. Don’t run bleach through the pump unless the manufacturer allows it, because it can attack the seals. Never mix bleach with ammonia-based or acidic cleaners.
How soon can you park on a driveway after pressure washing?
After a plain wash, you can park as soon as the surface is dry enough that tires won’t track grime back onto it. A sealed driveway is different. Keep vehicles off for the full cure time listed on the sealer label so tires don’t mark or peel the fresh coat.
What should you do with the pressure washer after the job?
Depressurize it, flush clean water through the detergent line, and drain the hoses and pump. In regions with freezing winters, add a pump protector before storage so leftover water can’t freeze and crack the pump. For a gas machine, add fuel stabilizer or run the carburetor dry, and store it somewhere dry and above freezing.
Write Your Review
No reviews yet. Be the first to share your experience!