

A garden tool worth buying has three qualities. Its working part is hardened steel that keeps its edge and shape. Its handle suits your height, your hand size and the job. Its joints and parts can be tightened, cleaned, sharpened or replaced. When all three are right, the tool still feels comfortable after an hour of pruning or digging, and it lasts for many seasons instead of one.
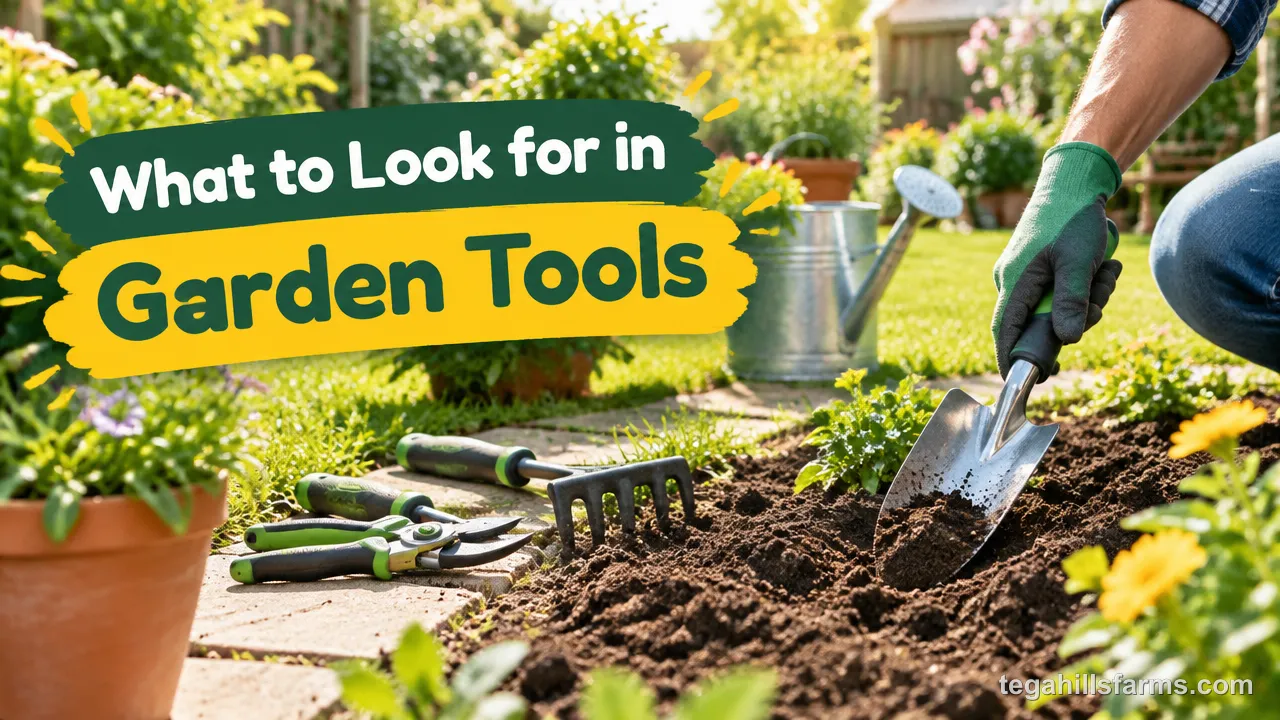
You can judge those qualities from a short set of details. On the head, look at the type of steel and whether it was forged or stamped. On the handle, look at the material, how it meets the head, its length and its grip diameter. Then check that the tool fits the task: branch diameter for cutting tools, soil conditions for digging tools and hose diameter for watering.
Most of the frustration with garden tools shows up in the body and in the hardware. A grip that is too thick or too thin tires the hand. A short shaft makes you stoop. A stamped head works loose at the joint. A plastic hose fitting cracks and drips at the spigot. Each of these problems comes from a build or fit choice made at the time of purchase, which is why it pays to inspect a tool closely before buying it.
What Should You Look for in a Garden Tool Before Buying It?
Three things decide a good garden tool: how the working part is built, how the handle fits your body, and whether you can maintain and repair it over the years.
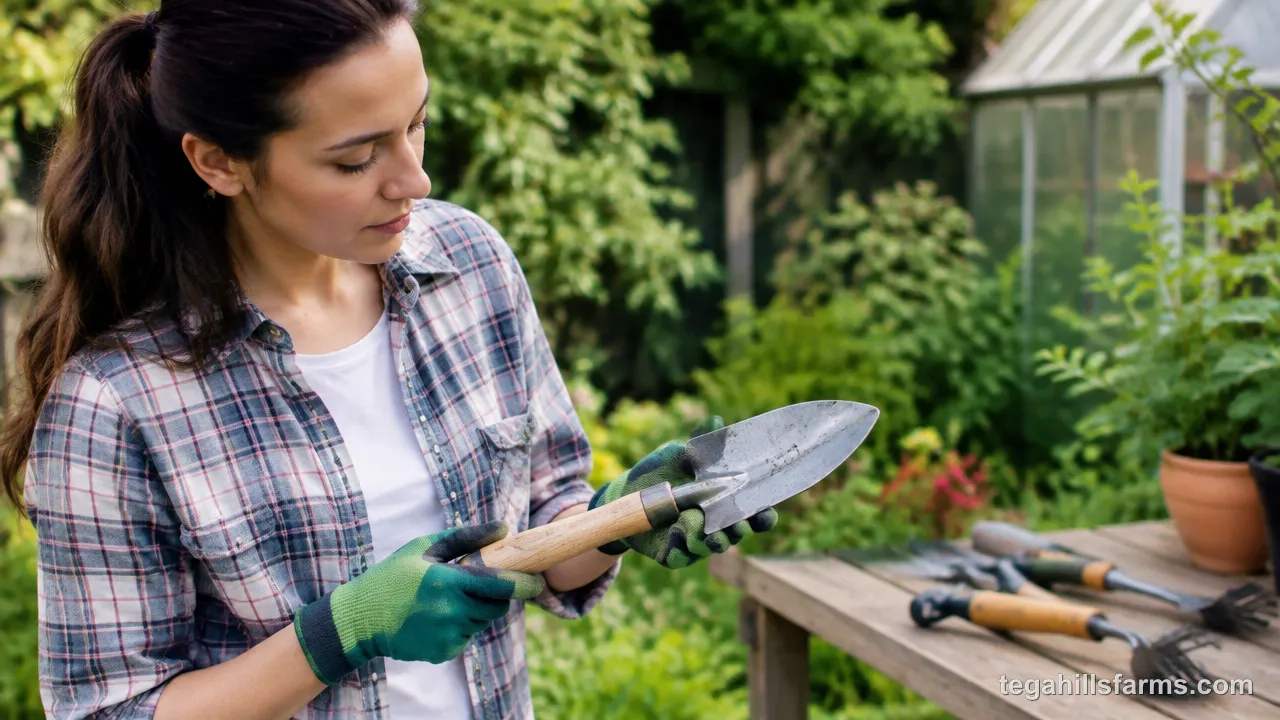
A tool can feel fine in the store and still fail in the yard. A store test lasts a few seconds, while real work means pressing, prying and gripping for an hour. Over that hour, small mismatches in weight, balance or grip size add up to sore wrists and a tired back. A weak head-to-handle joint also stays hidden until it carries your full weight. Build determines whether the tool survives that load, fit determines how your body copes with it, and materials determine how both hold up through wet springs and dry summers.
If you want the wider picture of matching tools to your yard and habits, start with our guide on how to choose garden tools, then come back to the build and fit details.
How Should the Blade or Head Be Built?
The working part should be hardened steel, ideally forged in one piece with its socket or tang. That construction holds an edge, resists bending and stays fixed to the handle.
I prefer hardened high-carbon steel for pruner blades, spades and hoes. It keeps a sharp edge longer and can be resharpened many times. Its weakness is rust: carbon steel spots quickly if it is put away wet, so it needs a wipe and a light coat of oil after use. Stainless steel resists rust much better, which suits trowels and other tools that spend their lives in damp soil. It is generally softer, though, so its edge dulls sooner and takes more effort to restore.
A forged head is shaped from heated steel under pressure, which makes the metal denser and tougher. A stamped head is cut from flat sheet, so it is thinner and bends more easily when you pry against roots or rocks. On spades, look for a 14-gauge hardened steel blade on an 18-gauge steel shaft. Gauge numbers run backward, so the lower number means thicker metal.
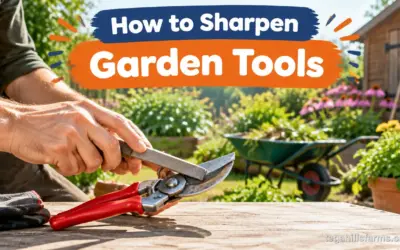
One-piece construction and a full tang keep the head from loosening or snapping at the joint, which is where cheaper tools usually give out. A full tang is metal that runs deep into the handle or along its full length. On pruners and loppers, replaceable blades and springs let you renew the parts that wear instead of throwing away the whole tool. A removable blade is also easier to keep keen, and our walkthrough on how to sharpen garden tools covers the files and angles that bring an edge back.
Which Handle Material Is Best: Wood, Fiberglass, Aluminum or Steel?
I lean toward fiberglass for long digging and raking tools, wood when feel and shock absorption matter and you will keep it oiled, and forged aluminum for light hand tools and loppers. Steel handles are the strongest but also the heaviest and least forgiving. The right choice depends on how hard you lean on the tool and how long you hold it.
Wood, usually ash or hickory on good tools, flexes slightly. That flex softens the jolt when a spade hits a stone, and your wrists feel the difference by the end of a long day of digging. Wood does react to weather. Left out in sun and rain, it dries, checks and eventually splinters, and when it breaks it often snaps without warning.
Fiberglass does not absorb moisture or rot, and it handles shock reasonably well. Over years of sun, though, its surface can break down and shed loose fibers that prick bare hands. Forged aluminum keeps hand tools and loppers light but strong, which reduces fatigue during short, repeated cuts. Steel handles survive heavy prying on shovels and bars. They also pass every impact straight to your joints and add weight to each lift.
The joint between handle and head matters as much as the material. A long metal ferrule or socket that wraps well up the handle spreads the load and keeps the head from rocking loose. Grips should be firm rubber or a textured surface rather than slick hard plastic, so the tool does not twist in a wet or gloved hand.
How Do You Match Handle Length and Grip Size to Your Body?
Handle length should follow your height and the task. Grip diameter should let your fingers close comfortably around the handle without straining.
For shovels, a 44 to 48 inch handle suits most adults. You can also check fit directly: the handle should reach somewhere between your elbow and chest when the blade rests on the ground. Spades work the same way at 45 inches or more, which keeps you upright instead of bending over each scoop. Short-handled spades of 18 to 24 inches give up that posture in exchange for control in raised beds and tight spaces. Loppers range from 16 to 36 inches. Longer handles add leverage and reach, but they also add weight and make precise cuts harder.
Grip size matters most on hand tools. A grip that is too thick forces your fingers open and weakens your hold. A grip that is too thin makes you clench harder. Either one tires the hand within the hour. Smaller hands do better with pruners sized for them. Left-handed gardeners should look for mirror-image pruners, because standard models put the blade and latch on the wrong side.
Several features reduce the force each cut needs: rotating handles, cushioned grips and ratcheting mechanisms, which complete a cut in several short squeezes. Our garden tools for arthritis guide covers those features in detail for stiff or painful hands.
Balance also adds up over time. A tool with its weight close to your hands feels lighter after an hour than one with the same weight concentrated in the head.
How Can You Judge Quality by Holding a Tool in the Store?
Hold the tool as you would use it, then check its balance, joint play, head attachment, pivot action, grip and parts availability. Each of these tells you something about how the tool will age.
- Balance: rest the handle across one finger. A balance point close to your hands means less wrist strain over a long session.
- Joint play: grip the head and twist it against the handle. Any wobble in the store becomes a loose head after a season of prying.
- Attachment: a head forged or welded to its socket outlasts one held on by a single rivet or a thin metal crimp.
- Pivot: open and close pruners and loppers several times. The action should be smooth with no side-to-side movement, and the pivot bolt should be adjustable rather than riveted.
- Grip: wear your usual gloves. A handle that feels right bare can feel too thick or slippery under leather or coated fabric.
- Parts: check whether the maker sells replacement blades, springs and bolts.
Cheap multi-piece sets often fail several of these checks at once. Their heads are usually thin stamped steel on a short shank pressed into the handle, so wobble and bending appear early.
Which Pruning Tools Do You Need, and How Do They Differ?
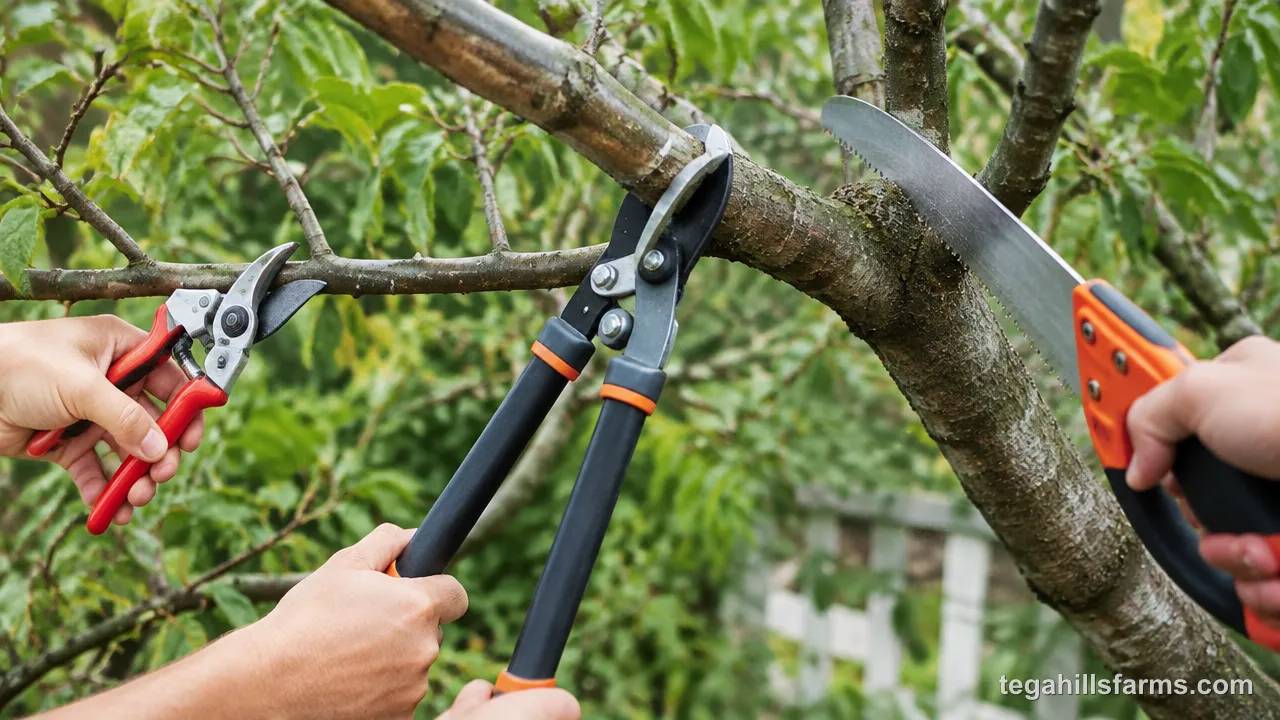
Branch diameter decides the tool: hand pruners for thin stems, loppers for thicker branches, and a pruning saw once wood outgrows both. Using the right tool for each branch keeps blades straight and pivots tight. It also leaves a clean cut that the plant can seal. Most home gardens need pruners first and loppers once shrubs and small trees mature.
Bypass or Anvil Pruners: Which Cut Is Better for Plants?
Bypass pruners make the better cut on living plants. Their two blades pass each other like scissors and slice cleanly through green stems. The result is a narrow, clean wound that closes quickly and leaves little open tissue for disease to enter. That clean cut depends on the blades staying tight against each other, so an adjustable pivot bolt helps a bypass pruner keep cutting well as it wears.
An anvil pruner works differently. A single sharp blade closes onto a flat surface, so the stem is pressed between them as it is cut. On green wood, that pressure tends to crush cells along the cut. The bruised, ragged wound heals slowly and can die back. On dry, dead wood, crushing does no harm, and the anvil design needs less hand strength to get through hard, brittle stems. I would save anvil pruners for deadwood cleanup and use bypass pruners for shaping live shrubs.
Hand pruners cut stems from three-quarters of an inch to one inch in diameter, depending on how hard the wood is. Forcing them past that range spreads the blades apart. Once that happens, they fold stems over instead of cutting them.
Ratcheting pruners come in both bypass and anvil styles. They complete a cut in several smaller squeezes, which suits smaller or weaker hands.
When Do You Need Loppers or a Pruning Saw?
Switch to loppers when a branch is too thick for hand pruners. Switch to a pruning saw once the branch is more than one and a half inches across.
Loppers use their long handles as levers. That leverage multiplies the force of your arms, so loppers can cut branches up to an inch or more in diameter. Longer models reach higher into a shrub and cut thicker wood with less effort. They are also heavier to hold overhead and harder to steer into a narrow fork between branches. Shorter loppers give you more control in dense growth.
Beyond that size, a pruning saw takes over, because its teeth remove wood instead of forcing two blades through it. General pruning saws have curved or straight blades of 9 to 13 inches, in fixed or folding styles, which suits limbs on shade trees and large shrubs. Fruit saws are shorter, at 6 to 8 inches, with stainless or carbon steel blades, so they fit between closely spaced branches in a fruit tree.
Forcing pruners or loppers through wood beyond their rated diameter ruins them quickly. Twisting the tool to finish a cut bends the blades, spreads the jaws and loosens the pivot. After that, every cut leaves a torn stub on the plant.
Which Digging, Raking and Soil Tools Are Worth Having?
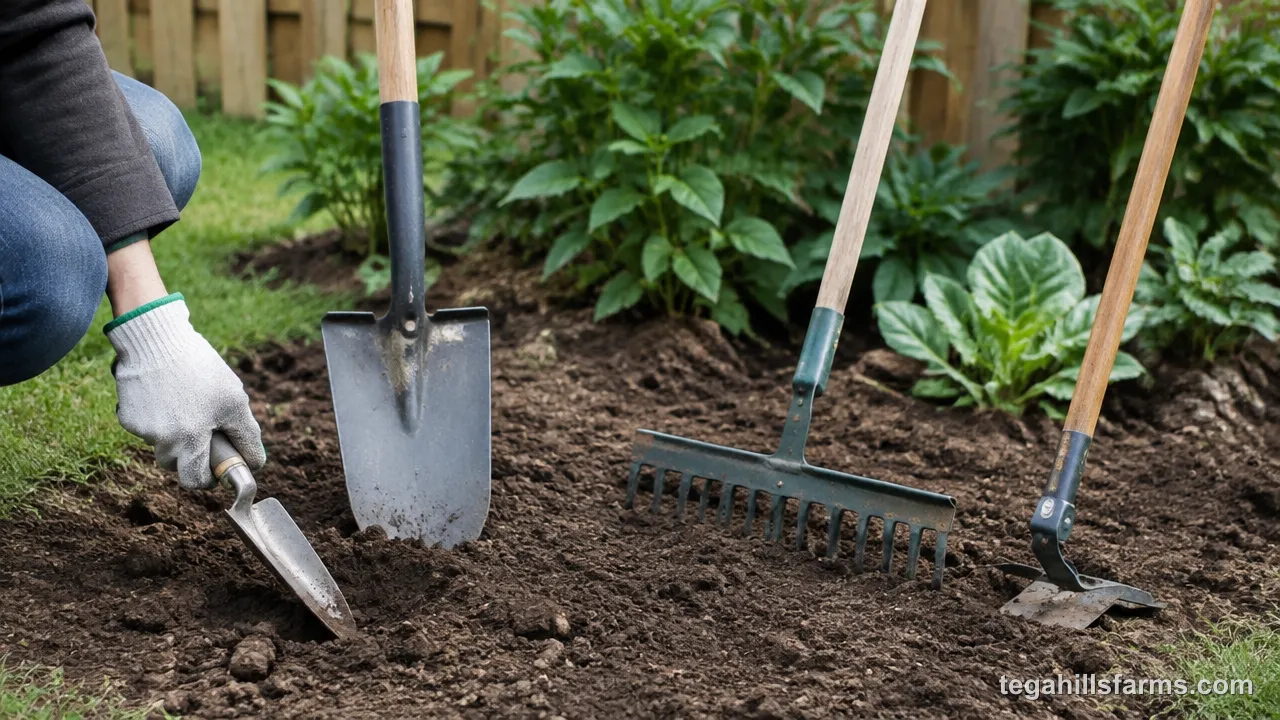
A small hand tool for planting, a long-handled digging tool, and a rake and hoe handle most ground work in a home yard, from setting bulbs to leveling a bed and clearing weeds. Every one of these tools takes its hardest stress where the head meets the handle. When you lever soil, your full body weight presses on that point, so judge the joint before anything else.
What Do a Hand Trowel and a Hori Hori Knife Each Do Best?
A trowel scoops and transplants. A hori hori knife cuts, saws and digs narrow holes.
A trowel’s cupped blade lifts soil and carries a plant out with its root ball intact. That makes it the tool for potting, filling containers and setting out annuals. A 14-inch trowel is a useful all-purpose length, and longer or shorter versions suit deep beds or small pots.
A hori hori has a flatter, pointed blade, often 6 and a half inches long. One edge is serrated, the other is sharp, and the face has depth markings. The serrated edge saws through roots and divides perennial clumps. The smooth edge slices weeds at the crown. The point works into compacted soil, and the markings let you plant bulbs at a set depth. A hori hori scoops less than a trowel, so the two tools complement each other.
For either tool, the blade should stay straight when you press it into hard clay or pry out a stubborn root. A one-piece forged design or a full tang through the handle keeps the blade from bending at the neck, which is where stamped trowels usually give way. The handle should fill your palm without pressure points, because planting a flat of seedlings means pressing down dozens of times in a row.
How Do a Spade, Shovel and Garden Fork Differ?
A spade has a flat, square edge for clean cuts. A shovel has a scooped, often pointed blade for moving loose material. A garden fork breaks up compacted soil and lifts plants without slicing their roots.
Each tool has its own jobs:
- Spade: edging beds, cutting sod and digging straight-sided planting holes.
- Shovel: moving mulch, compost and gravel.
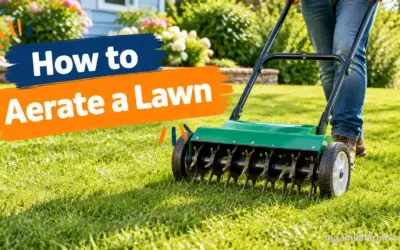
- Fork: loosening heavy ground, lifting perennials for division and working small compacted patches of turf. The same push-and-rock motion is the basis of how to aerate a lawn without a machine.
Handle length should match your height, so you can drive the blade in with your foot and lift without rounding your back. For most adults, full-length handles do this better than short D-handle models. Short handles still make sense in tight beds.
Hardened steel matters on all three tools, because you stand on the blade and lever against it with your whole weight. Fork tines should be thick and square in cross-section so they do not splay apart in clay or stony soil.
Check the top edge of the blade as well. A turned or rolled step, often called a footstep, spreads the pressure of your boot. That lets you push harder without the steel edge biting into your sole.
Which Rakes and Hoes Suit Different Beds?
Leaf rakes and adjustable rakes gather debris, bow rakes level soil, and hoes cut weeds at the surface. The shape of a hoe’s blade decides where it works best.
A leaf rake has a fan of springy tines that sweep without digging in, which suits lawns and fall cleanup. An adjustable rake changes width to fit the space. The Tabor Tools Adjustable Metal Rake, for example, opens from 8 to 23 inches: narrow enough for gaps between shrubs and wide enough for open lawn. A bow rake has short, rigid steel tines on a straight head. A head with 24 steel tines spreads and levels soil and mulch evenly before planting.
A handle of 50 inches or more lets you rake while standing upright, which spares your lower back over a long session. Steel tines outlast plastic and bamboo on soil. Plastic and bamboo tines are lighter and gentler on turf, but they snap more easily in cold weather.
Hoe types differ by blade:
- Stirrup (loop) hoes cut just below the surface on both the push and the pull stroke, which suits open beds and paths.
- Flat hoes chop and scrape, slicing off weed tops and drawing soil up around plants.
- Square hoes are heavier, so they work in harder ground and on larger weeds.
- Triangle hoes have pointed corners that reach between closely spaced plants in tight rows.
What Should You Look for in Watering Gear, Gloves and Carrying Tools?
Leak-free fittings, manageable weight and a secure grip decide whether hoses, cans, gloves and carts make work easier or harder. You handle this gear on almost every trip to the garden, so small faults repeat each time: a dripping connection, a can too heavy to carry, a glove that slips on a handle. That repetition is why build quality matters here as much as it does on a spade.
How Do You Choose a Hose, Nozzle, Wand or Watering Can?
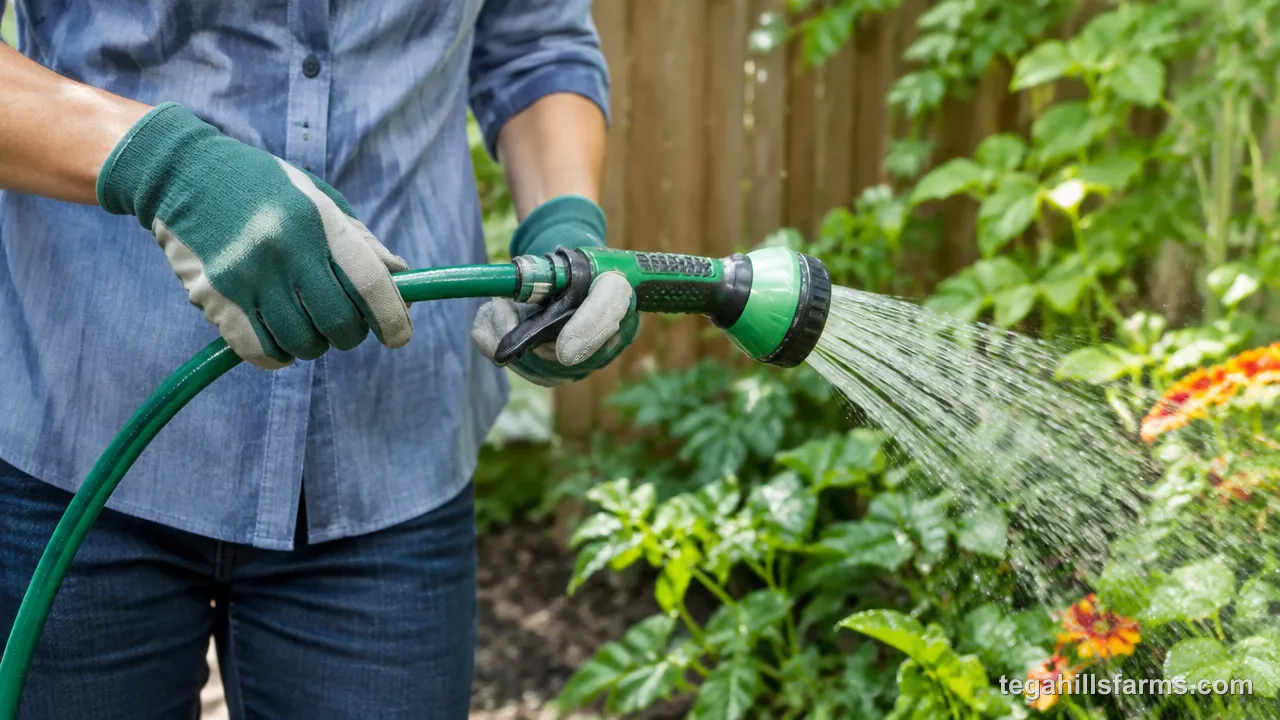
Choose a garden hose by diameter for the flow you need and by its fittings for how long it will last. Then size the wand and can to your reach and strength.
A ½-inch hose delivers about 9 gallons per minute on average, a 5/8-inch hose about 15 and a ¾-inch hose up to 25. A wider hose fills a can or soaks a bed faster, but it is heavier to drag around.
Construction decides whether a hose kinks. Multi-layer hoses have reinforcing mesh between the inner tube and the outer cover, which helps them stay round when you pull them around corners. Thin single-layer vinyl folds easily and cuts off the flow. Brass couplings resist cracking when stepped on and thread on squarely. Plastic fittings can crack in cold weather and cross-thread, which produces the familiar leak at the spigot.
A watering wand extends your reach to hanging baskets, the back of a border and the base of shrubs, so you can water without bending. Wands come in lengths from 10 to 48 inches. On nozzles, I prefer a thumb-controlled shutoff to a squeeze trigger, because a trigger keeps your hand clenched for the whole watering session.
Watering cans need the most care for your wrists. A gallon of water weighs just over 8 pounds, so each extra gallon of capacity adds that weight at the end of your arm. Choose a size you can carry with a straight wrist. A long handle also lets you use both hands when pouring.
What Matters in Gloves, Wheelbarrows and Garden Carts?
Gloves should fit snugly, with a coated palm and a cuff length that suits the job. For hauling, a wheelbarrow handles uneven ground and dumping, while a cart handles heavy loads on level paths.
A snug glove keeps your dexterity, so you can pinch out seedlings and work pruner latches. A loose glove bunches at the fingertips and rubs blisters into the palm. Nitrile or latex palm coatings grip wet tools and keep damp soil off your skin, and a breathable knit back stops your hands from sweating. For roses and other thorny shrubs, choose leather or puncture-resistant gloves with long gauntlet cuffs that protect your forearms.
A wheelbarrow carries its load over a single front wheel. It turns sharply, fits through narrow gates and tips cleanly to dump mulch or soil, but your arms and wrists have to keep the load balanced. Two-wheeled barrows and four-wheeled carts stand stable on their own, which suits heavy loads like bagged soil or stone. They need wider paths and turn less tightly.
Tires and trays involve their own choices:
- Pneumatic tires roll softly over lawn and rough ground but can go flat.
- Flat-free tires never deflate but give a harder ride.
- Poly trays are lighter and do not rust.
- Steel trays stand up better to sharp rocks and heavy loads.
Which Garden Tools Should You Buy First, and Which Can Wait?
Start with bypass pruners, a trowel, a spade or shovel, gloves and a hose with a good nozzle. Add a rake, hoe, fork and loppers next, and leave saws, carts and specialty tools until your garden needs them.
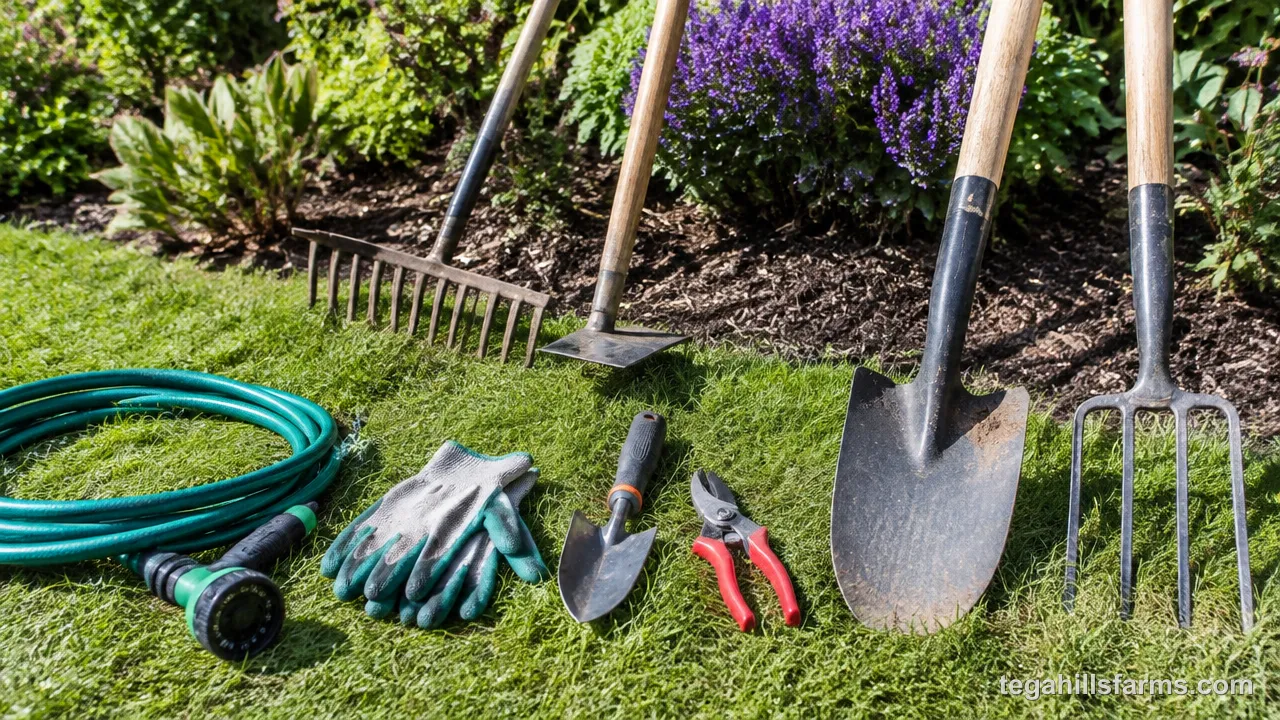
The core tier covers the work you do every week: planting, deadheading, light pruning, digging holes and watering. A few well-made tools beat a large set of weak ones because the core pieces take the most use. A sturdy spade and a sharp bypass pruner carry most of that load. A boxed set’s extra pieces, by contrast, often share the same thin steel that bends on the first hard job.
The useful tier fills in as your beds grow: a rake for leveling and leaves, a hoe for weeds, a fork for heavy soil and loppers for maturing shrubs. Saws, carts, specialty weeders and long-reach tools wait until a real task calls for them.
Your type of garden shifts the essentials:
- Container gardens: a trowel, a hori hori, a watering can and a wand matter more than a full-size spade.
- Perennial beds: a fork for dividing clumps, a hori hori and good pruners move to the front.
- Vegetable plots: a hoe, a bow rake and a cart become core tools.
- Raised beds: short-handled tools and a stirrup hoe suit the narrow, elevated rows.
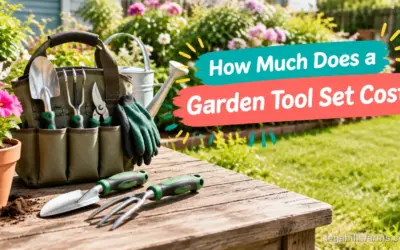
A higher-priced tool earns its cost when its blade can be resharpened, its springs and bolts can be replaced and its head is forged onto a solid handle. Those features stretch one purchase across many seasons. If you are weighing a single good tool against a boxed set, our breakdown of how much a garden tool set costs puts the two side by side.
Sap left on a bypass pruner after an afternoon of cutting dries overnight and glues the blades together, and damp soil on a carbon steel spade raises orange rust spots within days. A few minutes with a rag and a drop of oil after each session decides whether a well-built tool lasts for years. Skip that habit, and by next spring the pivot is stiff, the edge is pitted and the handle has started to split.
How Do You Clean, Oil and Store Garden Tools So They Last?
Clean tools after every use, dry them, oil the metal and store them off damp floors. Each of those steps prevents a specific kind of damage.
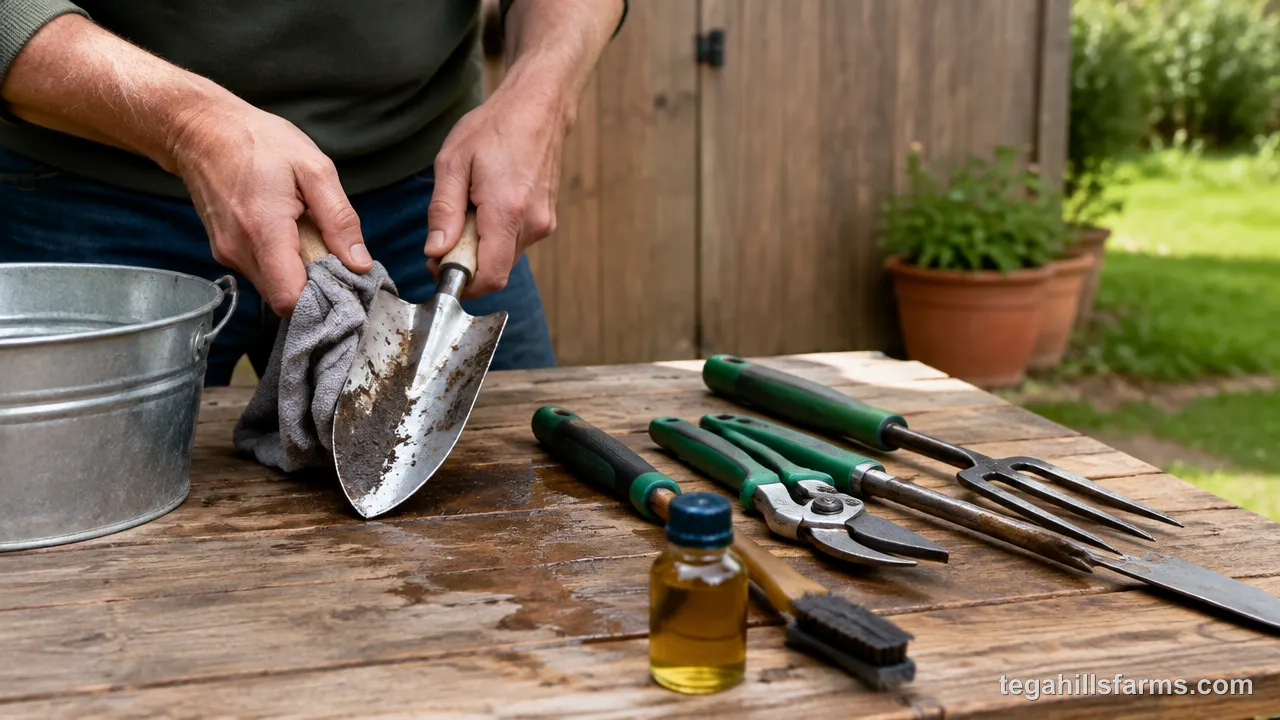
Start by knocking off soil with a stiff brush and wiping sap from blades with a rag dampened in rubbing alcohol or soapy water. Dried sap gums up the pivot and holds moisture against the steel. Dry each tool fully, then wipe a thin film of light oil over the blades and pivots. Oil displaces water and prevents the rust pitting that roughens an edge. Open and close pruners a few times so the oil works into the pivot and keeps it from seizing.
Wooden handles need oil too. Rubbing them with linseed oil once or twice a year keeps the wood from drying, cracking and splintering in your hand.
For storage, hang tools on a wall or stand them in a rack rather than leaving them on concrete, which draws moisture into steel and wood. Before winter, clean and oil everything and move it to a dry shed or garage. Drain and coil hoses before the first freeze and store them indoors, because water left inside a hose can split it and crack its fittings.
What Mistakes Make Garden Tools Fail Early?
Most early failures come from buying flimsy construction, using a tool for a job it was not made for, or choosing by looks instead of fit.
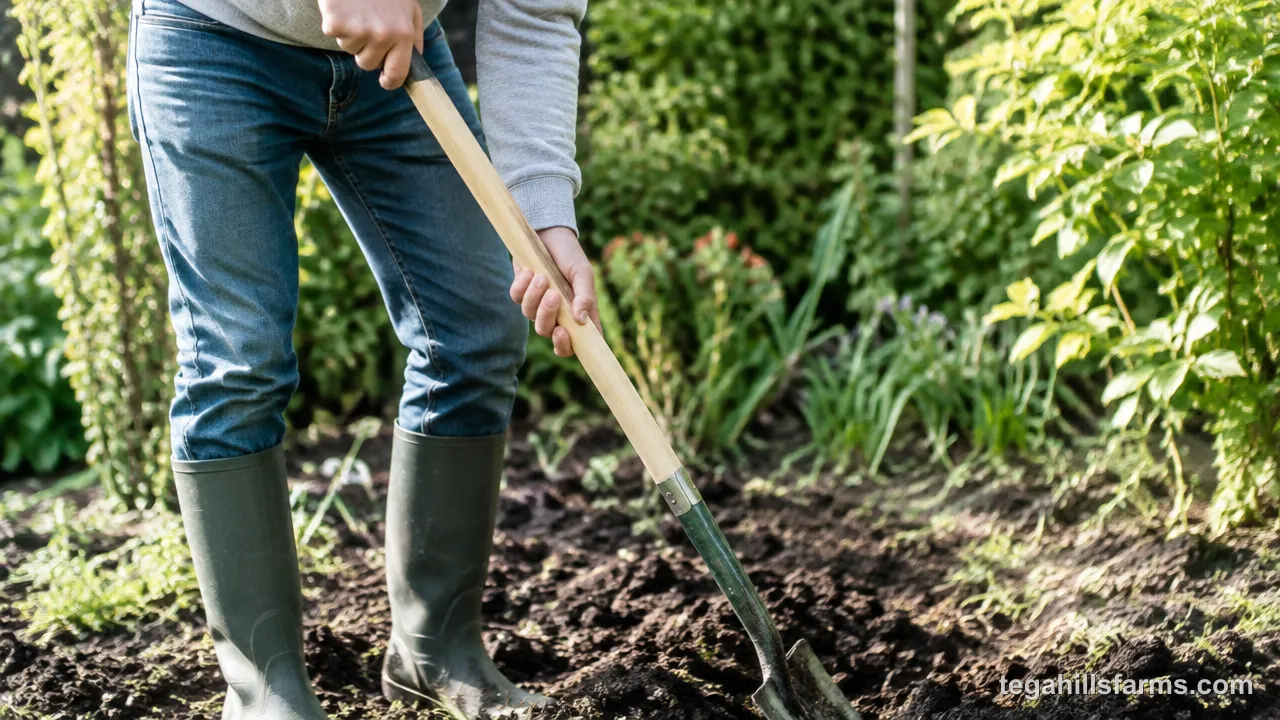
Cheap bundled sets usually use thin stamped steel with heads attached by a short shank, so they bend and loosen under ordinary digging. Misuse speeds up the damage. Pruners forced through oversized branches spread their blades, and a trowel used as a pry bar bends at the neck. A tool bought for its color or packaging can also cause harm if its handle is too short or its grip too thick, because the strain lands on your back and wrists every time you use it.
Watch for three warning signs: wobble where the head meets the handle, rust forming at the pivot, and a handle that twists under load.
Many of these problems can be repaired:
- Tighten or replace a pivot bolt.
- Fit a new blade or spring on pruners.
- Rehandle a spade with a sound head.
Replace a tool when the steel is cracked or permanently bent. Pruners that still fold stems over after sharpening and adjustment are also due for replacement.
Which Tools Matter in Each Season?
Each season puts different tools to work, and planning around that tells you which tools need to be ready when.
- Spring: soil preparation calls for spades, forks and bow rakes to loosen beds, work in compost and level the surface for planting.
- Summer: pruners for deadheading and shaping, hoes for keeping weeds down between rows, and watering gear that runs most days in dry spells.
- Fall: leaf rakes and loppers for cleanup and cutting back, and carts or wheelbarrows to haul debris to the compost pile.
- Winter: cleaning, sharpening, oiling handles and storing everything dry so it is ready when the ground thaws.
The timing of each stage depends on where you live. Last frost dates and growing seasons differ widely across USDA Hardiness Zones, so set your tool calendar by your own zone’s planting and frost dates rather than a single national schedule.
Frequently Asked Questions About Choosing Garden Tools
Are expensive garden tools worth the money?
They are when the extra cost buys forged hardened steel, a solid head-to-handle joint and replaceable parts. Those features let one tool last many seasons. A higher price spent on branding or styling alone adds nothing to performance, so check the build before you pay more.
Is a starter garden tool set a good idea?
A starter set is rarely the best value. Bundled sets often use thin stamped steel and loose joints, so the pieces you use most fail first. Buying a few well-made core tools separately usually gives you better quality for the work you actually do.
How do you know when pruners need replacing instead of sharpening?
Replace pruners when the blades are cracked, bent or chipped too deeply to grind out. Replace them too if they still fold stems over after sharpening and tightening the pivot. Pruners with replaceable blades can often be renewed instead of discarded.
Do left-handed gardeners need special tools?
For pruners and other bypass cutters, yes. Standard models put the blade and latch on the wrong side for a left hand, which gives a poorer cut and awkward operation. Spades, rakes, hoes and trowels work the same in either hand.
What garden tools should a beginner buy first?
Begin with bypass pruners, a hand trowel, a spade or shovel, well-fitting gloves and a hose with a nozzle. Those tools cover planting, digging, light pruning and watering. Add a rake, hoe, fork and loppers as your beds and shrubs grow.

Write Your Review
No reviews yet. Be the first to share your experience!