

A leak-free setup needs a sound rubber washer, a hand-tight connection at the outdoor faucet, matching fittings and a spray nozzle on the working end. Get those four right and the hose is ready for its first watering.
The fittings are where most choices sit. Plastic, brass, aluminum and stainless steel ends wear differently, and quick connects make swapping accessories faster.
Most people worry about a dripping joint. Nearly every drip traces to a worn washer or a crooked thread, not a bad hose. Both take a minute to fix.
Check the washer inside each female end before you screw anything on. It’s the cheapest insurance against a wet afternoon.
What Do You Need to Set Up a Garden Hose?
A basic setup needs a hose, a threaded outdoor faucet, a rubber washer in each female end, thread seal tape and a spray nozzle. If you are still deciding which hose to buy, our guide on how to choose a garden hose explains the options before you start.
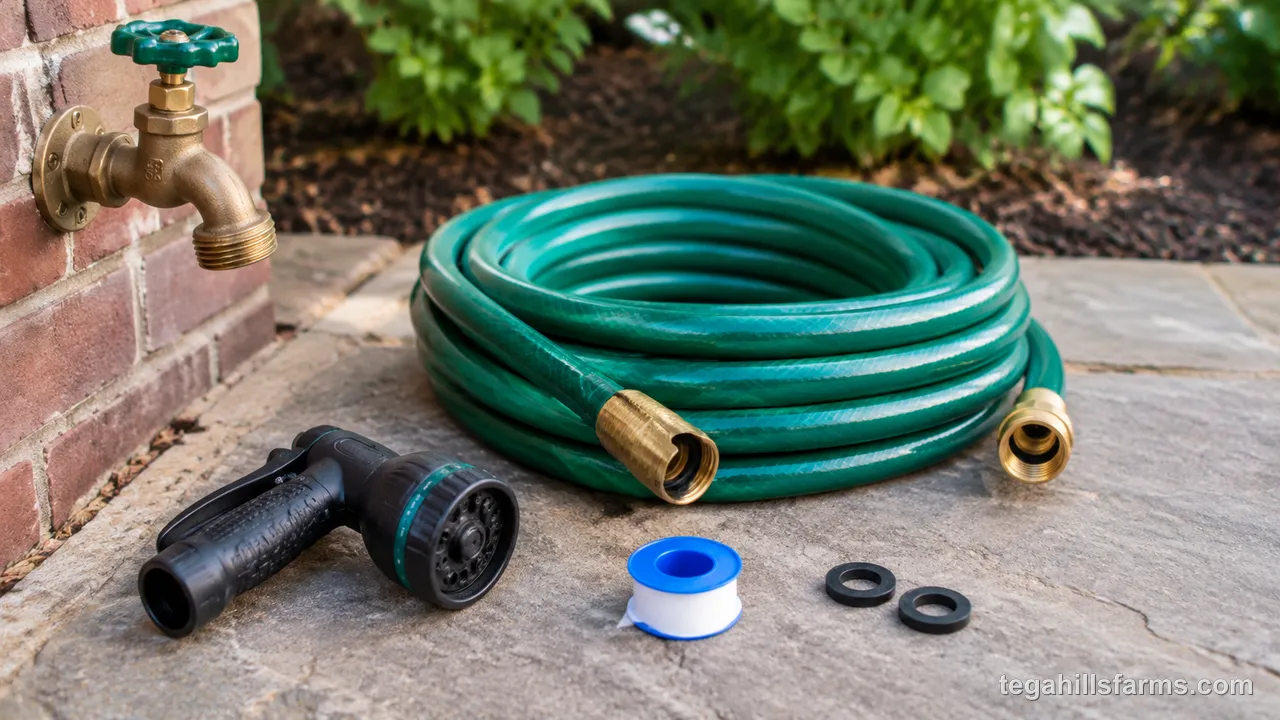
The hose carries the water, and the faucet (also called a spigot) supplies it. The washer is a small rubber ring that presses against the faucet to seal the joint.
Thread seal tape is thin PTFE tape. It fills tiny gaps on male threads when a joint still weeps. The nozzle controls the spray and shuts the flow at the working end.
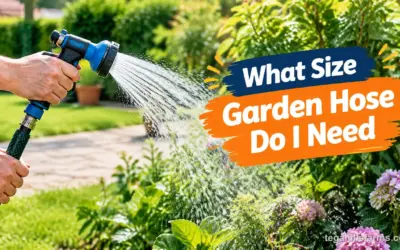
Length and width depend on your yard, so settle what size garden hose do I need before you buy fittings. Keep a few spare washers in a drawer. They are inexpensive and they fail first.
How Do You Connect a Garden Hose to an Outdoor Faucet?
Connecting a hose comes down to preparing the faucet and washer, threading the hose onto the spigot and handling a faucet with no threads. Each step protects the seal, so take them in order.
How Do You Prepare the Faucet and Washer?
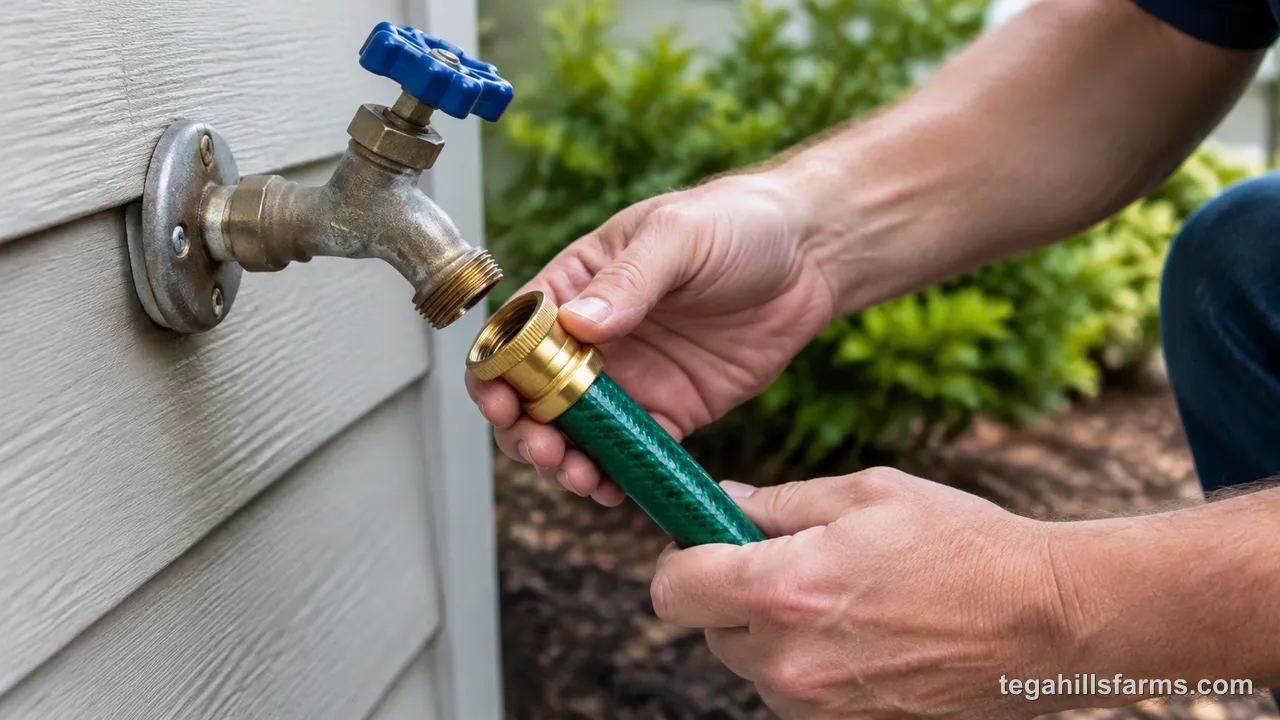
Shut the water off, wipe grit from the faucet threads and confirm the rubber washer inside the hose end is soft and sits flat. A cracked or flattened washer is the most common cause of drips.
Next, look at the washer closely. Press it with a fingertip. It should feel pliable and sit evenly in the bottom of the coupling.
Replace it if it is split, hardened or missing. Debris on the threads is the other culprit. Even a few grains of sand can stop the hose end from seating square, which lets water seep past the seal.
A dry rag works fine for cleaning. If the threads look corroded or bent, deal with that before connecting, because a damaged spigot will keep leaking no matter how new the washer is.
How Do You Thread the Hose onto the Spigot?
Start the female hose end straight onto the spigot and turn it by hand until it feels snug. Hand-tight is usually enough, because the washer does the sealing, not the threads.
Keep the coupling square to the spigot as you begin. If it resists in the first turn or two, back off and restart. That’s cross-threading, and forcing it can ruin the threads.
US garden hose fittings use National Hose threads, at 11.5 threads per inch. That standard is why most American hoses and faucets fit together without adapters.
Open the water slowly and watch the joint. If it still weeps, shut the water off, back the hose end off and wrap thread seal tape clockwise around the spigot threads. Then reconnect.
What If the Faucet Has No Threads?
A faucet connector gives a smooth spout hose threads, usually by clamping or slipping onto the spout. It lets you run a hose from a utility sink or an indoor tap.
Clamp-on types tighten around the spout with a screw or collar. Slip-on types push over the end and grip by friction or a rubber seal.
Both have limits. They tolerate less pressure than a threaded faucet, and they can pop off if the flow is strong. Treat them as temporary.
For a connection you plan to keep, a threaded faucet or a plumbed-in outdoor spigot is the sturdier choice. Open the water gently, and don’t leave a connector-fed hose running unattended.
How Do You Attach Fittings, Quick Connects and Couplers?
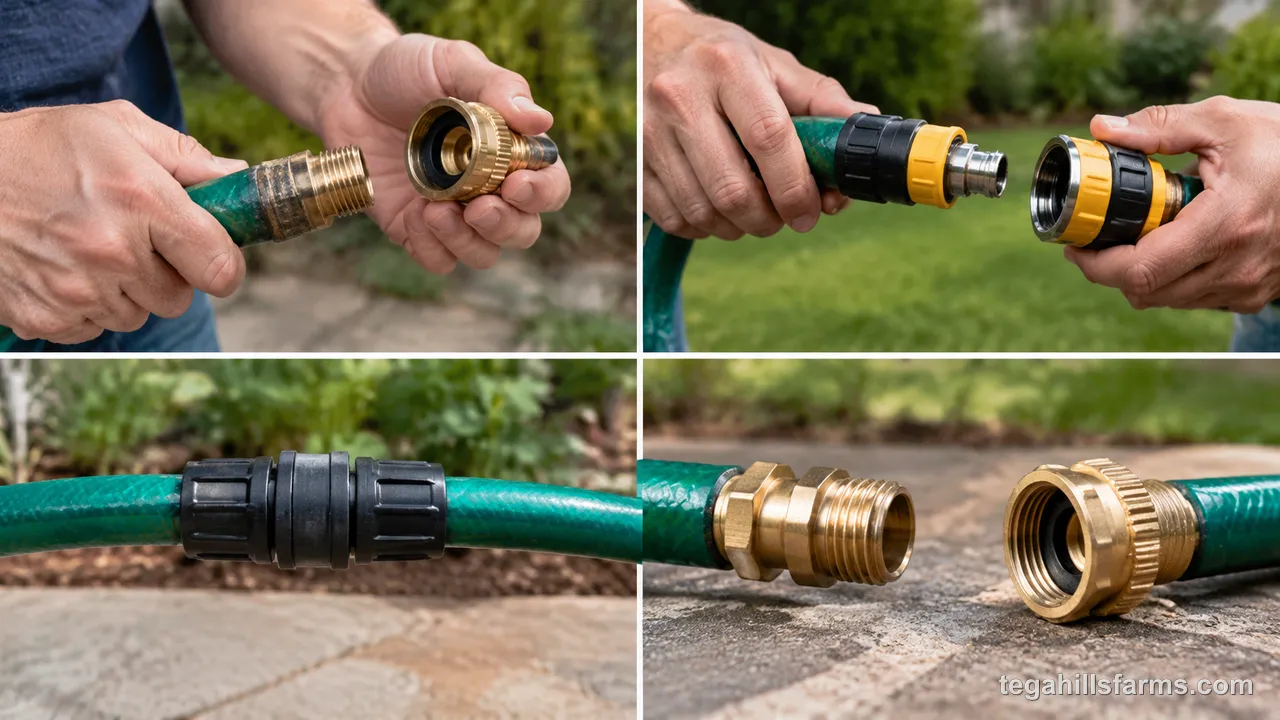
Attaching fittings covers replacing a worn end, using quick connects, joining hoses with a coupler and choosing a fitting material. A male fitting has external threads, and a female fitting has a rotating collar with internal threads and a washer.
How Do You Replace a Worn Hose End Fitting?
Cut off the damaged end square, then push a new fitting’s barb into the hose and secure it with a clamp or collar. The fit depends on matching the fitting to the hose’s inner and outer size.
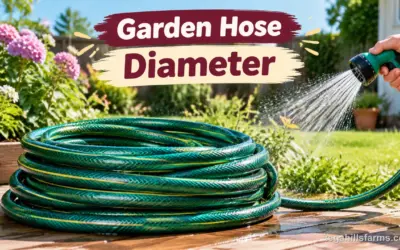
Check your garden hose diameter first. Residential hoses are most often 5/8 in (1.6 cm), some budget hoses run 1/2 in (1.3 cm), and professional or high-flow hoses use 3/4 in (1.9 cm).
The barb grips the inside wall of the hose. The collar or compression ring squeezes the outside onto it. Tighten it evenly, so one side doesn’t bite while the other stays loose.
Give the hose a firm tug before you add pressure. A collar that slips under a gentle pull will blow off under water pressure. A clean, square cut also helps, since a ragged end leaves gaps the barb can’t seal.
How Do Quick Connect Fittings Work?
A quick connect is a male and female pair that snaps together through a spring collar and seals with an internal gasket. It turns accessory swaps into a one-hand job.
Thread one half onto the faucet, hose or accessory end, and fit the matching half to the other side. To join them, push the halves together until the collar clicks. To release, pull the collar back.
The inner seal is what keeps the joint dry, so keep it free of grit. A worn gasket is a common source of weeping.
Mixing brands is where trouble starts. Halves from different makers can differ slightly in shape, which leaves a joint that won’t lock or won’t seal. Buy matched sets, and match them across the hose, faucet and nozzle ends.
How Do You Join Two Hoses With a Coupler?
A double-ended coupler links two hoses by joining a male end to a female end. If the ends don’t match, an adapter bridges them.
Look at both ends first. A male end screws into a female end. Two male ends or two female ends need a coupler with the opposite thread on each side.
Check the washer at every joint, and expect more places for water to escape. Each extra connection is one more leak point.
A mender works differently. It repairs a cut hose by joining the two cut ends. For a simple extension, a coupler is the better fit, and it lets you take the hoses apart again.
Which Fitting Material Suits Your Setup?
Plastic suits light, occasional use, brass and stainless steel suit frequent or rough use, and aluminum sits between them as a lightweight metal. The right choice depends on how often you connect and how hard the hose works.
Plastic is the budget option and works for a hose that stays in one place. It can crack from impact or sun exposure over time.
Brass resists corrosion and has the heft to survive being dropped or dragged. Stainless steel resists rust best and holds up for years, at a premium tier. Aluminum is light and tough, but it can corrode or seize on a brass spigot over time.
Knurled or hex grips are easier to turn with wet or tired hands. Fittings are one factor in how much does a garden hose cost, with plastic at the budget end and brass or stainless steel in the mid-range to premium tier.
How Do You Attach a Spray Nozzle?
Attaching a spray nozzle comes down to fitting it to the hose end and picking the right spray pattern. The nozzle is the last piece that makes the hose useful for watering and washing.
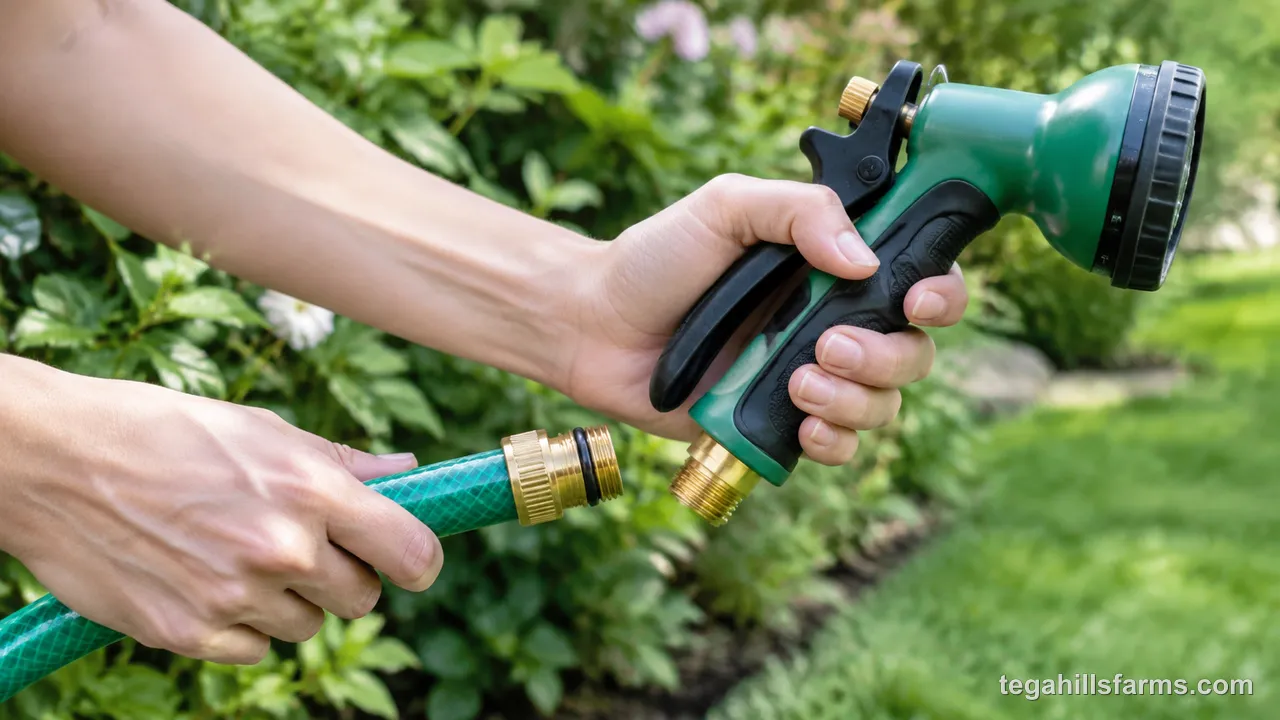
How Do You Fit a Threaded or Quick Connect Nozzle?
With the water off, screw a threaded nozzle onto the hose end by hand, or snap a quick connect nozzle onto its mating half. Then open the supply slowly and check the joint.
Threaded nozzles have their own rubber washer inside the coupling. Check that it’s present and flat, just as you did at the faucet. A missing washer makes a nozzle drip at the base.
Quick connect nozzles click on in a second, but they only seal if the halves belong to the same system.
Once the nozzle is on, turn the water on a little at a time. Look and feel for weeping at the joint under pressure. A small drip usually means a crooked thread or a tired washer, and both are quick fixes.
Which Spray Pattern Fits Which Job?
Four patterns cover most work: jet for reach and stuck-on dirt, shower for general watering, mist for seedlings and flat for washing paths and decks.
Jet is a narrow, strong stream. It’s too harsh for plants. Shower spreads water gently, which suits beds and containers. Mist is the softest and protects tender seedlings from being flattened. Flat fans out wide for sweeping dirt off hard surfaces.
Grip matters for comfort too. A trigger with a lock lets you rest your hand during long sessions. Wide, lightweight levers take less strength to squeeze, which helps anyone with limited hand strength.
How Do You Fix Leaks, Stuck Fittings and Kinks?
Most setup problems come down to leaking connections, stuck or non-locking fittings and a hose that twists or kinks. Each has a short fix.
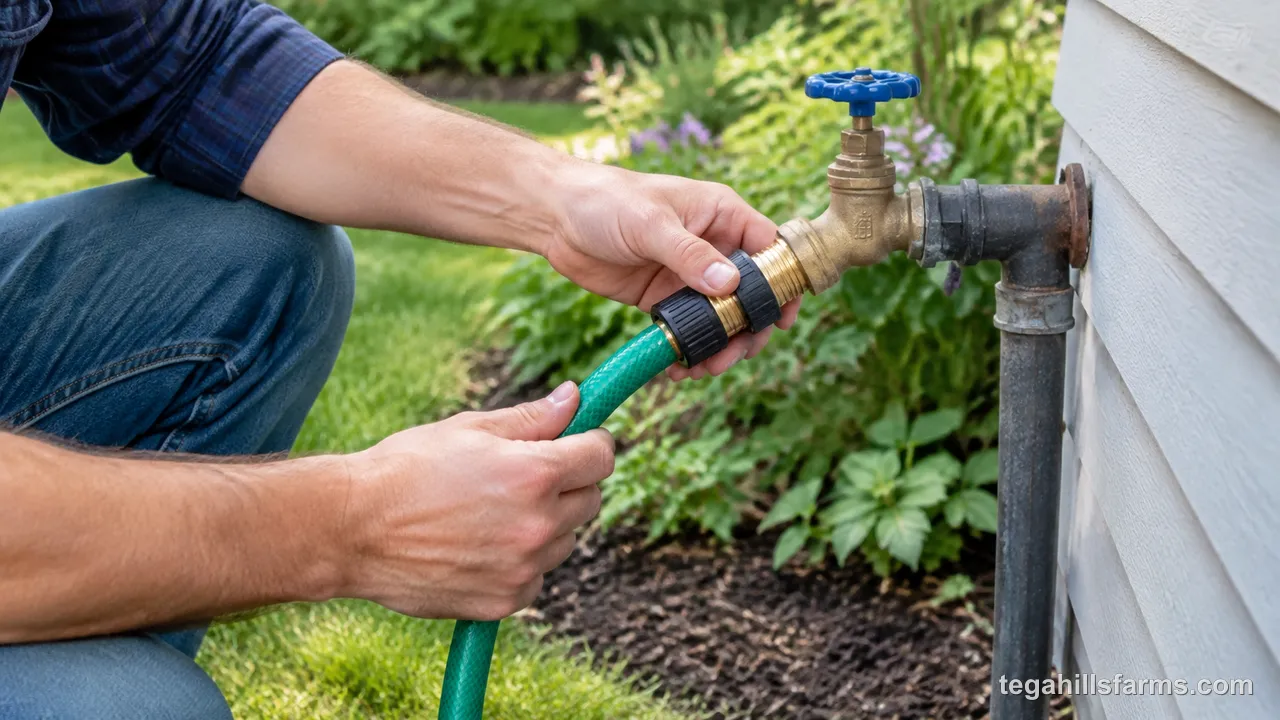
Why Is the Connection Leaking?
A weeping joint usually comes from a worn or missing washer, a crooked thread, a loose collar or a damaged fitting. Work through those in order, from cheapest to most involved.
Turn the water off and reseat the washer. Replace it if it’s flat or cracked. Then back the coupling off and restart the thread, in case it was crooked.
If the joint still weeps, wrap thread seal tape around the male threads. Check the collar on a crimped end next, since a loose one can seep at the barb.
When a fitting is cracked, bent or corroded, no amount of tightening will help. Replace it. That’s faster than chasing a leak that keeps coming back.
Why Won’t a Fitting Come Off or Lock On?
Fittings seize from mineral buildup, over-tightening or cross-threading. A quick connect that won’t lock usually has mismatched halves.
To loosen a stuck joint, soak it in white vinegar to dissolve mineral deposits. Then grip the fitting with a rubber-padded pair of pliers or a rag between the jaws. Gentle pressure won’t crush it.
Never muscle a plastic fitting with a wrench. It cracks.
For quick connects, confirm both halves are the same style and from the same system. Clean dirt out of the collar and gasket as well. A bit of grit is enough to keep the collar from clicking into place.
Why Does the Hose Twist or Kink When the Water Comes On?
A stiff hose with coil memory and a fixed fitting twists when pressure hits it. Letting it relax straight before you open the water prevents most kinks.
On a cold day, below 35°F, leave a stiff hose in the sun for roughly 30 minutes so it softens. Then lay it out in the shape you’ll use, before you pressurize it.
A hose that’s still curled will fight to uncoil as it fills. A swivel fitting at the faucet end lets the hose turn freely instead of twisting against a fixed joint. That helps most with a hose that’s dragged around the yard.
How Do You Coil and Store a Garden Hose?
Drain the hose, coil it in loose loops about 24 to 30 inches across, and store it out of direct sun and frost. That habit protects the washers, collars and the hose wall.
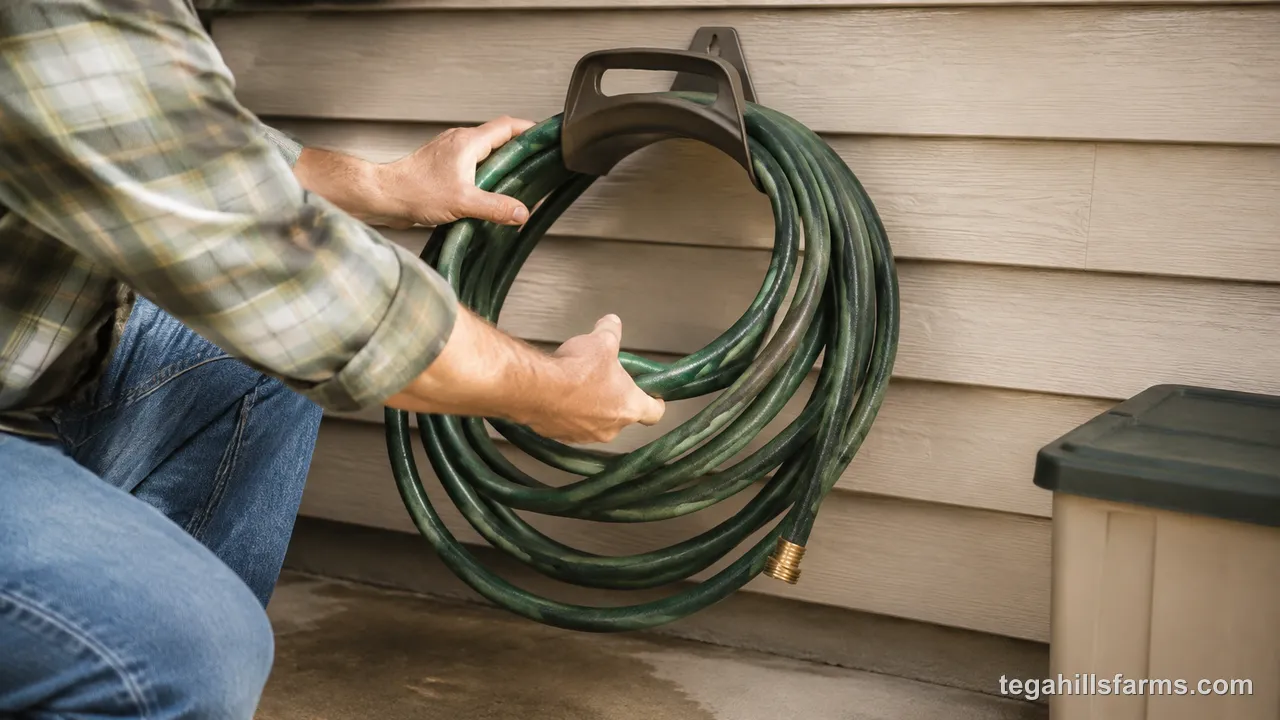
Water left inside freezes and swells in cold weather, which splits fittings. Sun bakes rubber washers until they harden and crack. Tight coils leave kinks that become permanent weak spots.
Hang the hose on a wide hook or a reel instead of leaving it in a heap. Store it in a garage or shed if you can.
Hoses that get this care tend to outlast ones that sit in the sun all summer, which is a big part of how long do garden hoses last.
A hose left in full sun all afternoon can hold water that is hot and stale by evening. If household pressure drops while the hose is connected, that water can also be pulled back toward the faucet. Before you rinse lettuce or fill a pet bowl from the hose, it matters what is sitting in that first flush.
Is Water from a Garden Hose Safe for Edible Plants and Drinking?
Hose water is fine for most garden watering, but drinking and edible plants call for care: flush the hose first and use a drinking-water-rated hose for anything you or your pets will consume.
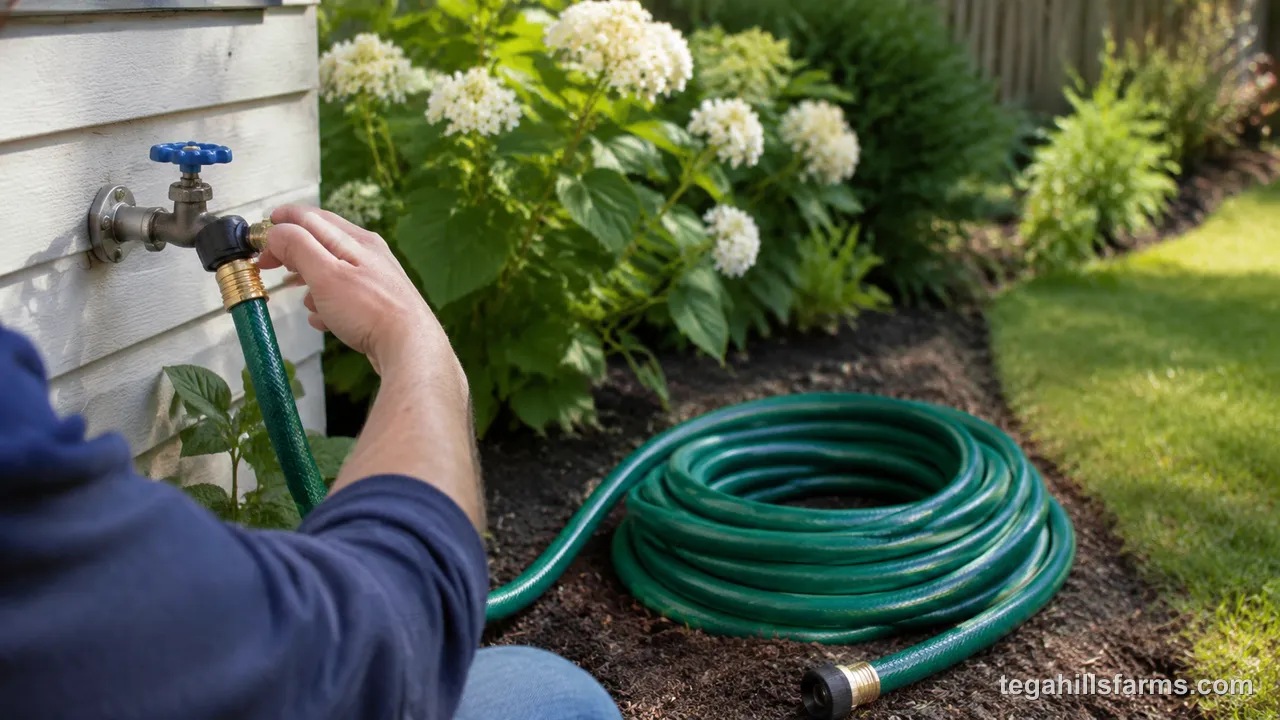
Standing water heats up in the sun and can taste stale. Flush the hose until the water runs cool and clear before you point it at vegetables or a pet bowl.
Many standard hoses aren’t made for drinking. Their materials aren’t intended for contact with water you’ll swallow. If you need a hose for drinking, look for one clearly labeled as drinking-water safe.
A backflow preventer is the other safeguard. This small one-way valve threads onto the faucet and stops water from flowing backward into household lines. It matters most when a hose sits in a bucket, a pool or a sprayer that mixes in chemicals. Fitting one is a cheap way to protect your home’s water supply.
How Do You Add a Hose Reel or Splitter to Your Setup?
A hose reel solves storage, and a splitter lets one faucet feed two lines. Choose the reel if the hose is always in the way, and the splitter if you need two hoses running at once.
How Do You Mount and Connect a Hose Reel?
Pick a spot near the faucet, fasten the reel to a solid surface with hardware that suits the wall, then link the supply hose to the reel and the working hose to the reel’s outlet.
Wall type decides the hardware. Wood studs, brick and siding each need different fasteners. Don’t screw into thin siding alone.
A full reel is heavy, so the mount must carry the weight of the coiled hose plus the water inside. Anchor it to studs or masonry.
The reel connects through a swivel, which lets the drum rotate without twisting the supply line. A short leader hose runs from the faucet to the reel’s inlet. Check the washers at each joint, then open the water slowly.
How Do You Split One Faucet Between Two Hoses?
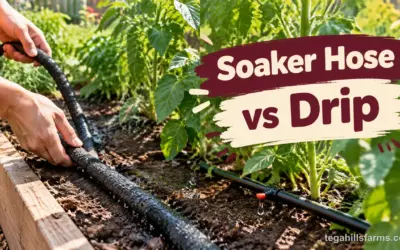
A splitter with shutoff valves screws onto the faucet and gives you two outlets, so one tap can run a garden hose and a soaker hose or second line at once.
Thread the splitter onto the spigot by hand, with a good washer in its inlet. Then connect a hose to each outlet. Each outlet has its own valve, so you can close any outlet you aren’t using.
Close unused outlets. Otherwise water pours out the open side.
Shared flow is the trade-off. When both lines are open, each gets less pressure than a single hose would. That’s fine for slow soaking, but it can weaken a spray nozzle. Close one valve when you need full pressure at the other.
Do Garden Hose Threads Differ Between the US and UK?
American garden hoses use National Hose (NH) threads, while UK taps and hose pipe fittings follow different standards, so parts don’t always screw together.
NH threads are a US standard, with a coarser, tapered profile than the pipe threads used on many UK taps. Many UK outdoor taps use British Standard Pipe (BSP) threads, and indoor taps often take a push-on connector instead.
That mismatch is why an imported hose pipe may not screw onto a tap, or why a US hose end can look right but refuse to seat. Forcing it damages both parts.
A tap connector solves most of it. It fits the tap on one side and offers the hose-end style you need on the other. If you buy parts from abroad, check the thread type on the listing before you order, and match it to your tap.
Garden Hose Setup FAQs
Which end of the hose goes on the faucet?
The female end, with the rotating collar and washer, goes onto the faucet. The male end, with external threads, points toward the nozzle or the next hose. If a hose has two female ends or two male ends, add a coupler or adapter to match.
Should I tighten a hose with a wrench or by hand?
Tighten by hand until the joint feels snug. The washer does the sealing, so extra force adds little. A wrench can flatten the washer, strip brass threads or crack a plastic coupling, and each of those causes the leak you were trying to prevent.
Do I need thread seal tape on hose threads?
Usually not, since the rubber washer seals a hose joint. Tape helps only when a joint keeps weeping after the washer is replaced and the thread is straight. Wrap it clockwise around the male threads so the female end pulls it tighter as it turns.
Can I attach a hose with the water on?
You can, but it’s a poor habit. Water sprays out as you thread, the pressure pushes against the washer, and a crooked start can damage the threads. Turn the supply off, connect the hose, and then open the water slowly.
Can I leave the hose connected in cold weather?
No. Water trapped in the hose freezes and expands, which can split the hose and fittings. It can also damage the faucet and the pipe behind the wall. Disconnect the hose before the first hard freeze, drain it, and store it.
Write Your Review
No reviews yet. Be the first to share your experience!