

Felling a tree with a chainsaw means controlling where a heavy stem goes, not just cutting through it. This guide walks the full sequence from gear and saw checks to reading lean, clearing escape routes, cutting the directional notch, making the back cut with a hinge, and handling hang-ups safely. Each step keeps you out of the danger zone and keeps the fall predictable.
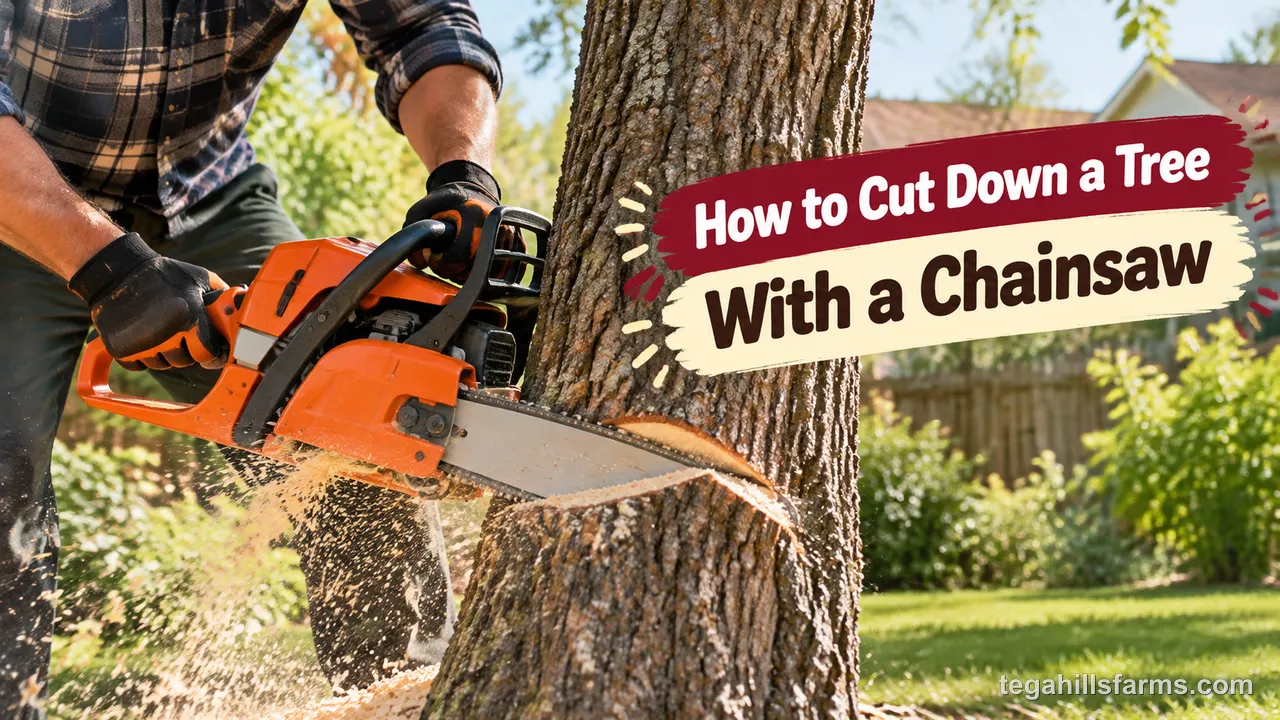
Before you touch the saw, match your plan to the tree. If the trunk diameter, lean, or nearby hazards feel beyond your experience or your bar length, stop and get help from a trained faller. Felling is unforgiving when rushed, tired, or under-equipped.
Below, you’ll get a practical, step-by-step approach for straight, small to medium trees on flat to moderate ground — the situation most homeowners face. For heavy leaners, hollow trunks, steep slopes, and trees near structures, use the edge-case notes at the end.
If your saw feels underpowered or too small for the trunk you are about to fell, review how to choose a chainsaw before you start cutting.
What safety gear and checks do you need before felling a tree?
You need full head-to-toe PPE and a sharp, properly tensioned chainsaw with bar oil, fuel, and safety features checked before felling. Those two pillars — your body protection and your saw’s condition — decide whether you stay in control if something goes wrong.
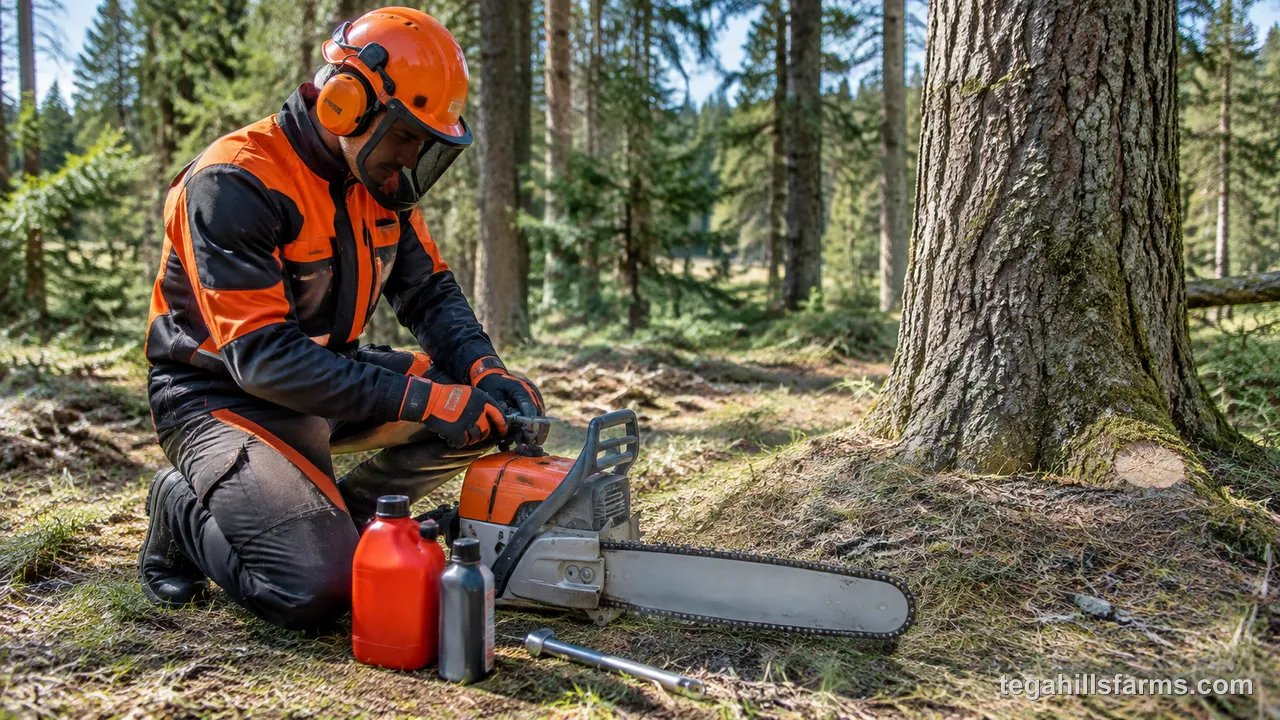
Felling throws chips, rolls stems, and can snap limbs overhead, so skipping gear or starting with a dull chain narrows your margin fast. Get suited up and prove the saw is ready on the ground, not mid-cut.
Which PPE is non-negotiable for felling?
Non-negotiable felling PPE is a helmet with face screen, hearing protection, eye protection, cut-resistant chainsaw chaps, steel-toe boots, and snug gloves. That combination covers the most common strike points: head from falling limbs, eyes and face from chips, ears from prolonged noise, and legs and feet from chain contact and rolling wood.
For a deeper look at layers and ratings, see our guide on chainsaw safety equipment. Choose chaps rated to the chain speed you run and keep them zipped and snug — loose chaps can snag. Look specifically for chainsaw chaps that cover from waist to instep without gaps above the boot. A high-visibility vest helps a partner spot you at distance, and it costs you nothing in mobility. Check every piece before you go out: cracked helmet shell, scratched screen, or torn chaps mean replace, not patch.
How do you make sure the chainsaw is ready to fell?
A fell-ready chainsaw has a sharp, properly tensioned chain, a straight bar, full chainsaw bar oil, and a working chain brake. Test the brake by engaging and disengaging it, check that the chain snaps back lightly when pulled and still spins freely, and confirm oil is slinging off the tip when you rev briefly over cardboard.
Top off bar oil and fuel away from the stump, inspect the bar rails for burrs, and clean the sprocket area. A dull chain forces you to push, which raises kickback risk and ruins hinge control. If you notice dust instead of chips or the saw pulling to one side, stop and sharpen before you notch.
How do you assess the tree and plan where it will fall?
Assessing the tree means reading natural lean, overhead hazards, and wind, then clearing a clean work zone with two diagonal escape routes before any cut. That quick survey decides your intended fall path and your safe exit, which matter more than cutting speed.
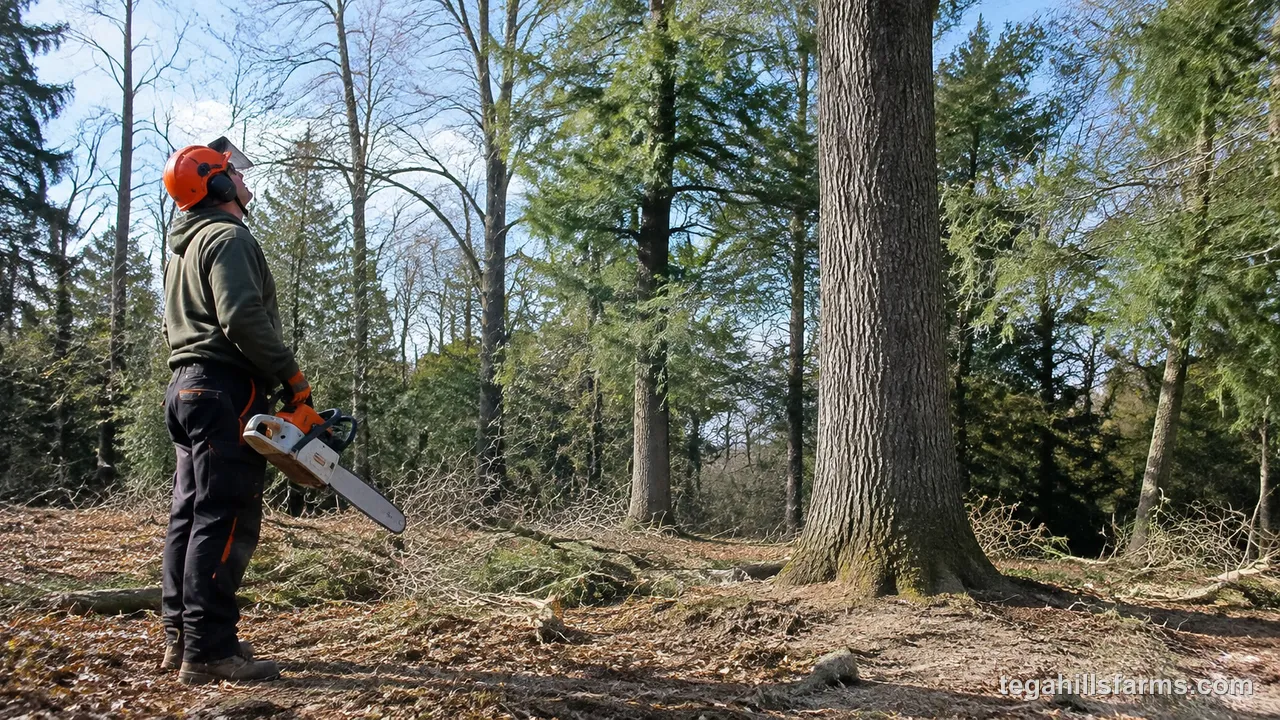
Walk around the tree completely, look up, and look far beyond the canopy. If you cannot get a clear fall zone at least one and a half tree lengths free of people, structures, and power lines, do not proceed without professional help.
How do you read lean, hazards, and wind?
Read lean with a plumb line, scan for widowmakers and hung limbs, and check wind speed and gusts before choosing a fall direction. Stand back and sight the trunk against a straight reference like a pole; the trunk’s weight will favor that side. Note dead tops, loose bark, vines, and nearby trees that could deflect the fall.
Wind can override a notch on lighter trees, so fell in calm conditions when possible and never fell in strong or gusty wind. This habit is core to chainsaw safety tips — you plan the fall the tree wants, then use the notch and wedges to steer within that natural bias, not fight it. If lean points toward a structure or power line, you need mechanical advantage and a clear reset plan, or you need a pro.
Where should your work zone and escape routes be?
Clear the base in a full circle and plan two escape routes at roughly 45 degrees behind and away from the intended fall line. Remove brush, limbs, and tripping hazards so you can step back without looking down. Keep tools, fuel, and bystanders well outside the zone.
Mark your exits by walking them before cutting — they should be firm, uphill if on a slope, and opposite the direction the tree will travel. As soon as the tree commits to falling, throttle down, engage the brake, and walk — don’t run — along the safer of the two routes while watching the crown for kicking limbs.
What tools and equipment do you need to fell a tree?
You need a bar that reaches the trunk with a sharp chain and wedges plus a breaking bar or winch for larger or leaning trees to control the fall. The tree’s diameter and lean dictate which aids are mandatory and which stay in the truck.
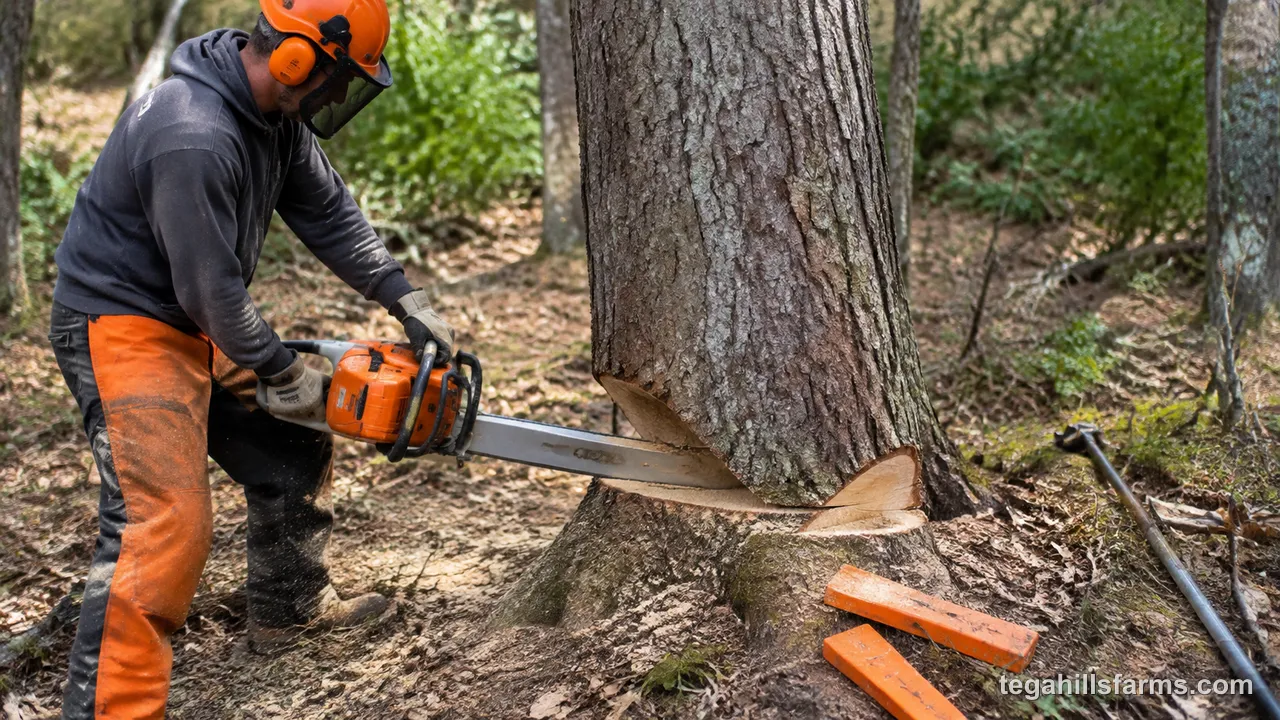
Lay everything out at the stump before the first cut. Fumbling for a wedge after the back cut has pinched wastes the moment when you can actually influence direction.
How do you match bar length and chain condition to the tree?
Match bar length so you can reach across the trunk without overreaching, and fell only with a sharp, well-lubricated chain. For most homeowner felling, the bar should be at least as long as the trunk’s diameter at cut height; shorter bars force double-cutting that complicates the hinge. Keep the chain sharp so it throws square chips and pulls itself through wood.
Check chainsaw bar oil flow before you cut and keep the reservoir topped up — dry rails heat up and grab. If cuts produce fine dust, the saw rattles, or you must lean on it, pause to address how to sharpen a chainsaw. A sharp chain gives you a smooth notch floor and a level back cut, both essential for a predictable hinge.
When do you need wedges, a breaking bar, or a winch?
Use plastic felling wedges on most trees over about 12 inches, and add a breaking bar or winch when lean, weight, or slope fights your intended direction. One or two wedges driven behind the bar during the back cut prevent the tree from sitting back and pinching the saw. Double-taper wedges lift more per strike in big wood.
A breaking bar pries small to medium stems over the hinge when they hang up lightly, while a rope or winch anchored well beyond the fall zone supplies controlled pull for heavier leaners — never pull with a vehicle in line with the fall. Carry a single-bit axe to set wedges and clear small limbs without reaching over the chain.
How do you cut the directional notch to control fall direction?
The directional notch controls fall direction with the open-face notch winning for most homeowners, a conventional notch for small straight trees, and a Humboldt for saving lumber on large stems. Aim determines the path; wedge-shaped wood removal lets the trunk rotate cleanly.
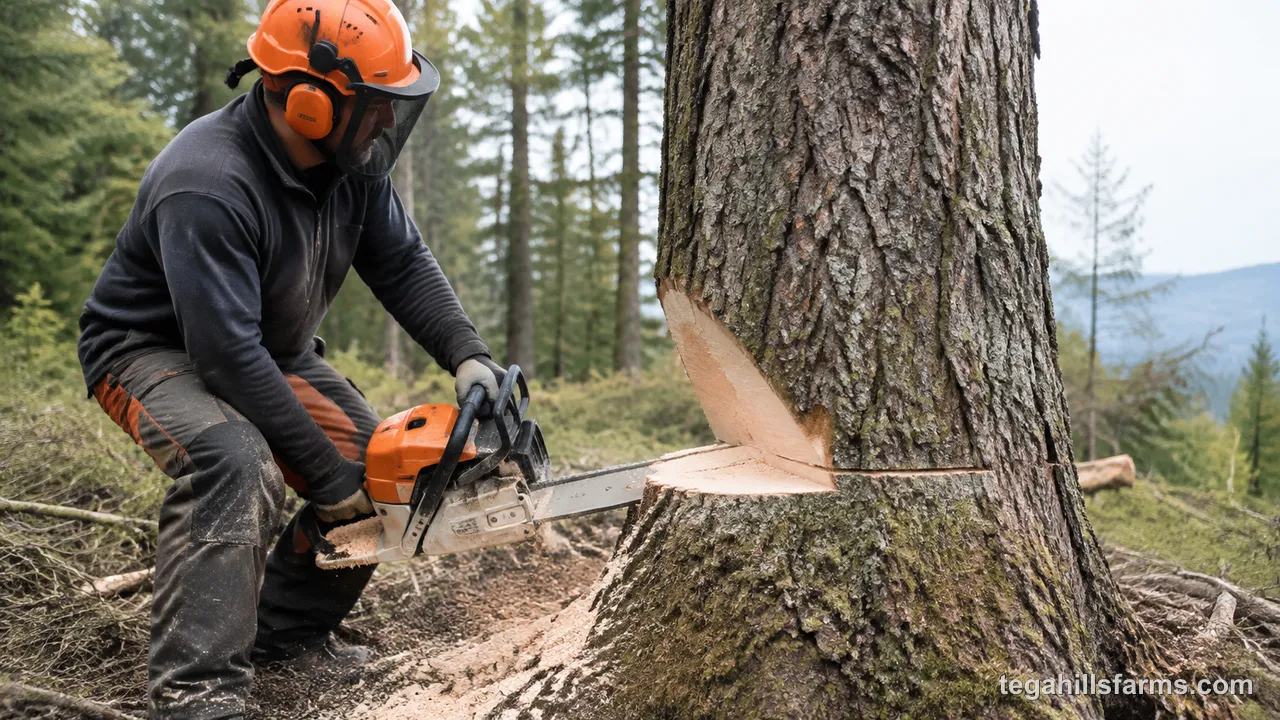
Get the notch right and the rest of the job is steering; get it wrong and wedges cannot fully correct it. Keep the floor level and the cuts meeting precisely.
Which notch type should you use: open-face, conventional, or Humboldt?
Use the open-face notch (70 to 90 degrees) for the most directional control, the conventional notch (about 45 degrees) for small straight trees, and the Humboldt for large conifers where you want to save wood value. The open-face stays open longer as the tree falls, so the hinge holds and guides before it breaks.
Conventional is faster to cut but closes sooner, giving less steering time. Humboldt angles the back cut upward into the face, which helps on big downhill fells and keeps the butt log square, but it is harder to aim without practice. For most yard pines, oaks, and maples under 20 inches, open-face is the safest default and reduces the chance of a barber chair.
How do you make the two cuts of the notch?
Make the angled top cut first to about one-third of the diameter, then the flat bottom cut to meet it exactly, leaving a clean, meeting point without bypass. Set your aim point at the intended fall line, scribe lightly, then cut the top plane downward at roughly 45 degrees for an open-face 90-degree notch or shallower for a 70-degree notch.
Follow with a level bottom cut that meets the top cut’s inner corner — no overlap, no gap, no holding wood left in the notch. Check that both hinge sides will be even; a bypassed notch leaves a step that twists the hinge. Keep firm footing and smooth throttle, and pause to clear chips so you can see the meeting point. This is also where a loose chain shows up as wandering cuts, so confirm how to tighten a chainsaw chain before you start the face.
How do you aim and verify the notch direction?
Aim by sighting along the notch floor toward your target and verifying even hinge wood will remain on both sides. Kneel behind the trunk and look down the flat bottom cut like a gunsight; it should point exactly where you want the center of the crown to land. Use a plumb or a straight stick on the trunk to double-check.
The notch depth should be consistent left to right, and the inner corner should be straight — a curved or stepped corner creates an uneven hinge that pulls the tree off line. Beware of chainsaw kickback when the tip contacts the notch corner or hidden limbs; keep the tip clear and let the side of the bar do the work.
How do you make the felling cut and keep the hinge intact?
Keep the hinge intact by making a level back cut slightly above the notch floor that leaves about 10% diameter of even hinge wood, then driving wedges early to lift and steer. The hinge is the steering wheel; cut through it and you lose direction.
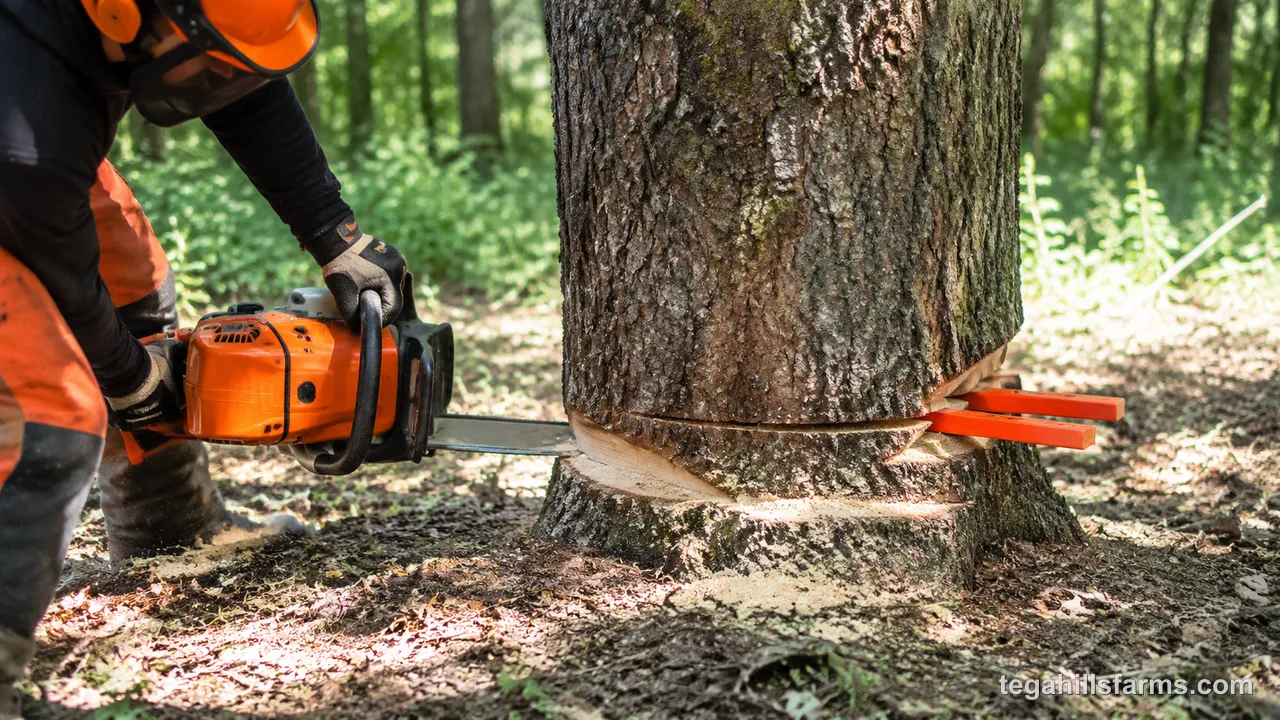
Patience here beats power. Stop advancing the back cut while you still have hinge to spare, then let wedges do the lifting.
Where and how do you start the back cut?
Start the back cut level, on the opposite side from the notch, 1 to 2 inches above the notch floor, and cut straight toward the hinge. Mark the height with a quick scribe around the trunk so the cut stays horizontal all the way across. Engage full throttle smoothly and keep the bar perpendicular to the intended fall line.
Leave holding wood on both sides and stop before the saw reaches the hinge — you will hear the wood fibers start to pop as the tree commits. If you need a refresher on cold starts and warm restarts at the stump, see our guide on how to start a chainsaw so you don’t flood the saw mid-felling. Withdraw the bar cleanly once the cut is deep enough to set a wedge, rather than burying the tip.
How thick should the hinge be and why does it matter?
Leave a hinge about 10% of trunk diameter thick (roughly 1 inch on a 10-inch tree), even side to side, and never cut through it. That strap of uncut wood bends but does not break immediately, guiding the trunk along the notch direction as it rotates. Too thin and it snaps early, letting wind or lean take over; too thick and the tree may not commit, increasing the chance of a hung stem.
Check hinge thickness visually from both sides before wedging — it should be uniform like a door hinge, not tapered. Species matters: brittle hardwoods may need a slightly thicker hinge than softwoods to hold, while small trees need proportionally careful handling because there is less wood to steer with.
How do you use wedges to lift and guide the tree?
Insert wedges into the back cut as soon as space allows and drive them progressively to lift the stem off the cut and steer it over the hinge. Tap the first wedge lightly behind the bar, then alternate driving if you use two, keeping them in line with the intended fall. Stop cutting once wedges are bearing weight; let the wedges do the final lift.
Plastic wedges are saw-friendly if the chain kisses them, unlike steel. Drive with an axe face, not the saw, and keep your feet clear of the kerf. If the tree sits back and pinches before you get a wedge in, back out, re-enter slightly higher, and reset — forcing a pinched bar twists the hinge and risks kickback.
What do you do if the tree hangs up and how do you finish the job?
If the tree hangs up, stop cutting and use mechanical leverage to free it, then limb from the butt toward the top and buck with pinching and kickback in mind once it is on the ground. Rushing either step is where most injuries happen after the fall.
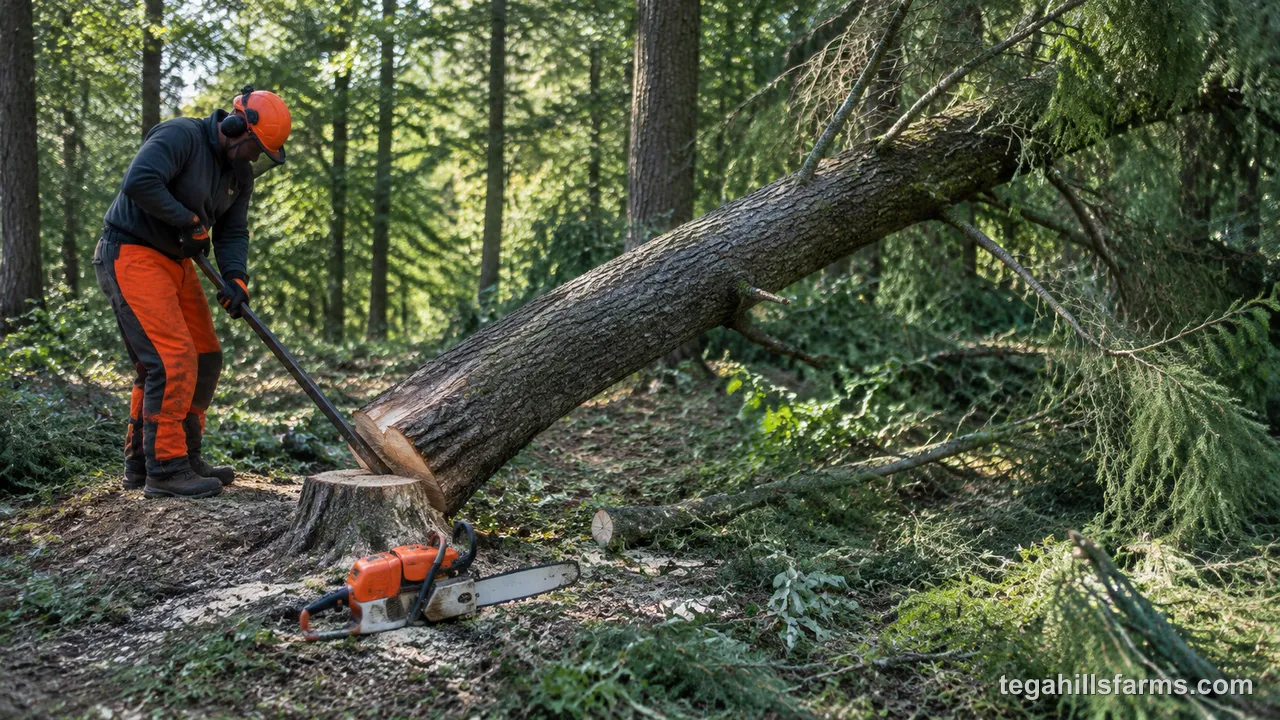
Confirm the crown is stable before you approach, and never work under a lodged stem or the tree it is leaning against.
How do you safely handle a hung-up or lodged tree?
Never cut the supporting tree; use a breaking bar, winch, or pull rope from well outside the danger zone to roll or lift the hung stem free. Assess which limbs carry the weight, clear your escape routes again, and apply force from the side, not directly under the lean. A long breaking bar gives leverage at the butt to rotate the trunk, while a winch anchored beyond one tree length lets you pull steadily without standing under the crown.
Call a professional if the stem is deeply lodged, twisted, or over a structure. After any hang-up recovery, inspect the saw; impacted bars and chains pick up grit and need cleaning to run smoothly, so plan to address how to clean a chainsaw before the next cuts.
How do you limb and buck once the tree is on the ground?
Limb from the base toward the top keeping the trunk between you and the saw, then buck from the side that keeps the chain from pinching. Cut branches on the tension side first, work around compression limbs that may spring, and maintain solid footing with the bar at waist height. Stand on the opposite side of the trunk from the limb you cut when possible.
For bucking, read log tension: if the log is supported at both ends, cut from the top; if supported at one end, cut from the bottom first or use wedges to keep the kerf open. Keep the tip out of dirt and avoid cutting multiple limbs in one pass, which raises kickback exposure.
You have now covered the full felling sequence above, from assessing lean and clearing escape routes to cutting the directional notch, keeping the hinge, and making the back cut with wedges.
While that core sequence handles most straight, small to medium trees, the work gets riskier when trees are heavy leaners, hollow, on steep slopes, or near structures where the standard cuts need extra judgment.
The next sections zoom into those rare but critical edge cases and upkeep details that keep both you and your saw in good shape after the tree is down.
Rare but Critical Details Most Beginners Miss
Rare but critical details are heavy leaners and hollow or dead trees, slope effects, and permits or protected-tree rules, plus post-job saw care so the next start is easy. These edge cases turn a routine fell into a high-risk cut if you treat them like a straight yard tree.
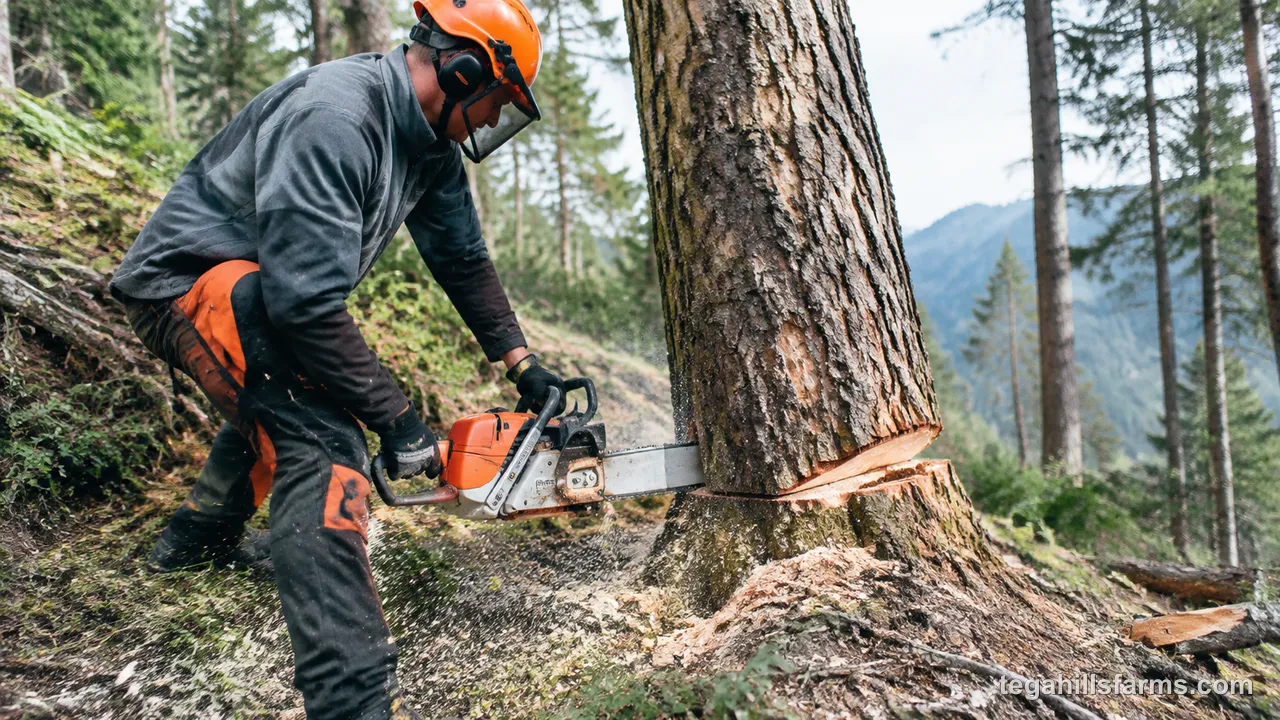
Heavy leaners may need a bore cut to set the hinge before releasing the back strap, and hollow or dead wood can barber-chair without warning — both are pro territory for most homeowners. On slopes, plan escape uphill and diagonally, fell across the slope when feasible to keep the butt from sliding toward you, and expect the log to roll after impact. Check local rules on felling near property lines, roads, and during burn bans before you cut. After the tree is down, clean chips from the clutch cover, check chain tension, and prep the saw for storage so oil and fuel don’t gum up; see our guide on how to store a chainsaw if it will sit more than a few weeks.
Quick Answers Before You Cut
Quick answers cover lean, size limits, and common judgment calls so you can decide whether to cut or to call for help. Use them as final checks at the stump, not as a substitute for the full sequence above.
Q: How far off can wind move the fall?
A: Even a light crosswind can push a small-crowned tree several feet off line, and gusts can override a notch entirely. Fell only in calm air and abort if gusts pick up mid-cut.
Q: Can I fell a tree that leans away from where I want it to go?
A: Slight lean can be corrected with wedges or a pull line, but strong lean toward a structure, fence, or power line should be left to a professional with mechanical systems and a reset plan.
Q: What if my bar is shorter than the trunk diameter?
A: You can fell with a shorter bar using careful double cuts, but it doubles hinge risk if the cuts don’t meet cleanly. If the tree is much larger than your bar, use a longer bar or get help.
Q: Do I need a permit to fell a tree in my yard?
A: Some counties and HOAs require permits for trees above a certain size or for street trees and protected species. Check local ordinances and utility notifications before you cut near lines.
Q: How long should I wait after wedging before re-cutting?
A: Drive wedges steadily and watch the crown for movement; if the tree doesn’t commit after firm wedge pressure, stop and reassess hinge thickness and lean rather than blindly deepening the back cut.


Write Your Review
No reviews yet. Be the first to share your experience!