

A chainsaw demands respect every time you pick it up, and a consistent safety routine is what keeps a routine cut from turning into an emergency. Work starts with head-to-toe protection, stable handling and positioning, kickback prevention, and a sharp, properly tensioned saw that you have inspected before the first pull.
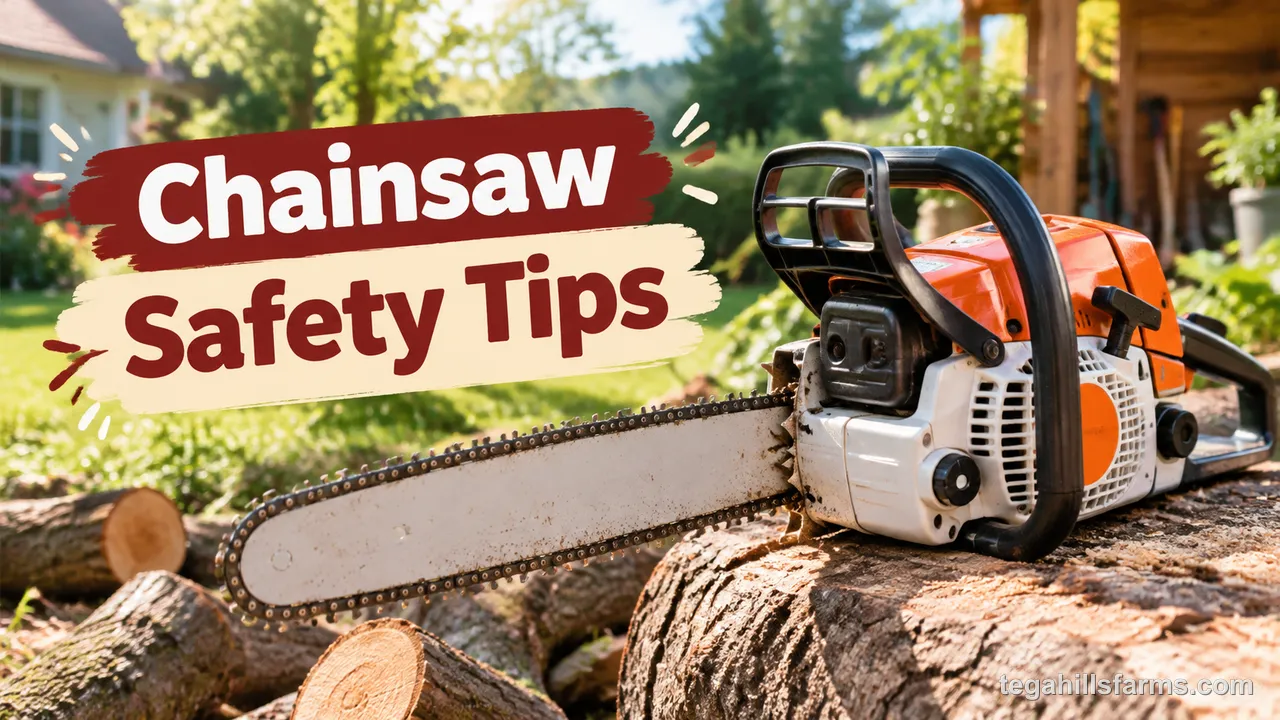
Most injuries come from skipping basics: no chaps or helmet, a loose chain, cutting with the tip in the wrong place, or standing directly behind the bar. This guide walks through each risk in order so you know what to check and how to move.
Experience helps, but it does not replace gear checks, a clear escape path, and a chain brake that actually works. A few minutes of preparation saves you from the most common and most severe chainsaw incidents.
Below, you will find gear, grip, starting and spacing, kickback mechanics, maintenance tests, and a planned approach to felling and bucking.
What PPE Do You Need Before Starting a Chainsaw?
You need head, eye, and hearing protection and cut-resistant leg, foot, and hand protection before starting a chainsaw. If you are still deciding on bar length, power source, and safety features for your yard, see our guide on how to choose a chainsaw before you focus on gear.
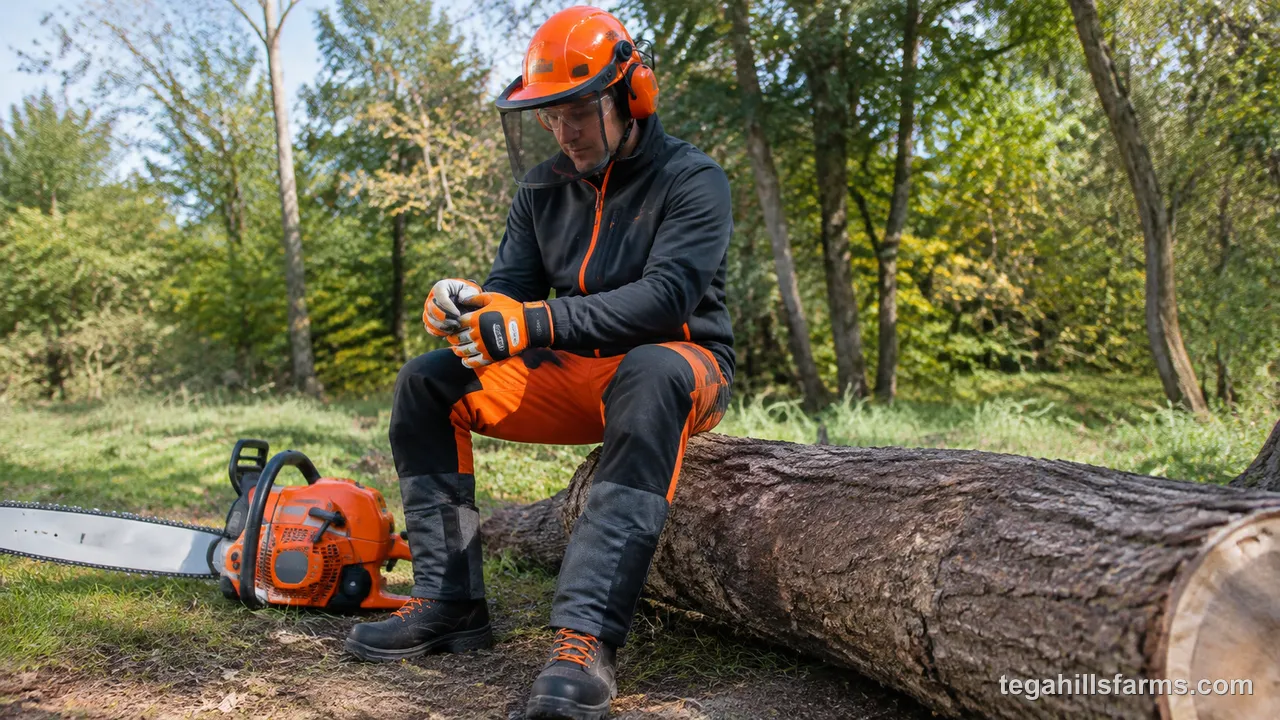
Head and face gear protects against flying chips and noise, while leg and hand gear is designed to slow or block a moving chain on contact. For a full rundown of options by job type, see our overview of chainsaw safety equipment. The two groups below cover what to wear every time.
Do You Have Head, Eye, and Hearing Protection Covered?
A complete head setup means a helmet with face shield, ANSI-rated eye protection, and earmuffs or earplugs rated for chainsaw noise.
A hard hat absorbs glancing impacts from falling limbs, a mesh or polycarbonate face shield deflects chips that glasses alone miss, and safety glasses seal the gap around your eyes when you lift the shield. Wear both shield and glasses for felling or limbing. Hearing protection matters because a gas saw easily exceeds safe exposure limits within minutes — earmuffs that integrate with the helmet keep you consistent, while plugs work if you prefer a low-profile option. Check fit before starting: helmet snug, shield clear, glasses fog-free, and ear protection seated so speech is muffled.
How Do Chaps, Boots, and Gloves Reduce Cut Injuries?
Chaps, boots, and gloves reduce cut injuries with protective chainsaw chaps that jam the sprocket, steel or composite-toe boots with cut resistance, and gloves with grip and left-hand protection.
Protective chainsaw chaps contain layers of ballistic fibers that pull into the drive sprocket and stall the chain on leg contact — they do not make you cut-proof, but they buy critical stopping time. Choose chaps rated to UL Classified or ASTM standards and sized to cover from waist to top of boot. For feet, look for chainsaw boots with aggressive tread, ankle support, and cut protection over the instep where a slip is most likely. Gloves should fit snug, keep vibration down, and not snag the throttle; many designs add extra protection on the back of the left hand where kickback exposes you first.
How Should You Handle and Position a Chainsaw Safely?
Safe handling comes down to correct grip, stance, and cutting plane, a controlled start and carry, and clear spacing with no solo work without a check-in.
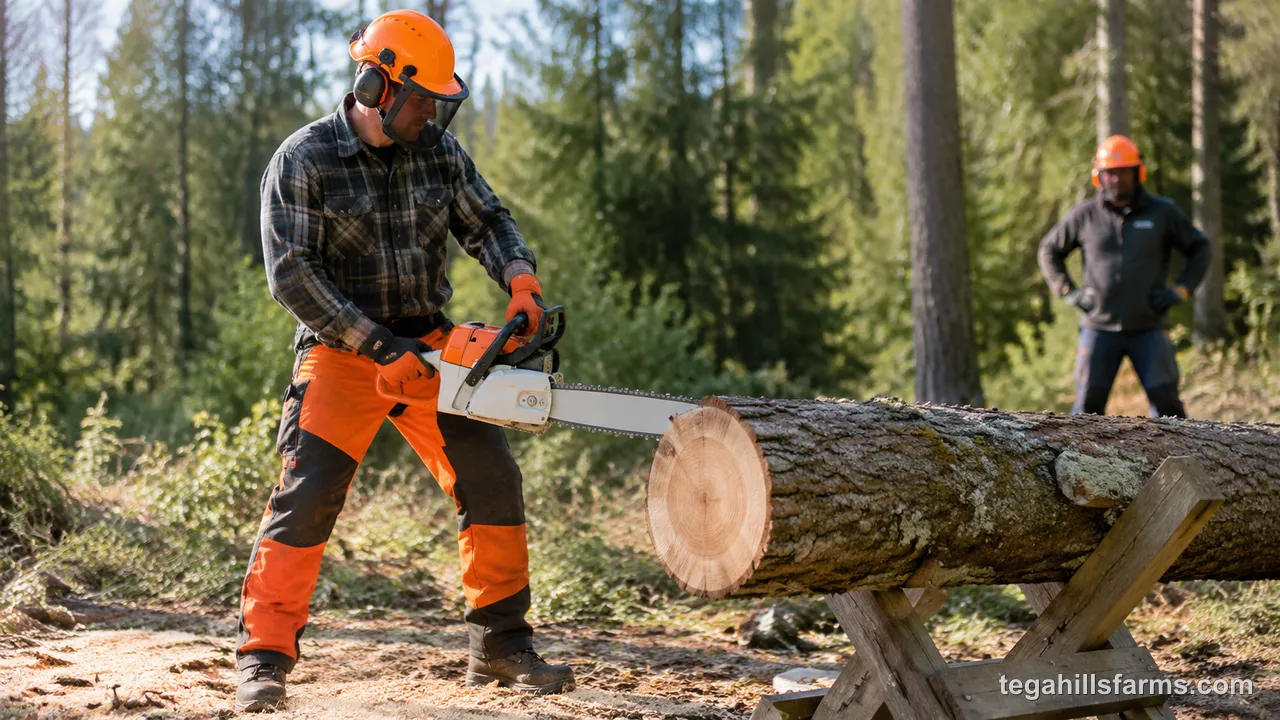
These three habits keep you balanced, keep the bar out of your body line, and keep others out of the danger zone. The details below show how to set your feet, start the engine without losing control, and manage distance.
What Is the Correct Grip, Stance, and Cutting Plane?
The correct setup is a two-handed wrap-around grip, feet shoulder-width and slightly staggered, and the guide bar cutting to the side of your body, never centered.
Wrap thumbs and fingers fully around both handles — never one-hand a chainsaw. Lock elbows with a slight flex so you can absorb kickback, and stand with weight balanced so you can step back without tripping. Position the guide bar so the chain moves away from your legs and torso, and keep your head and shoulders out of the plane of the bar. Cut at waist height when possible; avoid overreaching or cutting above shoulder level, which reduces control and invites kickback.
How Do You Start and Carry the Saw Without Losing Control?
Start and carry safely means cold and warm starts on the ground with chain brake on and carrying with the bar behind you and brake engaged.
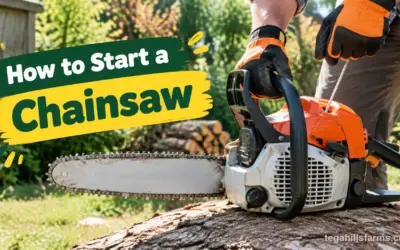
For a ground start, set the saw on stable ground, engage the chain brake, set the master control for cold or warm start, and hold the front handle while pulling — never drop-start. Our step-by-step on how to start a chainsaw covers choke, primer, and warm-restart differences by engine type. Between cuts, activate the brake, keep the engine at idle or off, and carry with the guide bar pointing behind you, muffler away from your leg. For longer moves between sites, see our tips on how to transport a chainsaw so the bar and chain stay covered and fuel stays secure.
How Far Should Others Stay and When Should You Work Alone?
No, you should not work alone without a check-in plan, and bystanders should stay at least 15 feet away, farther when felling.
A second person should be within earshot or on a timed check-in, with a phone and first-aid kit accessible, especially for felling or storm cleanup. Keep children and pets well clear of the work area, and brief any helper to stand uphill and to the side, never directly behind the cut or under a leaning stem. If you must work solo, tell someone your location and expected finish time, and keep the saw off while repositioning logs.
What Causes Chainsaw Kickback and How Do You Prevent It?
Kickback is prevented by avoiding tip contact, using proper technique, and keeping the chain brake and low-kickback setup working.
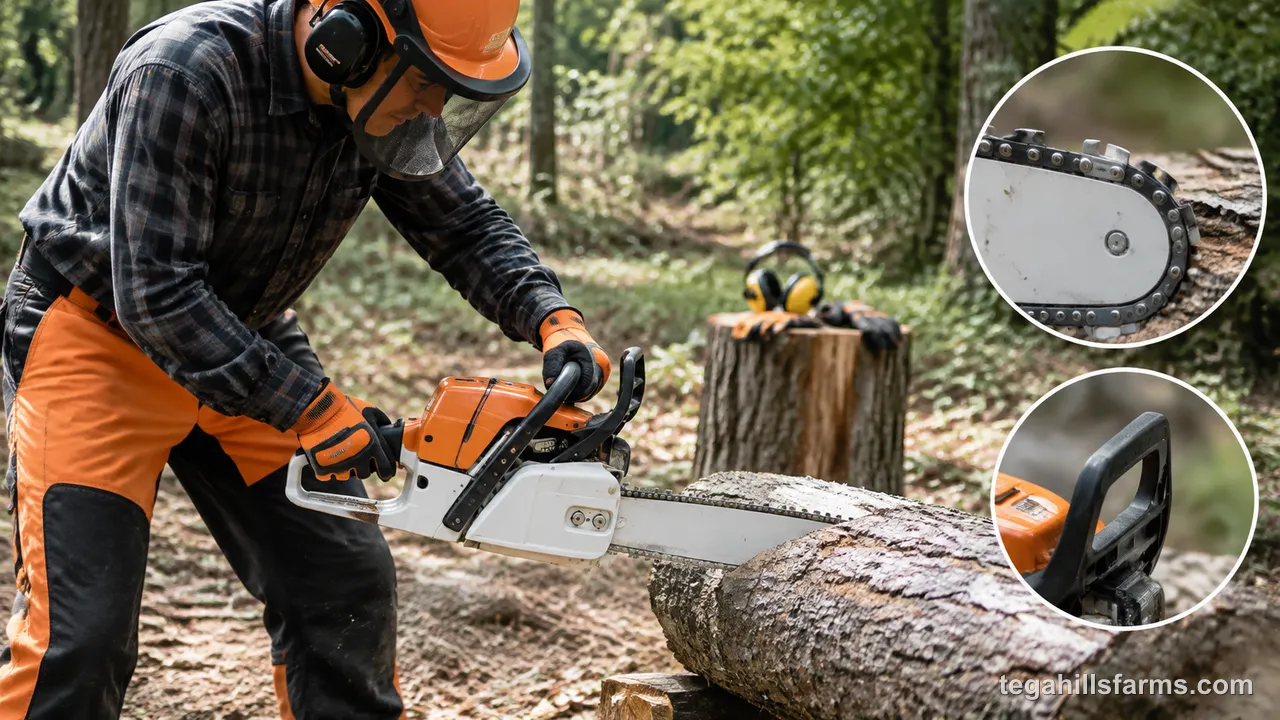
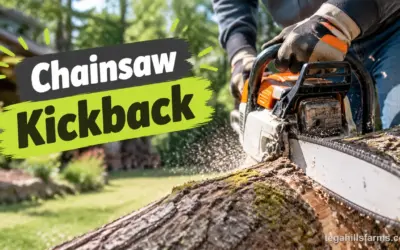
For a deeper explanation of forces and chain design, see our guide on chainsaw kickback. The two parts below explain why the tip kicks and what you can do to lower the odds.
How Does Tip Contact Create Sudden Kickback?
Kickback happens when the upper tip of the guide bar contacts wood or pinches, throwing the bar up and back toward you in milliseconds.
Rotational kickback is the classic type: the chain at the tip’s upper quadrant catches and the bar pivots around the sprocket. Pinch kickback happens when the kerf closes and grabs the bar during a cut. Both drive the bar toward your face and shoulders faster than you can react, which is why the chain brake, grip, and stance matter more than reflexes. Small branches, nails, and twisting wood increase the chance of tip contact.
How Can Your Technique and Chain Setup Lower Kickback Risk?
You lower kickback risk with tip awareness, stable cutting technique, and a low-kickback chain and working chain brake.
Keep the tip clear of wood unless you are trained for boring cuts, and never cut with the tip’s upper corner. Plan cuts so the wood cannot pinch — use wedges on large stems and support logs to keep the kerf open. Maintain a sharp chain at correct depth-gauge height; a dull or aggressive chain grabs more easily. Confirm the chain is a low-kickback type for your bar length, keep the chain brake clean and snappy, and test it before each session. With these habits, fewer contacts become violent events.
How Do You Check and Maintain a Chainsaw for Safe Operation?
A safe-to-cut check covers chain tension and sharpness, bar oil and cleaning, and tests of the chain brake, throttle interlock, and chain catcher.
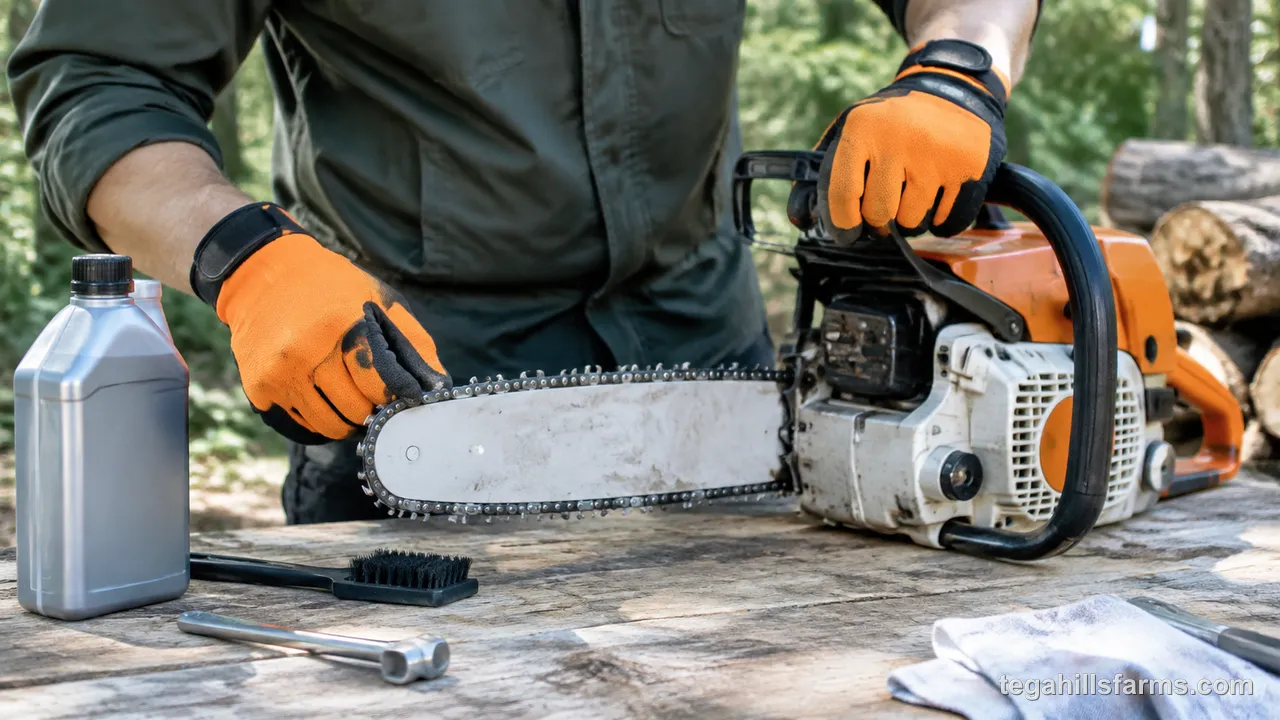
Run these three checks before each session — they take minutes and catch the failures that cause loss of control.
Is Your Chain Tension and Sharpness Within a Safe Range?
No, a loose, overly tight, or dull chain is not within a safe range — it must pull freely, snap back, and cut with light pressure.
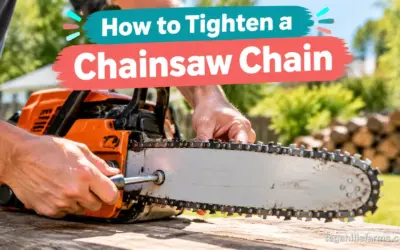
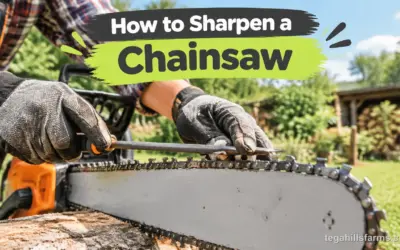
With the saw off and cool, the chain should lift slightly from the guide bar but drive links should stay engaged; it should snap back when pulled and released. If you need to adjust, follow the steps in how to tighten a chainsaw chain, then recheck after a few cuts as a new chain stretches. For sharpness, look for shiny, even cutters and fine, consistent chips — dust or a saw that needs forcing means it is dull. A sharp chain is safer because it reduces pushing, binding, and fatigue. If filing is due, see our method for how to sharpen a chainsaw to restore edge and depth gauges.
Why Do Bar Oil and Cleaning Directly Affect Safety?
Bar oil and cleaning affect safety because chainsaw bar oil reduces friction and throw-off, and a clean bar groove and sprocket keep the chain tracking true.
Without enough oil, the chain heats, stretches, and can derail or snap, while the bar wears unevenly and steers the cut. Check the oil level every fuel fill and confirm a light spray off the tip on a test rev. Sawdust, pitch, and chips packed in the bar groove, clutch cover, and air filter restrict oil flow and cooling, making the saw harder to control. Brush the bar groove, clear the oil ports, and knock out the air filter before each job so the saw feeds smoothly through the cut.
How Do You Test the Chain Brake, Throttle Interlock, and Chain Catcher?
Test them by chain brake stops chain instantly, throttle interlock blocks throttle without trigger press, and chain catcher is present and solid at the bar base.
With the saw running at idle, push the front hand guard forward — the chain should stop immediately. Reset, then try to squeeze the throttle without pressing the interlock; it should not move. Visually confirm the chain catcher — the small metal tab below the bar — is intact, tight, and not bent; it is designed to catch a thrown or broken chain. If any test fails, do not cut until the part is repaired or replaced.
How Do You Fell a Tree Safely With a Chainsaw?
Safe felling follows site assessment and escape routes, a proper notch, hinge, and back cut, and low-risk limbing and bucking after the tree is down.
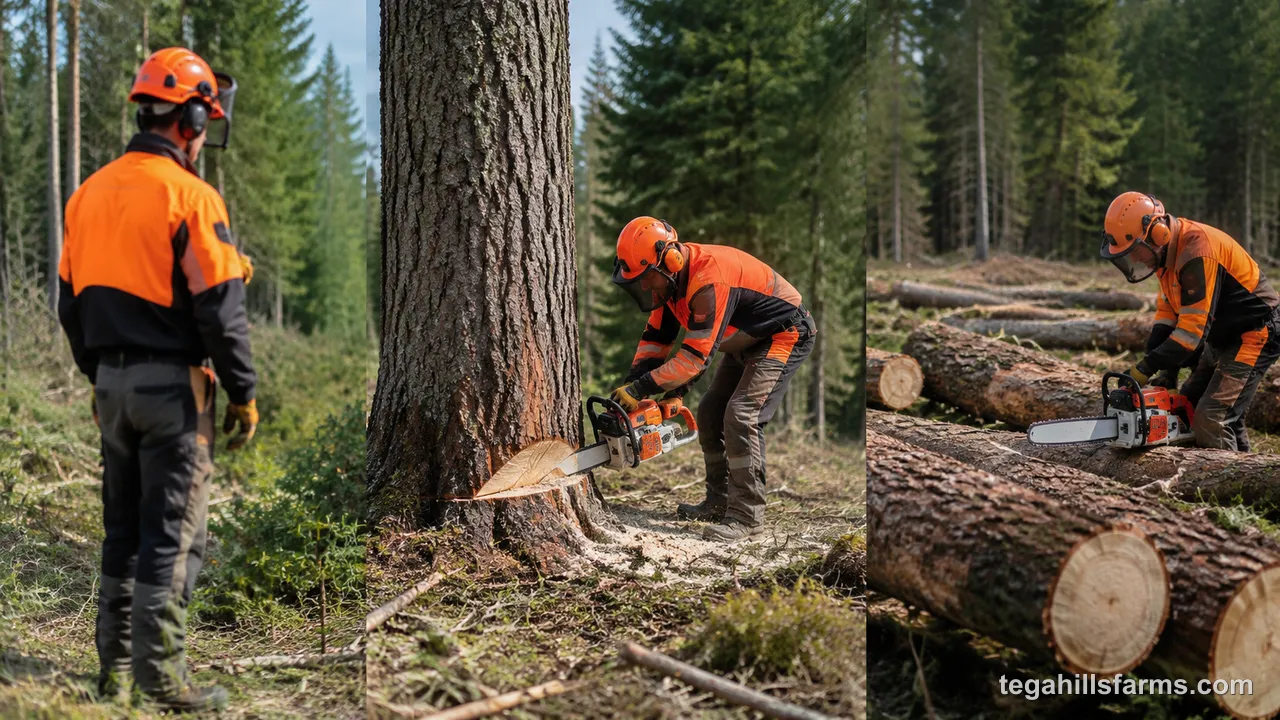
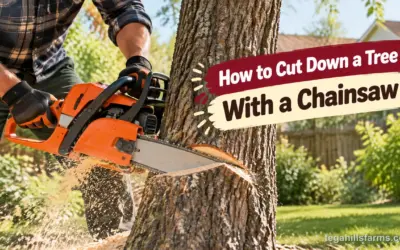
Each stage controls direction, keeps the stem from splitting unpredictably, and limits kickback and pinch while you work the downed tree. If you want the full sequence in one place, see our walkthrough on how to cut down a tree with a chainsaw.
How Should You Assess the Site and Clear Escape Routes?
Assess the site by lean, wind, and hazards, then clear two escape routes at 45 degrees behind and to the sides.
Walk the tree from all sides to read lean, weight distribution, dead limbs overhead, and nearby structures or power lines — if any target is within strike distance and you are not trained, bring in a professional. Check wind speed and direction; avoid felling in gusty or shifting wind. Clear brush, vines, and tripping hazards from two paths that lead diagonally backward from the planned fall line, and mark them so you can move without looking down. Keep helpers and equipment out of the fall zone at a distance of at least twice the tree height.
What Makes a Proper Notch, Hinge, and Back Cut?
A proper felling setup is a directional notch at one-third depth, a uniform hinge, and a back cut level and slightly above the notch floor.
Cut the notch on the fall side first — a 70-degree opening is common — to aim the tree. Leave a hinge of even wood, about 10% of diameter, intact between notch and back cut; it steers the fall and prevents an uncontrolled release. Make the back cut from the opposite side, level and 1 to 2 inches above the notch floor, leaving the hinge until the tree commits. Use wedges early on leaning trees to lift and prevent the bar from pinching. Keep the guide bar out of the dirt and never cut through the hinge.
How Do You Limb and Buck the Downed Tree Without Kickback or Pinch?
Limb and buck without kickback or pinch by working from the uphill side, cutting branches under tension last, and supporting the log to keep the kerf open.
Stand on the opposite side of the stem from the limb you are cutting so the trunk shields you, and keep the tip clear of other branches. Cut limbs on the top and sides first, leaving tensioned limbs that hold the tree off the ground until you have footing. When bucking, note where the log is supported — if it sags in the middle, start from the top; if it is supported at the ends, start from the bottom — and use a small wedge to hold the kerf if it starts to close. Move deliberately and reset your stance between cuts.
Do You Need Training and a Pre-Cut Safety Checklist?
Yes, training and a repeatable pre-cut checklist are essential, because hands-on instruction plus a written routine beats memory under fatigue.
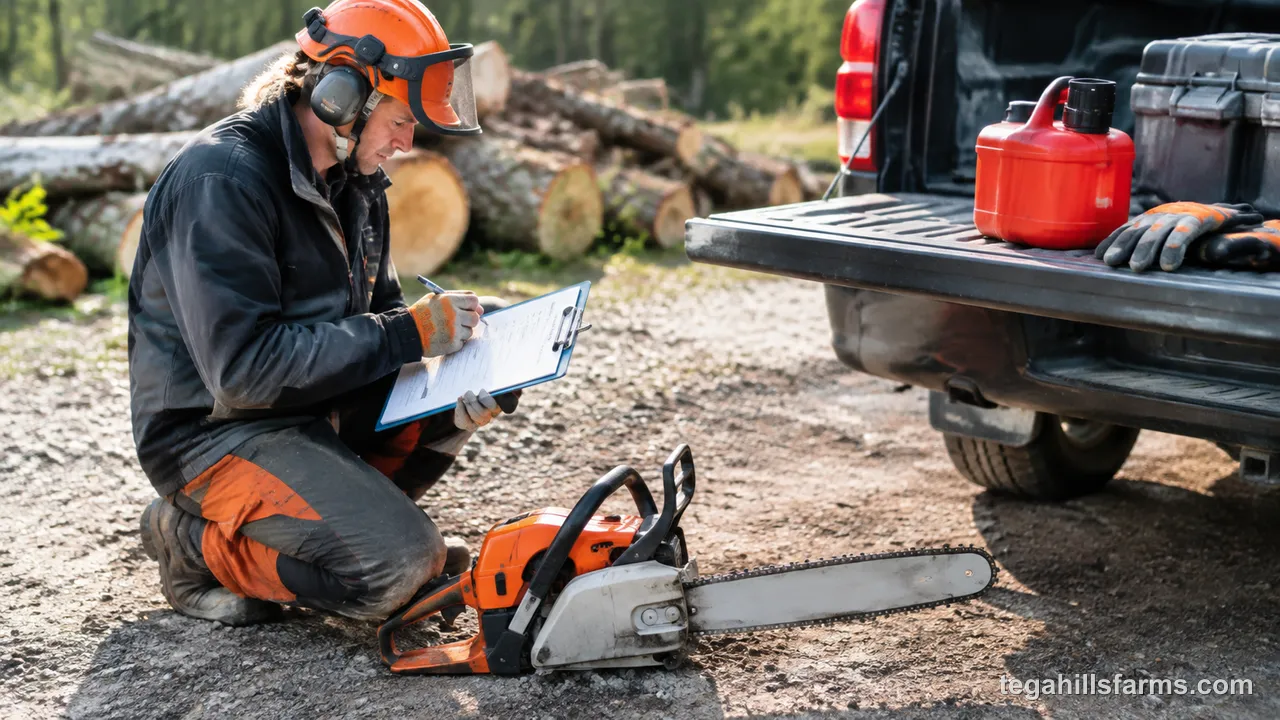
Brief videos help with orientation, but supervised practice builds the muscle memory that keeps your hands and feet where they belong when the saw bucks.
What Type of Training Actually Prepares Beginners?
In-person instruction prepares beginners best, manufacturer manuals and safety videos come next, and casual peer tips prepare you least.
A half-day course from an extension service, dealer, or groups like the National Wild Turkey Federation (NWTF) gives you supervised bore cuts, felling on small stems, and immediate feedback on stance and brake use. Manuals and credentialed videos from OPEI and manufacturers are strong for pre-course prep and refreshers because they match your exact saw. Random social videos without credentials often skip PPE and brake tests — use them only to preview, not to replace hands-on time.
How Do You Use a Repeatable Pre-Cut Checklist Every Time?
Use a five-point, same-order checklist every time: PPE, saw, site, plan, and brake test.
Say it out loud before starting: PPE on and snug, chain tension/sharpness and bar oil OK, site cleared with escape routes open, cut plan and fall line confirmed, chain brake and throttle interlock pass. Run the checklist in the same order so it becomes automatic — laminated cards on the fuel can help. If any point fails, fix it before pulling the starter. This routine turns safety from a memory game into a habit.
You have now covered PPE, grip and positioning, kickback prevention, pre-cut maintenance checks, and a planned approach to felling from the sections above.
While those steps handle the active cutting risks, the downtime decisions around fuel, storage, transport, and hidden wear determine whether the saw stays safe between cuts.
The notes below zoom into those micro-details that rarely make a basic safety list but decide long-term reliability and handling safety.
Are You Handling Fuel, Storage, and Transport Safely Between Jobs?
Safe downtime means fresh, correctly mixed fuel in an approved can, a cool, dry stored saw with bar guard on, and secured transport with fuel and chain protected.
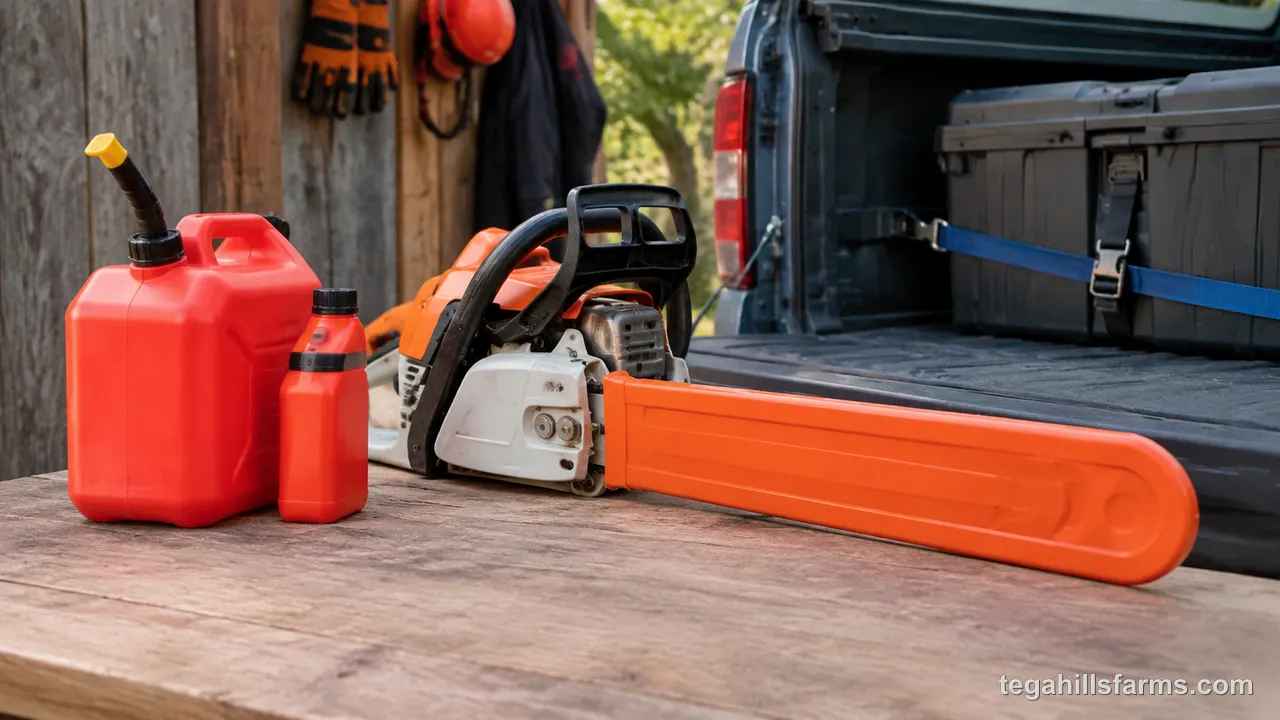
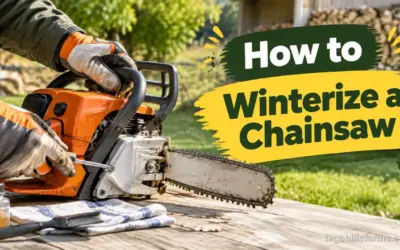
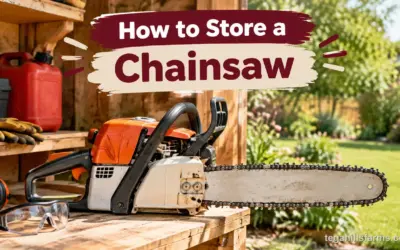
Mix two-stroke fuel at the ratio on your saw’s cap and use fresh gasoline — stale fuel causes hard starts that tempt unsafe shortcuts. Fill outdoors with the engine off and cool, wipe spills, and let the saw sit a minute before starting. For intervals longer than a few weeks, drain or stabilize fuel and store the saw cleaned, oiled, and covered; see our detailed steps for how to store a chainsaw to prevent corrosion and accidental starts. When driving between jobs, keep the bar covered, the chain brake on, and the saw wedged so it cannot slide — our guide to how to transport a chainsaw explains case, truck-bed, and fuel-can placement that keeps vapors away from the cab.
What Hidden Wear and Exposure Signs Mean Your Setup Is No Longer Safe?
A setup is no longer safe when worn guards or a tired chain catcher and rising noise or vibration signal hidden fatigue.
These wear signs develop slowly, so they are easy to miss until control suffers.
How Do You Spot a Worn Chain Catcher or Loose Guard Before It Fails?
A failing guard setup shows a thinned or notched chain catcher, a cracked or loose hand guard, and a sloppy bar mount.
Inspect the chain catcher at the base of the guide bar for deep grooves, bending, or missing hardware — replace it if it looks beaten, because it is your last defense against a thrown chain. Flex the front hand guard gently; it should spring back and engage the brake without wobble or cracks. Check bar nuts, clutch cover, and chain tensioner for looseness, and look for a splayed bar tip or cracked bar rails. If the bar or guards rock or rattle, schedule a full chainsaw tune up and replace worn parts before cutting.
When Does Noise and Vibration Become a Safety Problem?
Noise and vibration become a safety problem when exposure is long, loud, or increasingly harsh, leading to hearing loss and hand-arm fatigue that dulls control.
If you need to raise your voice to be heard at arm’s length, you need hearing protection now, not later. Growing vibration often means a dull chain, worn mounts, or a clogged system making you push harder — all of which increase kickback risk and fatigue. Keep the saw sharp, mounts tight, and air path clear; a quick routine on how to clean a chainsaw reduces vibration and keeps the chain running true so you stay precise through the last cuts.
Chainsaw Safety Quick Answers
What is the most common chainsaw safety mistake?
The most common mistake is cutting without full PPE and a brake test. Skipping chaps, helmet, or a pre-cut check turns a minor slip into a major cut.
Can I use a chainsaw in wet or windy conditions?
Avoid it — wet footing reduces grip and wind shifts the fall line. Wait for stable, dry conditions and calm wind before felling or bucking.
How often should I check chain tension?
Check before each session and after the first few cuts. New chains stretch quickly and a loose chain can derail without warning.
Do I need to wear chaps for a quick cut?
Yes — most injuries happen on short, casual cuts. Chaps take seconds to put on and are designed to stall the chain on leg contact.
When should I call a professional instead of cutting myself?
Call a pro for trees near power lines, structures, or with heavy lean or dead tops. Those scenarios need rigging and training beyond homeowner felling.


Write Your Review
No reviews yet. Be the first to share your experience!