

Chainsaw kickback is a violent upward and backward snap of the guide bar that throws the spinning chain toward the operator in a fraction of a second. It happens when the moving chain catches and the saw’s energy has nowhere to go but back at you.
Most kickbacks trace to two things: the nose of the bar touching wood or another object, and the kerf closing and pinching the chain. Understanding which one you are creating helps you change your cut before the saw reacts.
The risk feels abstract until you picture the path: a 10-inch bar can swing to face level faster than you can let go, which is why minor contact at the tip causes severe cuts to the head, neck, and hands more than any other chainsaw incident.
Below, you will see exactly where the danger zone lives on the bar, which habits keep it clear, how maintenance and safety features lower the force, and how kickback differs from pushback and pull-in.
What Is Chainsaw Kickback and Why Is It So Dangerous?
Chainsaw kickback is a sudden, uncontrolled arc where the guide bar kicks up and back toward the operator when the chain’s forward energy is instantly stopped. The motion is dangerous because the chain keeps spinning at full speed while the bar travels directly into the most vulnerable strike zone.
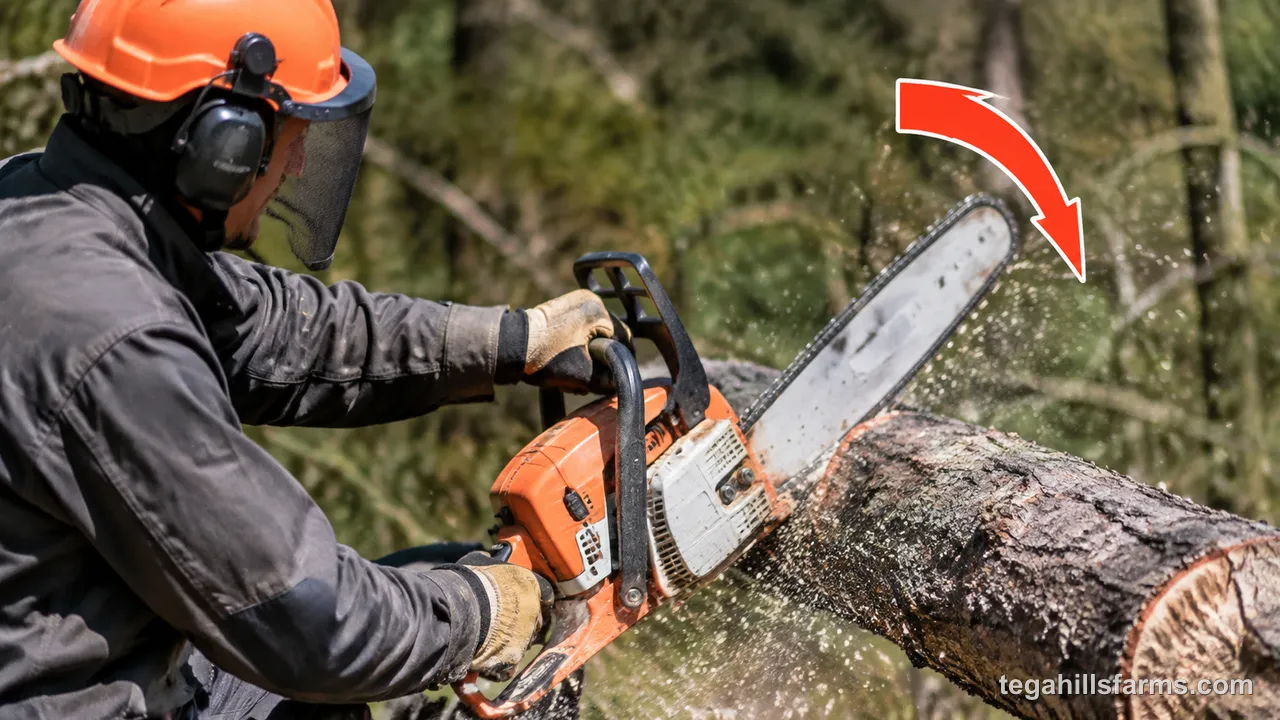
That combination explains the injury pattern. Unlike a simple slip, the saw does not stall. The engine or motor continues to drive the chain, and the light, pivoting bar acts like a lever around your front hand. Even a brief tip graze can drive the moving cutters across skin before the brake stops them.
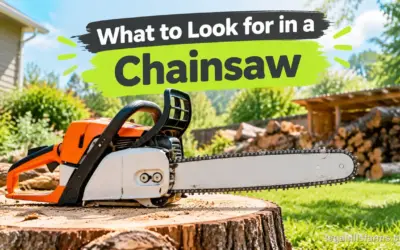
Control also disappears in that moment. Your front hand becomes the pivot point, and the rear handle swings up. If your grip is loose, thumbs not wrapped, or body in line with the bar, you have no leverage to halt the arc. If you’re still matching bar length and power to your yard, see our guide on how to choose a chainsaw before you prioritize anti-kickback features.
What Are the Two Main Causes of Kickback?
The two main causes are tip contact with wood or an object and pinching of the chain when the kerf closes. The first converts rotational energy at the nose into an upward arc, while the second uses compression in the cut to throw the bar.
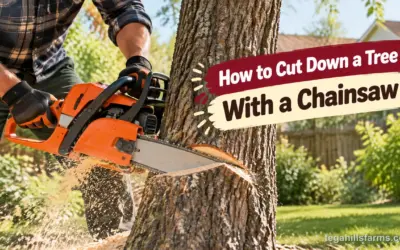
Both create the same result — instant energy transfer back through the bar — but they start from different mistakes. One is about where the tip goes, the other is about how the wood moves as you cut, especially when you are learning how to cut down a tree with a chainsaw and the trunk or limbs start to shift.
Why Does Contact With the Bar Tip Cause Kickback?
Tip-contact kickback happens when the upper quadrant of the bar nose touches wood, dirt, a nail, or another branch while the chain is moving. That contact instantly stops cutters at the tip, and the chain’s forward momentum pivots the bar violently up and back.
Specifically, the chain rounds the nose moving upward and forward at the same time. When cutters in that curved path catch instead of cutting, they cannot peel a chip. The bar cannot go forward, so physics sends it backward. Even light contact counts — a nick on a hidden limb tip, the ground at the end of a bucking cut, or the side of a log when you plunge — is enough because the chain speed at the nose is highest.
This is why boring or plunge cuts, cutting with the tip to limb in tight brush, and using a long bar in small material raise risk. A shorter bar and keeping the nose visibly clear of everything except the intended kerf gives you margin.
How Does Pinching the Chain in the Cut Trigger Kickback?
Pinch kickback occurs when the kerf closes and clamps the chain before the chain can clear the cut, trapping drive links under compression. The stalled chain transfers drive force back into the bar, which then kicks toward the operator or jerks unpredictably.
Imagine bucking a log supported at both ends, or felling where the trunk settles onto the cut. Weight above the cut pushes the wood fibers together as the saw passes through. If the top closes first, the chain pinches at the top and kicks up. If the bottom closes, you often get a different reaction, but the pinch itself still creates a sudden loss of feed and a lurch.
Using wedges, planning the sequence of cuts, and cutting from the compression side first keeps the kerf open. This is especially critical for long, parallel cuts, and why for a task like how to mill with a chainsaw, keeping the slab from sagging onto the bar with proper supports and wedges is part of kickback control, not just cut quality.
Where Is the Kickback Danger Zone on the Guide Bar?
The kickback danger zone is the upper half of the bar’s rounded nose, roughly the 90-degree arc where the chain curves around the tip and moves up and forward. Contact there is most likely to catch and flip the bar.
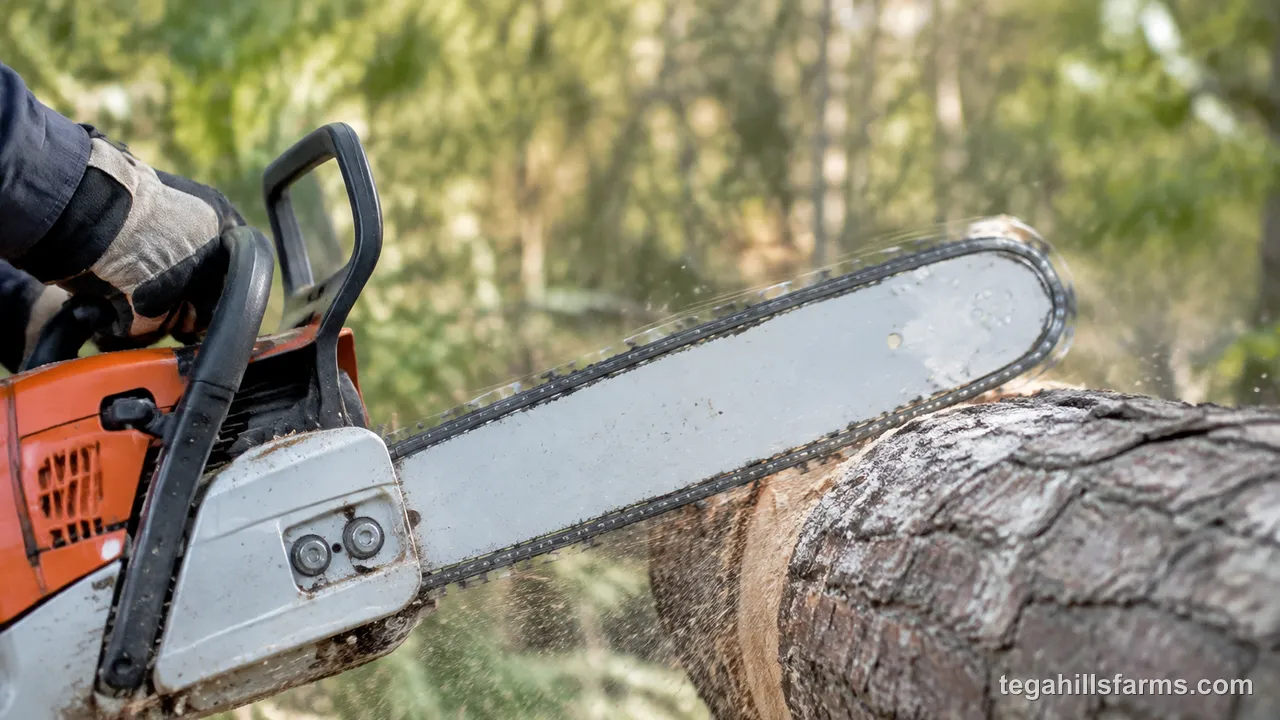
Every other part of the bar cuts more predictably because the chain travels in a straight line. The nose is different because direction changes constantly, and cutters exit wood at an angle that resists chip formation.
How Is the Bar Tip Divided Into Kickback and Safe Zones?
The bar tip divides into an upper kickback quadrant and a lower and end safe zone based on chain travel direction. The top curve moves toward the operator, so wood contact there drives the bar back; the bottom curve moves away, so it tends to pull rather than kick.
Picture the nose as a clock: 12 to 3 o’clock on most saws (top and front) is the reactive arc. The outside radius and the bottom quadrant near 4 to 6 o’clock feed more smoothly because cutters approach wood with a slicing entry. Manufacturers often mark this zone in red on the bar or in the manual, but the physics stays the same regardless of markings.
Knowing the division helps you aim the saw. When you limb or trim, keep that upper arc visibly clear and cut with the flat side of the bar, not the tip.
Why Does the Chain’s Motion Make the Tip So Reactive?
The chain’s motion makes the tip reactive because chain speed peaks at the nose and cutters change direction abruptly around the radius. At full throttle, cutters round the tip with high linear speed and cannot form a proper chip if they snag.
On the straight runs, each cutter enters wood, shears a chip, and exits in line with the bar. At the curve, the cutter approaches at an angle, the depth gauge has less support, and the cutting corner can dig rather than pare. When that digging suddenly stops the cutter, the chain’s kinetic energy and the engine’s torque have to go somewhere — they rotate the entire saw around the front handle.
Higher chain speed, aggressive cutter geometry, and a small-radius nose amplify that rotation. Slower throttle, conservative depth gauges, and a larger radius or reduced-kickback chain reduce the energy available to flip the bar.
How Do You Prevent Kickback With Technique and Saw Maintenance?
You prevent kickback by combining stable stance and grip out of the kickback path, habits that keep the tip clear, and chain condition that lowers kickback energy. No single habit eliminates kickback; the layers together add reaction time and reduce force.
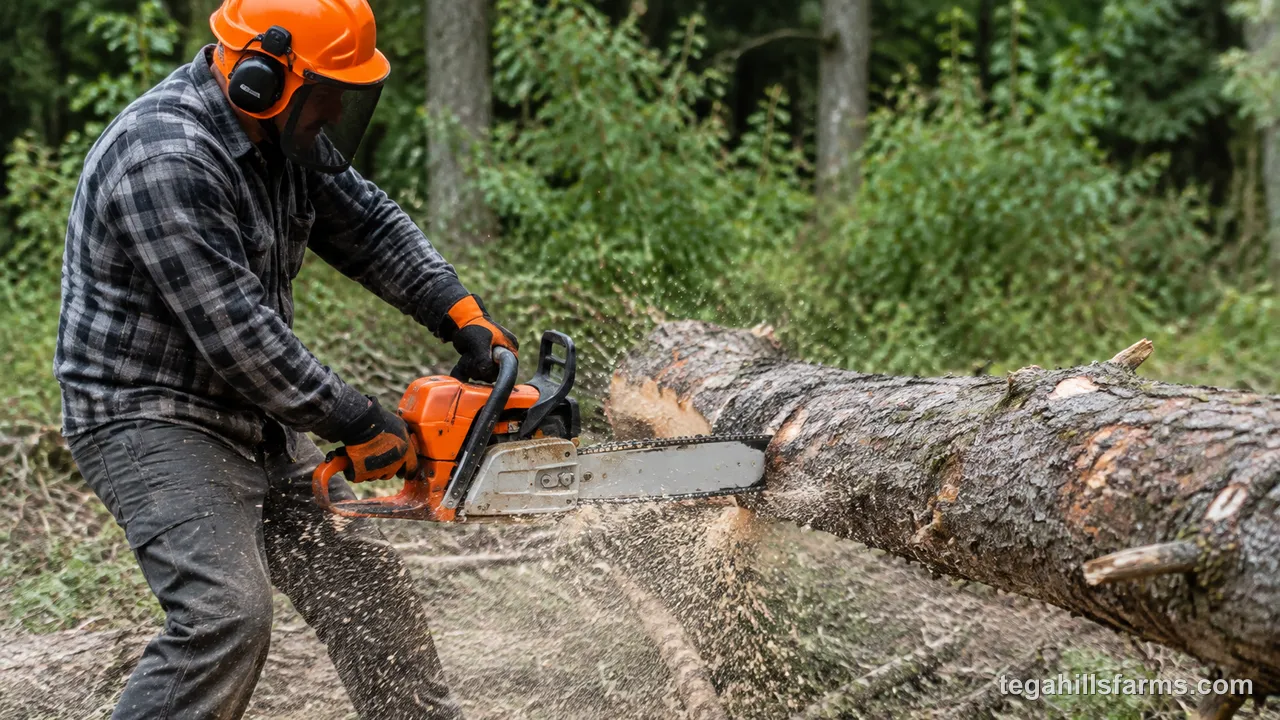
Think of prevention as distance, control, and energy. Distance keeps your face out of the arc, control keeps the saw from rotating, and maintenance keeps the chain from grabbing violently. The sections below break down each layer, including when to check how to tighten a chainsaw chain and how to sharpen a chainsaw to keep depth gauges and tension in the safe window.
How Should You Stand and Hold the Saw to Stay Out of the Kickback Path?
Staying out of the kickback path means standing slightly to the side of the bar plane with a firm, two-handed grip and thumbs wrapped. That offset and grip let you resist the upward arc and keep your head clear if the bar jumps.
Plant your feet shoulder-width, with the side opposite the bar slightly forward so your body is not squared behind the cut. Lock elbows but do not overreach, and keep the saw close to your hips for bucking, not extended at arm’s length. Wrap both thumbs fully around the handles — the front handle is the pivot that the brake and your leverage act on — and keep your left arm straight to act as a brace.
For starting and repositioning, set the chain brake, then reset your footing before you throttle up. Never cut above shoulder height or while off-balance on a ladder, where you cannot control that arc.
Which Cutting Habits Keep the Tip Clear?
Habits that keep the tip clear prevent the upper nose from ever contacting wood, dirt, or hidden objects during the cut. The safest cuts use the middle of the bar, keep the nose visible, and avoid boring with the tip unless you are trained and the saw is set up for it.
Specifically:
- Do not use the tip to pry limbs or start a cut; plunge the flat side after the chain is at speed.
- Keep the nose well clear when bucking — watch the tip beyond the log, not just the chain at the wood.
- Avoid cutting with the tip buried in brush piles where a second branch hides behind the first.
- Plan bucking and felling cuts so the wood cannot roll onto the nose as it separates.
- Cut at full throttle only once the bar is already in the kerf; light throttle at entry increases grab.
When you must make a bore cut for felling, use a tip designed for it, engage the lower quadrant first, and keep the upper quadrant from touching until the plunge is established.
How Does Chain Condition Affect Kickback Risk?
Chain condition affects kickback risk because sharp cutters, correct depth gauges, and proper tension determine how aggressively the chain bites and how much energy is stored at the tip. A dull chain or high depth gauges force you to push, which increases the chance of a sudden grab.
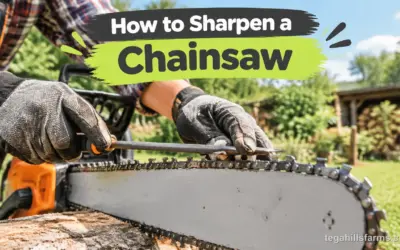
A sharp, correctly filed chain peels thin, even chips with light pressure, so the tip is less likely to dig. Depth gauges (rakers) control bite size — if they are too low, each cutter takes too big a bite and the tip becomes grabby; if too high, the saw requires excess force and can skate. Tension matters too: a loose chain sags and can derail or snag at the nose, while an overly tight chain increases friction and heat. That is why checking how to tighten a chainsaw chain before each session and learning how to sharpen a chainsaw to maintain factory gauge height keeps kickback energy lower without costing cutting speed.
Inspect for cracked drive links, uneven cutter lengths, and heavy burrs, and replace the chain when filing no longer restores uniform geometry.
Which Safety Features Help Reduce Kickback?
Safety features reduce kickback by limiting bite at the tip, stopping the chain quickly, and shrinking the reactive nose, but no feature eliminates kickback entirely. A typical setup combines a low kickback chain, a chain brake and front hand guard, and a reduced-radius bar or tip guard for the most protection.
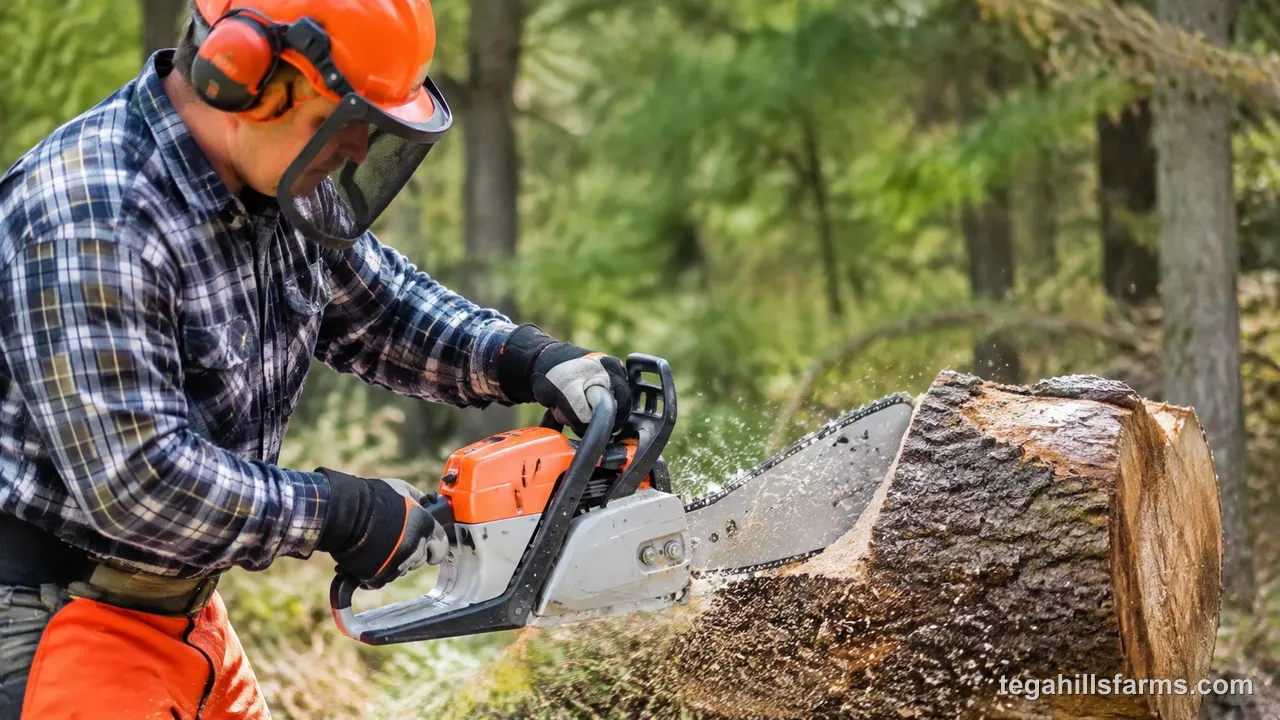
The difference is layered. The chain lowers the energy that can feed a kickback, the brake limits how long the spinning chain can strike, and the bar shape shrinks the zone that can trigger it. Professional combinations deliberately remove some of those limits for faster cutting, which is why matching features to your experience matters more than buying the most aggressive parts. If you work in brush or often kneel near limbs, pairing these features with proper chainsaw safety equipment and chainsaw chaps adds critical seconds and coverage when technique alone is not enough.
What Makes a Low Kickback Chain Different From a Professional Chain?
A low kickback chain reduces the bite at the tip with extra guard links, ramped depth gauges, and bumper tie straps between cutters, while a professional chain exposes more cutter for faster, more aggressive chip flow. That extra exposure cuts quicker but stores more energy for a tip grab.
On a low kickback chain, small protrusions ahead of each cutter limit how deep the corner can dig when the nose contacts wood. The chain still cuts normally along the flat of the bar, but at the curved tip the ramps help cutters skate rather than hook. Professional chains, often full-chisel without guard links, keep the gullet open for speed and are less forgiving if the upper quadrant touches.
For most homeowners, the slight speed tradeoff is worth the control, especially on shorter bars where the tip is closer to your hands. Swapping to an aggressive chain without changing technique and bar choice raises kickback force even if the saw feels faster.
How Do the Chain Brake and Front Hand Guard Stop the Chain?
The chain brake stops the chain by locking a steel band around the clutch drum when the front hand guard is pushed forward, either by hand inertia during kickback or by manual push. Properly maintained, it halts rotation in milliseconds, but it does not prevent the bar’s upward motion.
There are two activations: inertia activation, where rapid upward acceleration throws the guard forward without deliberate hand movement, and manual activation, where your left hand drives the guard. Inertia systems help when your grip is surprised, while manual activation requires your hand to stay on the guard and move. Neither works if the guard is damaged, the brake band is worn, or the spring is gummed with sawdust and oil.
Test the brake by engaging it at idle and confirming the chain stops and will not spin with throttle, then disengage before cutting. Remember that after the brake stops the chain, the bar may already be on its way up — body position and grip are what keep that arc from reaching you.
Can Bar Shape and Tip Guards Lower Kickback Risk?
Bar shape and tip guards lower kickback risk by reducing the size of the reactive nose and blocking the upper quadrant from contacting wood. A narrow-nose or small-radius bar shortens the dangerous arc, while an asymmetric tip guard physically covers the kickback zone.
Narrow-nose bars keep most cutting length but shrink the curve where chain direction changes, cutting both the area that can catch and the leverage of a catch. Tip guards bolt onto the nose to shield the top half entirely — they are common on homeowner saws and for training, and they make bore cuts impossible while installed. Neither option changes chain speed, so they reduce likelihood and severity but do not make tip contact safe.
If you regularly limb small branches or cut in tight spaces, the smaller nose pays off in control; for felling or large bucking where you need to plunge, you may remove the guard and rely on chain and brake features plus disciplined tip awareness instead.
How Is Kickback Different From Pushback and Pull-In?
Kickback differs from pushback and pull-in in pushback and pull-in as straight-line forces and what to do immediately after a kickback or strike. The direction and speed separate them, and kickback demands the fastest reaction.
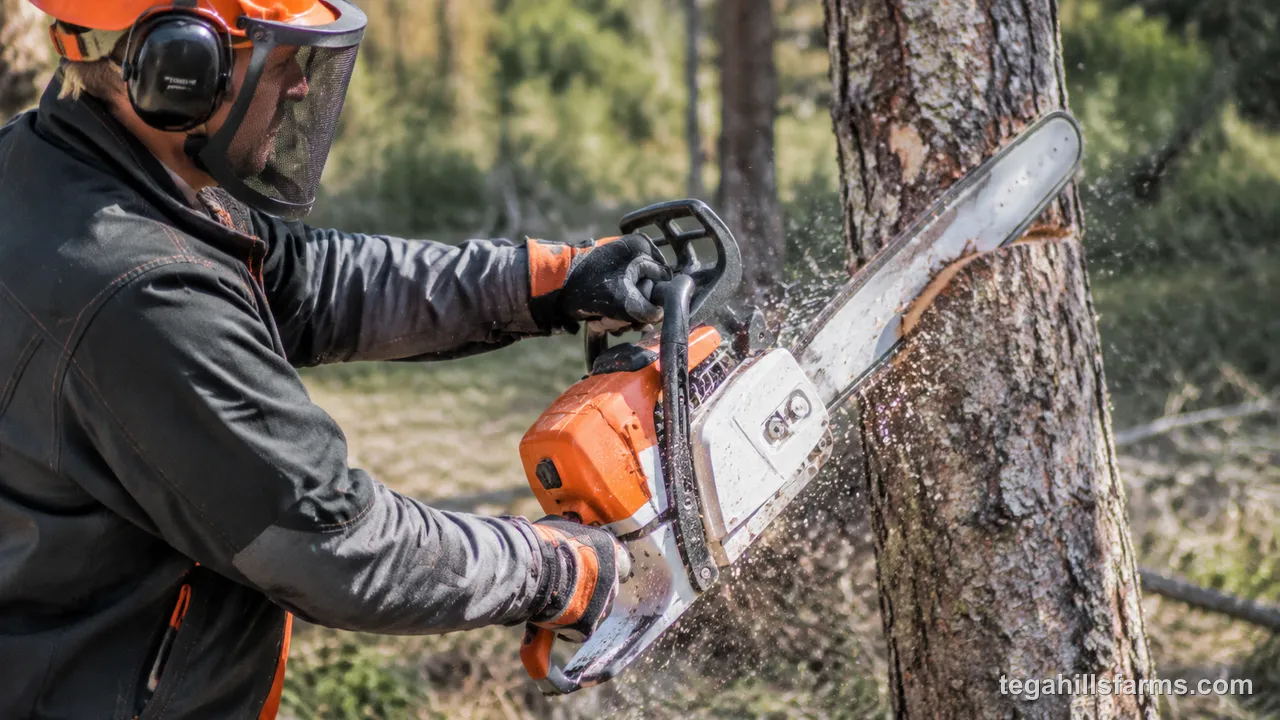
Pushback shoves the saw straight back at you, pull-in yanks it forward into the wood, and kickback rotates it toward your face. Knowing which you feel tells you whether to release throttle and reset or to brace and re-wedge.
What Are Pushback and Pull-In and When Do They Happen?
Pushback is a rearward thrust when the top of the bar is pinched as the kerf closes from above, and pull-in is a forward yank when the bottom of the bar pinches or grabs as the cut closes from below or the chain digs. Both happen mid-cut when wood weight shifts, not at the tip.
You feel pushback most when bucking a log supported at both ends and cutting from the top — the top fibers compress, clamp the top of the chain, and drive the saw back toward your body. Pull-in happens when cutting from underneath, or when the bottom of the bar catches on the far side of the kerf and the chain’s feed pulls the saw into the wood. Unlike kickback, neither typically throws the bar upward, but both can cause loss of control if you are off-balance or one-handing the saw.
Recognizing the straight-line shove or tug versus the rotational snap helps you diagnose your cut planning and add wedges or change the cut sequence.
What Should You Do Immediately After a Kickback or Strike?
Immediately after a kickback, release the throttle, engage the chain brake, and keep the saw away from your body until the chain is fully stopped and you have footing. Then assess injuries and shut the saw down before inspecting damage.
Do not try to power through the same kerf. Set the saw down with the brake on, check for a bent bar, cracked chain links, loose rivets, or a triggered brake that needs reset. If the chain struck you or clothing, treat bleeding with direct pressure and seek medical care — chainsaw cuts combine laceration and contamination and need prompt cleaning beyond field first aid.
After any strike, inspect the bar rails, sprocket nose, and clutch cover for cracks, and do not restart until you have corrected the cause — whether that was tip contact, a closing kerf, or dull chain. A quick chainsaw tune up check of air filter, bar oil flow, and brake function before the next session helps ensure the saw did not hide damage that will make the next cut worse.
Contextual Border
You have seen how kickback starts in the tip zone, how technique and maintenance lower the odds, and which chains, bars and brakes actually reduce the risk versus professional setups.
Beyond those fundamentals, the details most homeowners miss are the certification labels and the subtle wear signs that quietly raise kickback risk long before a chain snaps.
The next section zooms into those rare but costly distinctions so you can spot compliant parts and know when to retire them.
Rare Details Most Guides Miss About Kickback Compliance and Wear
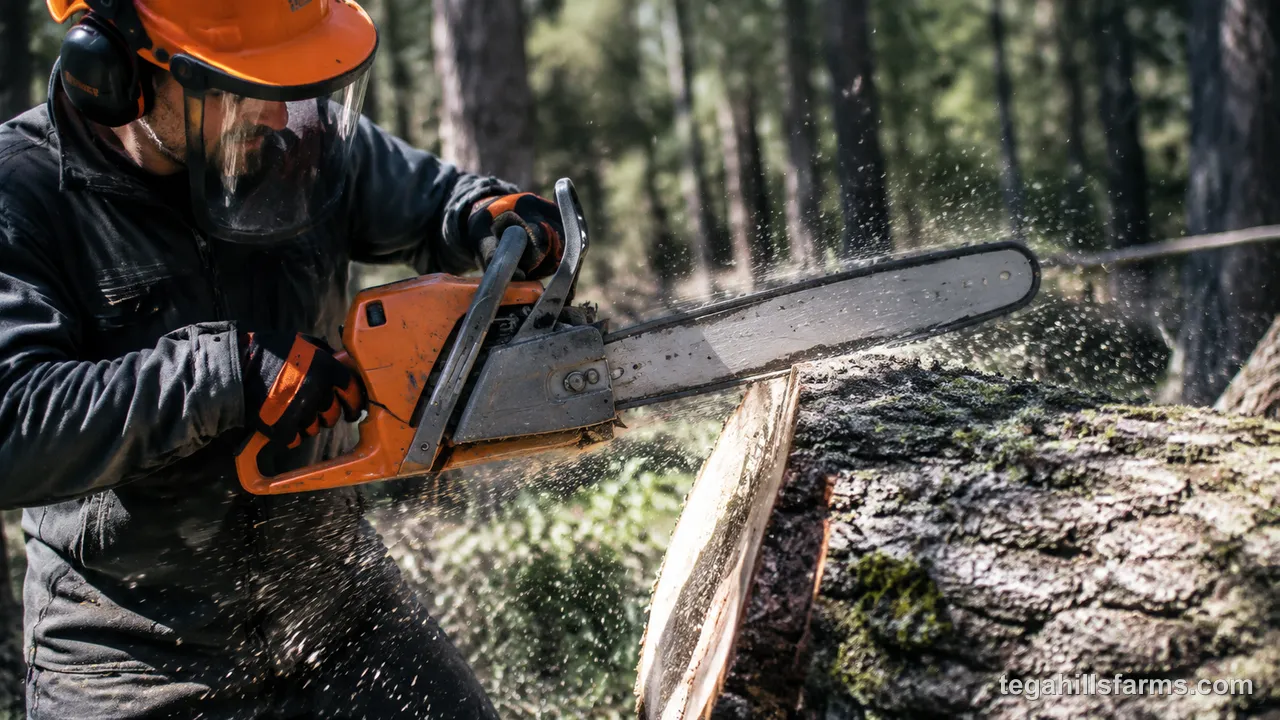
Rare compliance and wear details matter because labeled low kickback parts and micro-wear on rails and rivets change tip reactivity long before a failure looks obvious. Spotting those signals lets you replace parts on condition, not on calendar.
Most owners check only sharpness and tension. The quiet drivers are bar groove width, guard-link wear, and replacement combinations that void the low-kickback rating without looking different.
How Do You Verify a True Low Kickback Chain?
A true low kickback chain is verified by a compliant label and physical guard features, not by pitch or brand name alone. Look for markings that the chain meets ANSI B175.1 or ISO 9518 low kickback requirements and for built-in guard links or ramped depth gauges every few links.
Authentic chains carry stamped identifiers on the drive links and packaging that reference the standard, and the cutters will show extra bumper links or extended tie straps that limit depth of cut at the tip. If you swap any component — chain, bar, or sprocket — with a non-matched part, the assembly may no longer meet the tested combination that earned the rating, even if the chain alone was labeled low kickback.
When buying replacements, match the manual’s specified combination or a listed compliant combo from the manufacturer, rather than matching pitch and gauge alone.
When Should You Retire a Chain or Bar That Increases Kickback Risk?
You should retire a chain or bar when micro-wear changes how the chain sits and bites at the tip, which raises kickback energy. The cues are subtle but measurable with a gauge or straight edge.
For the chain, retire if depth gauges are filed below spec to regain sharpness, cutters vary more than a light file stroke can even out, rivets show elongation, or guard links are worn flat — the tip will dig more aggressively. For the bar, retire if rail edges are flared or feathered, the groove measures wide enough that the chain tilts side-to-side at the nose, the sprocket nose drags or wobbles, or the bar shows a blue heat tint near the tip. Those signs mean the chain no longer tracks cleanly around the radius and is more likely to catch.
Keeping the groove clean and lightly dressed is part of normal care, and a quick session on how to clean a chainsaw — clearing the bar groove, oil holes, and clutch area of packed chips — makes this wear easier to spot and slows its progression.
Chainsaw Kickback FAQs
Can any chainsaw kick back, even a small battery saw?
Yes, any chainsaw with a moving chain and a guide bar nose can kick back. Smaller battery saws produce less energy, but the tip physics is the same, so tip contact still causes a rapid upward arc.
Does a chain brake prevent kickback?
No, the chain brake does not prevent the bar from kicking up. It stops the spinning chain quickly after activation to reduce the severity of a strike, while your stance and grip control the arc itself.
Is a low kickback chain noticeably slower?
A low kickback chain cuts slightly slower at the tip but similar along the straight. Most homeowners notice more control than lost speed, especially when limbing or bucking small wood.
Can you completely eliminate kickback with the right bar?
No, no bar eliminates kickback entirely. A narrow-nose bar or tip guard shrinks the danger zone, but contact with the remaining arc or a hard pinch can still produce kickback.
Why did my saw kick back even though I was cutting correctly?
Common hidden causes are a loose chain, uneven depth gauges, or the kerf closing on the bar. Check tension, gauge height, and whether the wood shifted onto the cut before restarting.
Should beginners avoid bore cuts to reduce kickback risk?
Yes, beginners should avoid bore or plunge cuts because they intentionally place the tip inside wood. Learning basic bucking and felling cuts first, and knowing how to start a chainsaw with the brake engaged and proper footing, builds the control needed before attempting advanced cuts.


Write Your Review
No reviews yet. Be the first to share your experience!