

Using a wood chipper safely comes down to a handful of habits. Gear up and inspect the machine before it runs, and start it the way its power type requires. Feed branches butt end first while you stand to the side of the chute. Shut it down fully before you clear a jam, and clean it before it goes back in the shed.
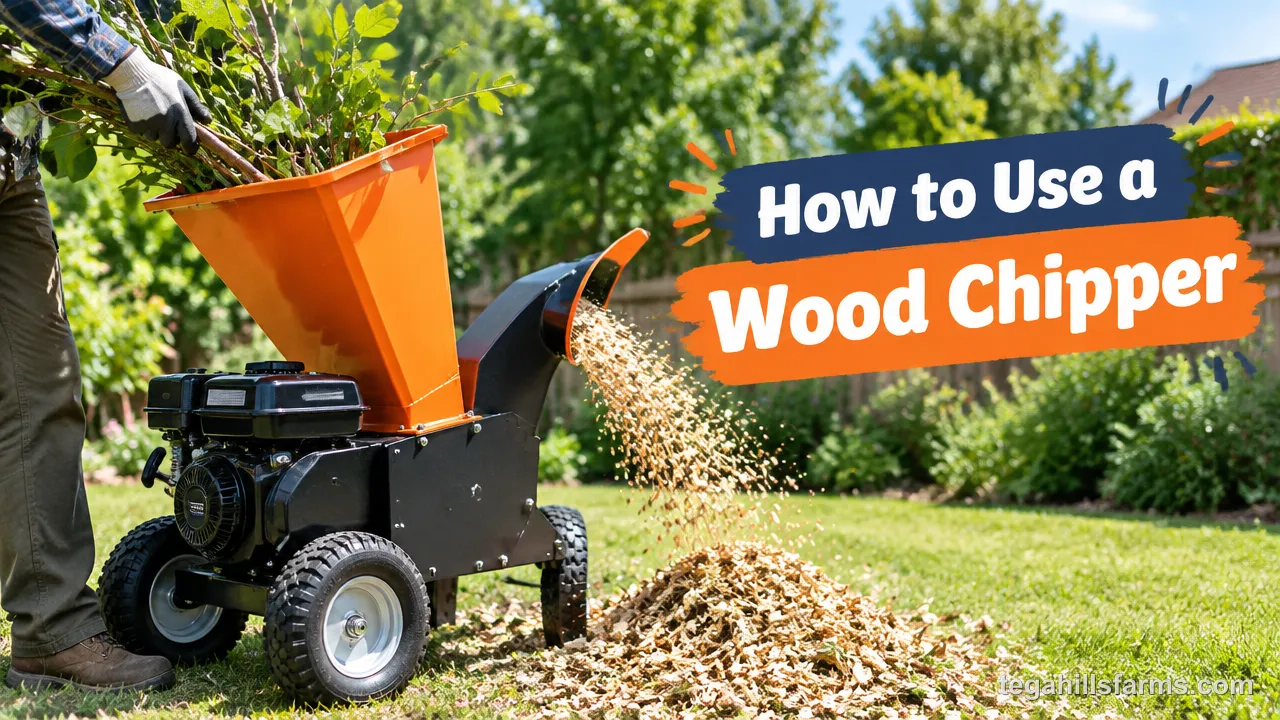
The details change with the machine. A gas engine, an electric motor and a tractor-driven PTO unit each start and stop differently. A small electric model and a towable 6-inch unit also won’t take the same branches.
The real risk sits at the infeed chute. Feed rollers pull wood in faster than anyone can react. That makes loose clothing, a hand reaching past the opening and a jam cleared with the blades still turning the mistakes that matter most.
What Should You Know About a Wood Chipper Before Using One?
Branches go into the infeed chute, feed rollers pull them onto blades mounted on a spinning flywheel or drum, and the discharge chute throws the chips clear.
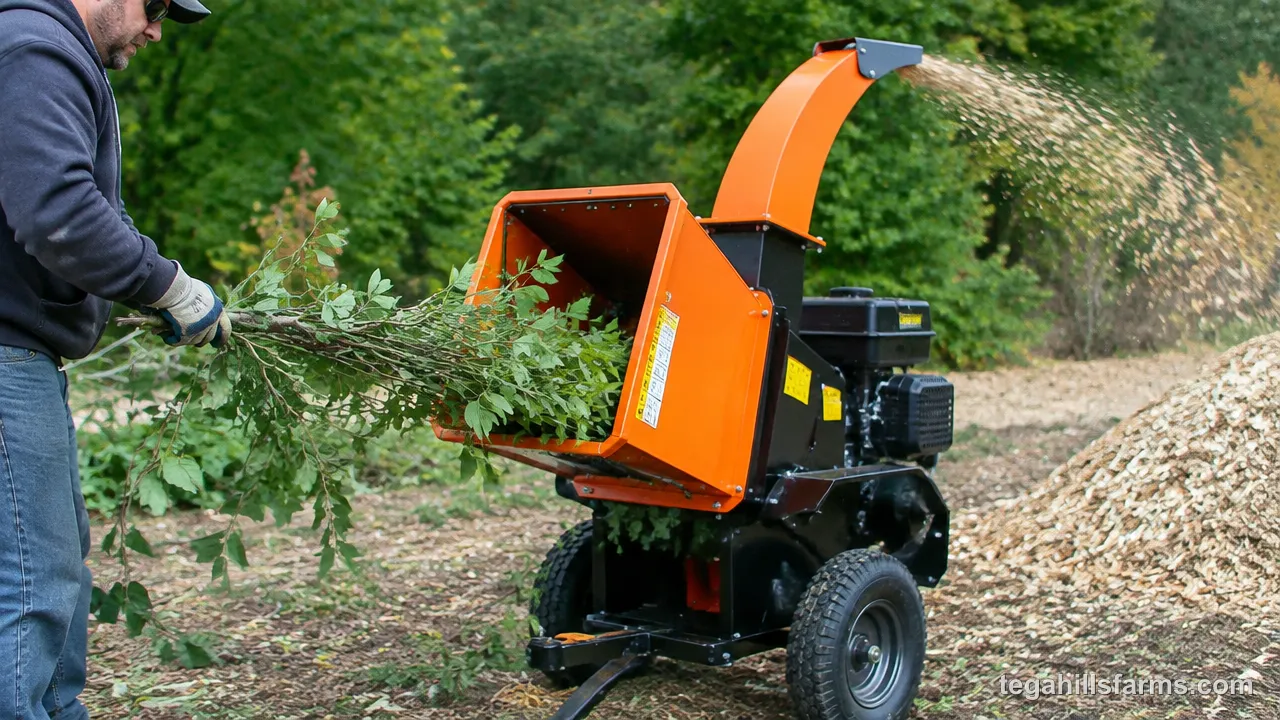
Those five parts behave the same on every machine. What differs is the power source:
- Gas-powered wood chipper: runs its own small engine and works anywhere you can push or tow it.
- Electric wood chipper: corded or battery, quieter, and suited to lighter branches near the house.
- PTO wood chipper: has no engine of its own and takes its power from a tractor’s power take-off shaft.
The cutting design matters too. A disc chipper bolts its blades to a heavy flywheel that slices wood as it spins. A drum chipper mounts the blades on a rotating drum that also helps pull material inward.
If you have not bought or rented a machine yet, how to choose a wood chipper explains which power type and size fit your yard and the branches you plan to process.
How Do You Prepare to Use a Wood Chipper Safely?
Everything that keeps you safe at the chute is settled before the machine starts. Once the rollers turn, there is no time to fix a loose sleeve, a cracked guard or a kid wandering too close. A first-time operator also has no feel yet for how hard the rollers pull, so a few minutes of setup buys the margin that experience would otherwise provide.
What Protective Gear Should You Wear?
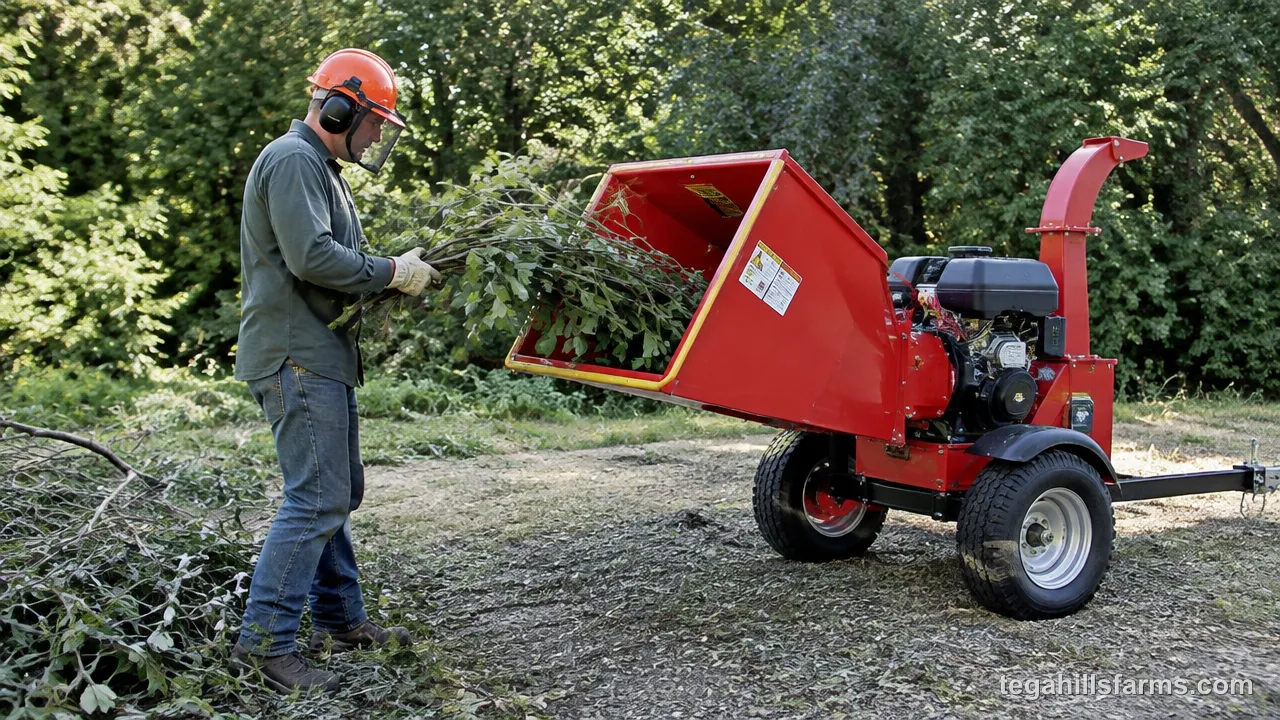
Wear safety glasses, hearing protection, snug work gloves, steel-toed boots and close-fitting clothing every time the chipper runs. Each item covers a hazard you will actually meet during the job.
Safety glasses stop chips and bark fragments that kick back out of the infeed chute. A face shield over them adds protection when you’re chipping brittle wood. Chippers are loud enough to damage hearing over a long session, so wear earmuffs or plugs even for short jobs. Gloves protect against splinters and rough bark, but they should fit tightly, because a loose cuff can catch on a branch. Steel-toed boots guard your feet when a heavy limb rolls off the pile.
Loose sleeves, hoodie drawstrings, scarves and jewelry are the real danger. Anything dangling near the infeed chute can snag on a branch and be pulled toward the rollers with it.
What Should You Check on the Machine Before Starting?
Walk around the machine for a minute before every start. Look for damaged or loose parts, leftover debris and missing guards, because these cause most avoidable breakdowns and injuries.
Open the access cover only with the machine off. Check that the blades have no chips or cracks and that nothing is wedged around the rollers from the last job. Confirm the bolts on the hopper, chutes and blade housing are tight, since vibration loosens them over time. Every guard and chute cover should be in place and latched.
On a gas model, check the fuel and oil levels. On a corded electric model, look over the cord and plug for cuts or bent prongs. For a PTO unit, make sure the shaft guard spins freely and isn’t cracked, and check that the pins on the tractor three-point hitch are secure and locked.
Where Should You Set Up the Chipper and Clear the Work Area?
Set the chipper on firm, level ground. Aim the discharge chute away from people, buildings, vehicles and windows. A level machine won’t creep or tip while it vibrates, and a well-aimed chute keeps chips from peppering a car door or a neighbor’s fence.
Keep children, pets and bystanders at least 15 feet away the whole time the machine runs. A second adult who stays out of that zone is useful for keeping others back.
Clear hoses, tools, roots and loose brush from the infeed side so you won’t trip while carrying a branch. Then sort and stack the branches within easy reach, butt ends pointing toward the chute. That way you never step toward the opening or turn your back on it to fetch the next piece.
How Do You Start a Wood Chipper?
The start-up routine depends on what turns the blades. Mixing up the steps between machine types is how a chipper gets started with the feed engaged or with the operator in the wrong spot. With every power type, the feed controls stay off and the chute stays empty until the blades reach full speed.
How Do You Start a Gas-Powered Wood Chipper?
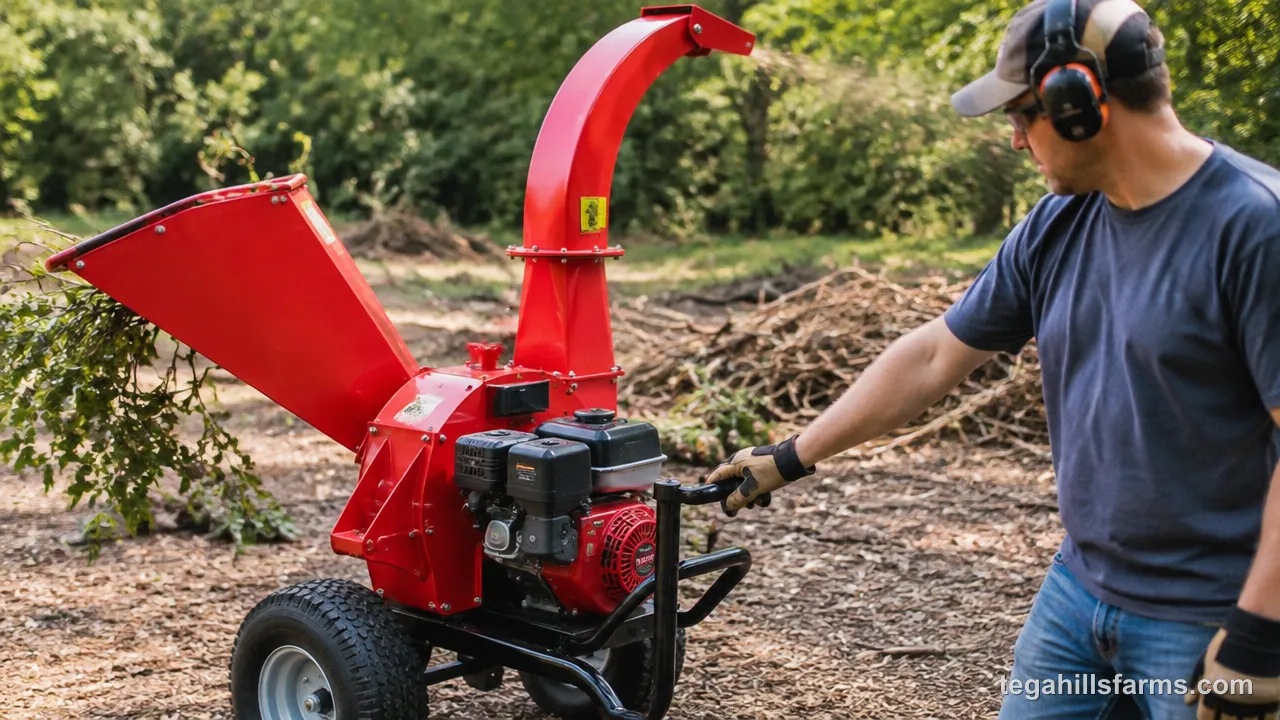
On most gas models, open the fuel valve, set the choke for a cold engine, move the throttle to the start position, then pull the cord or turn the key on electric-start models. As the engine catches, ease the choke off.
Let the engine warm up and settle into a steady idle before you raise the throttle to operating speed. A cold engine that hasn’t settled can bog down and stall the moment a branch hits the blades.
Keep the feed controls in neutral or off while starting. If the rollers engage as the engine fires, anything resting in the chute gets drawn in before you’re in position.
Choke positions and throttle marks vary between engines, so check the owner’s manual for your model’s exact settings.
How Do You Start an Electric Wood Chipper?
To start a corded model, plug it into an outdoor-rated extension cord sized for the motor and connected to a GFCI-protected outlet. Then flip the switch with the chute empty. For a battery model, seat the battery until it clicks, then engage the safety switch or key before pressing start.
Route the cord behind you and away from the infeed side, so you won’t trip on it or feed it toward the rollers with a branch. A cord that’s too light for the motor can overheat and cause the motor to stall under load.
Electric machines start with less fuss than gas models because there’s no choke or warm-up. They are built for smaller branches, though. The guards, the protective gear and the clear work area matter just as much as on a gas unit.
How Do You Run a PTO Wood Chipper With a Tractor?
Back the tractor up to the chipper and attach it to the three-point hitch. Fit the PTO shaft with its guard in place, then put the tractor in park with the parking brake set before you engage anything.
Engage the PTO slowly with the tractor engine at low speed. Woodland Mills, for example, calls for holding the tractor at a strong idle, engaging the PTO gradually, and then running at 540 RPM PTO speed for its chippers. A slow engagement spares the driveline from the shock of spinning a heavy flywheel up all at once.
Check that your tractor has enough PTO power for the chipper before you buy one or hook one up. A small tractor running near its limit bogs down with every thick branch, and that strain shows up as stalls and jams.
How Do You Feed Branches Into a Wood Chipper?
Steady, controlled feeding turns a brush pile into chips without jams or close calls. The rollers do the work. Your job is to present each branch so the rollers can grab it cleanly while you stay out of their reach.
Which End of the Branch Goes In First?
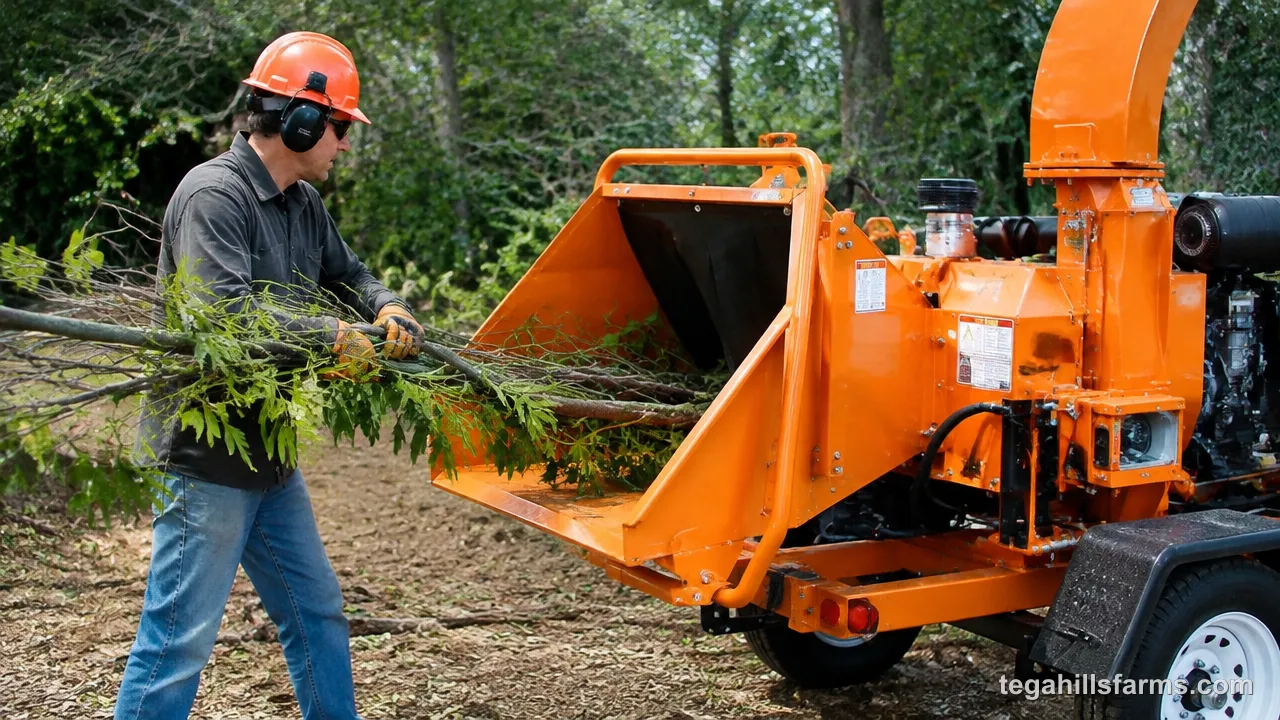
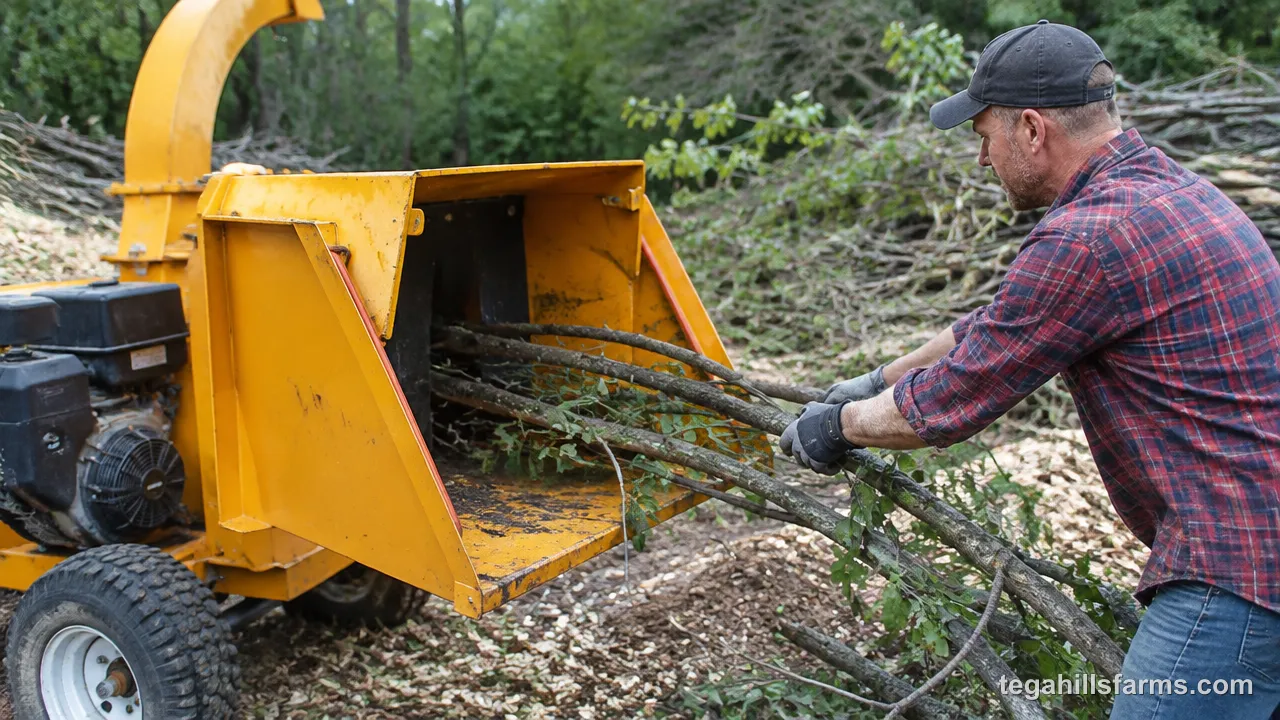
Feed the cut end, also called the butt end, first. The feed rollers then grip the thickest, straightest wood, and the side branches fold back and follow it in instead of catching on the chute’s edge.
Line the branch up straight with the chute and let the rollers take it. Once they grab, let go and step to the side. Pushing doesn’t speed anything up. It puts your hands closer to the opening and can force more wood onto the blades than the engine can handle, which leads to stalls.
Fed leafy end first, a branch spreads out across the chute. The twigs snag on the walls, the rollers can’t get a firm bite, and the thick end swings around as it goes in. A branch fed at an angle tends to whip sideways or lodge across the opening. You then end up pulling it back out, which is exactly the motion you want to avoid near the rollers.
How Thick a Branch Can a Wood Chipper Handle?
Every chipper has a rated maximum branch diameter, and the class name usually reflects it. A 4-inch wood chipper is rated for branches up to about 4 inches, and a 6-inch wood chipper takes larger limbs. Treat that rating as a ceiling for ideal wood.
Real branches are harder on the machine than the rating suggests. Dense hardwood like oak or hickory takes more power to cut than softwood of the same thickness. A forked branch presents two stems to the blades at once, so it acts like a much wider piece of wood. Beginners should stay comfortably under the limit until they learn how their machine sounds when it’s working hard.
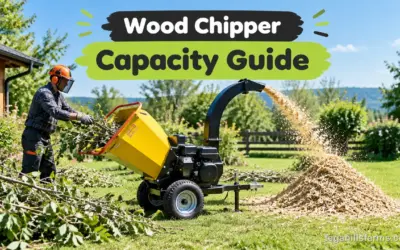
When a limb is too big, cut it down with a chainsaw or set it aside for firewood rather than forcing it in. To match machine size to the branches your yard produces, the wood chipper capacity guide walks through the ratings by machine class.
How Should You Chip Dry, Green and Wet Branches?
Dead, dry branches can go through a chipper. They’re brittle, though, and they shatter into more flying fragments than fresh wood does, so eye protection matters even more with a dry pile. Feed them steadily, because brittle wood breaks into short pieces that bounce around in the chute.
Fresh green wood cuts cleanly and makes good chips. It’s also fibrous, and long stringy strands can wrap around the rotor or build up in the discharge chute. Watch the discharge stream: when it slows while the engine still sounds normal, material is collecting inside.
Very wet branches, such as limbs pulled from a storm pile after rain, tend to clump and pack into the chute. Let a soaked load drain or sit for a short while before chipping it. Then feed it in a steady rhythm instead of in bursts. You can also alternate wet branches with drier ones, so the drier wood helps push the damp material through.
Where Should Your Hands and Body Be While Feeding?
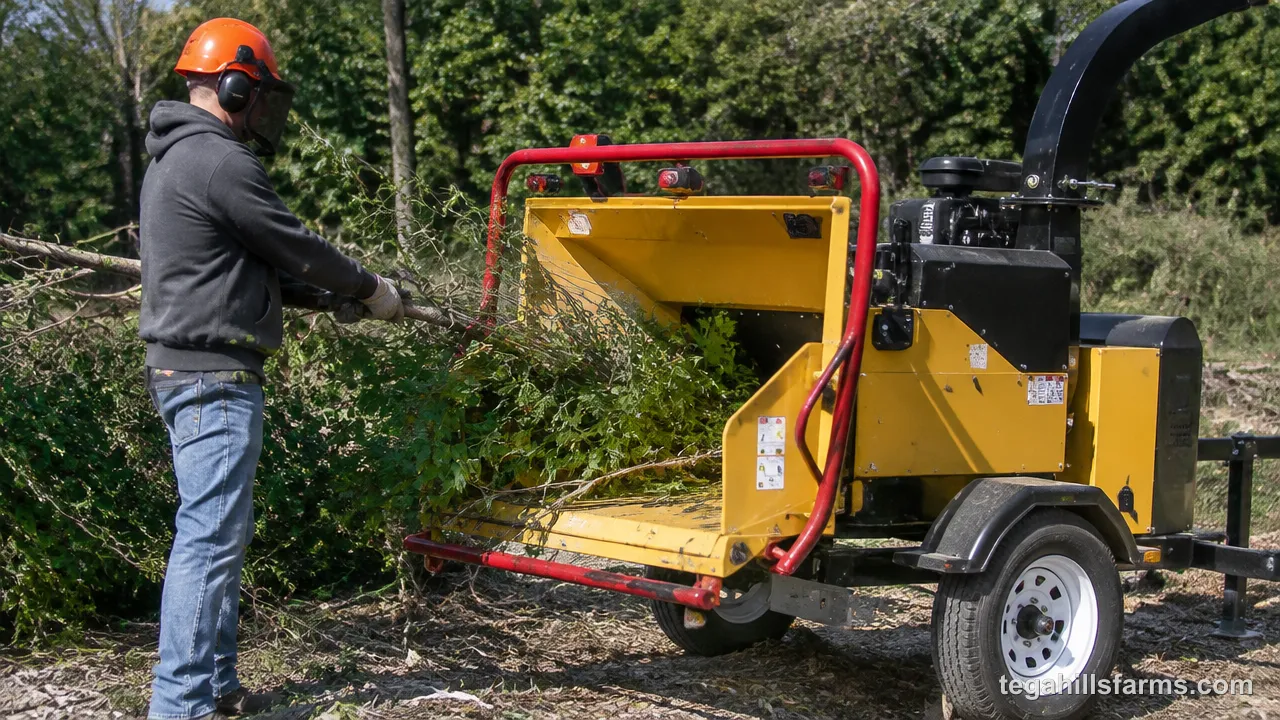
Stand to one side of the infeed chute, not directly in line with it. Keep your hands back from the chute opening the whole time. Anything that kicks back flies straight out of the chute, and standing off to the side keeps you out of its path.
Keep your feet planted on stable ground and don’t lean over the opening to watch the branch go in. Once the rollers grab, let go and step back, even if the branch seems to stall for a moment.
For the last short stub of a branch, use a push stick, which is a length of scrap wood you’re willing to lose to the blades. Never use your hand. Never clear material from the chute by hand while the machine is running, whether the blockage looks small or not. The rollers can grab a glove faster than you can pull back.
What Should You Never Put in a Wood Chipper?
Anything other than clean wood stays out of the chute. Foreign material dulls or chips the blades, jams the rollers or gets thrown back out as a fragment.
- Stones, dirt and soil-caked roots: grit dulls the blades quickly, and stones can chip an edge or be thrown out of the chute.
- Metal, nails, fencing and wire: these damage the blades and can break into shrapnel.
- Rope, twine and long vines: they wrap around the rotor and rollers instead of being cut.
- Plastic, including plant tags and tarps: it melts, wraps and fouls the chute.
- Pressure-treated, painted or finished lumber: it often hides fasteners and puts chemically treated chips into a pile you might use as mulch.
- Clothing, rags and gloves: these snag in the rollers and can take a hand with them.
Leaves, grass clippings and soft garden debris don’t chip well. A chipper shredder or another shredding machine handles that kind of material better.
How Do You Clear a Jam in a Wood Chipper?
Turn the machine off, wait for every moving part to stop, and disconnect the power before any tool goes near the jam. The flywheel keeps spinning for a while after the engine quits.
- Shut off the engine or motor. On a PTO unit, disengage the PTO first, then shut off the tractor and set the parking brake.
- Wait until the flywheel and feed rollers have come to a complete stop. Listen and watch rather than guessing.
- Disconnect the power source. Pull the spark plug wire on a gas model, unplug a corded model, or remove the battery.
- Open the chamber or access cover according to the manual.
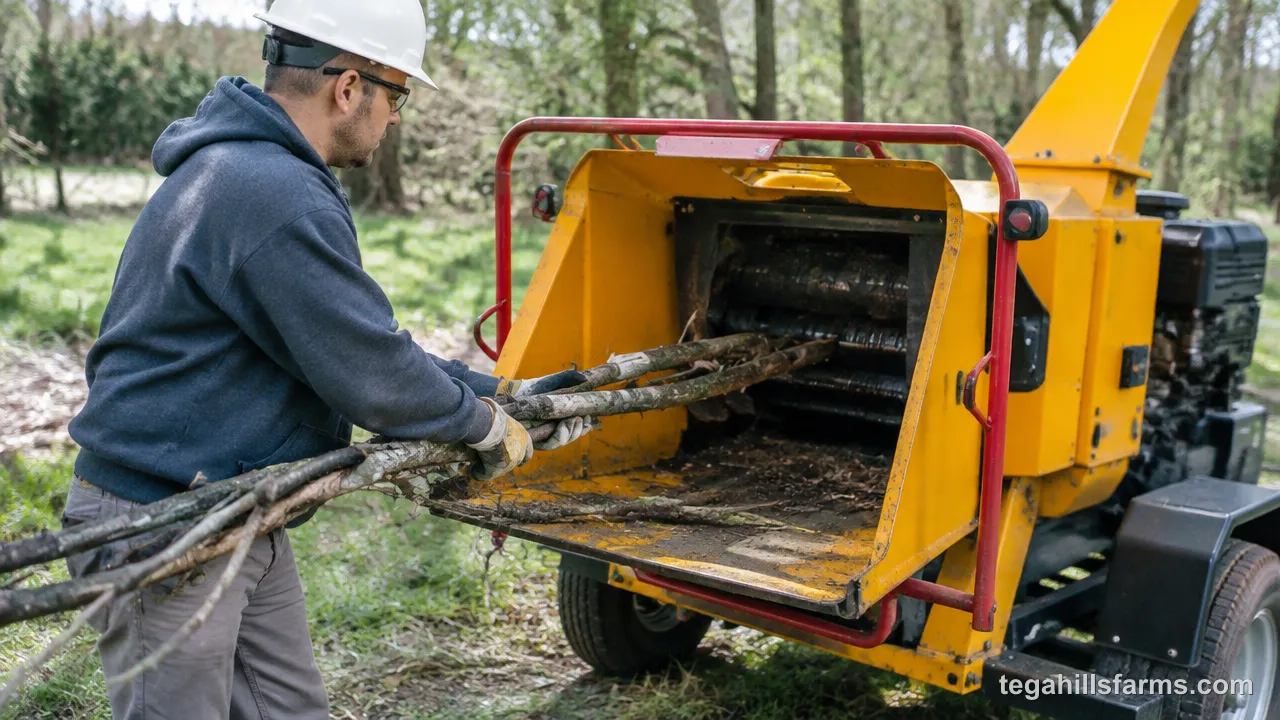
- Remove the stuck material with a stick, pliers or a pry bar, never with your hand.
- Close and latch every cover, reconnect the power, and restart with the chute empty.
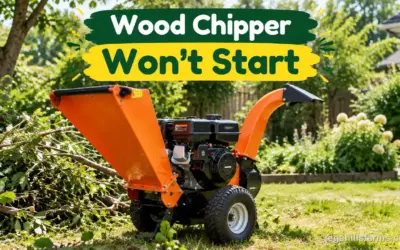
A simple jam usually has an obvious cause: a wad of wet material, a forked limb wedged across the rollers, or stringy green wood wrapped on the rotor. If the chamber is clear and the machine still labors, the blades won’t turn freely by hand, or the engine stalls on light material, you’re dealing with a mechanical problem rather than a clog. If a wood chipper won’t start once the jam is gone, work through the ignition, fuel and safety-interlock checks before you take anything apart.
How Do You Shut Down and Put Away a Wood Chipper?
A safe shutdown and a quick cleanup protect both the machine and whoever runs it next. Sap, chips and fuel left in a machine that sits for weeks cause most of the hard starts and stuck parts that show up the next time it comes out.
What Is the Right Shutdown Sequence?
Run the last branch through and let the chute empty completely. Then bring the throttle down and switch off the engine or motor. Leaving wood in the chamber means a jam waiting for the next start.
Stay with the machine while the flywheel and rollers coast to a stop. A coasting flywheel looks harmless but still has enough momentum to cut. Walking away leaves a machine that someone else, often a curious child, might reach into before it has stopped.
Once everything is still, disconnect the power source: pull the spark plug wire, unplug the cord or remove the battery. With a PTO unit, disengage the PTO before shutting off the tractor, so the chipper isn’t jerked to a stop through the driveline.
How Do You Clean and Store the Chipper After Use?
Once the machine has cooled and the power is disconnected, clear the leftover chips and sap from the infeed chute, discharge chute and housing. Sap hardens overnight and makes the next cleanup harder. Wipe down the exterior while you’re at it.
Look over the blades and fasteners as you clean. A chipped edge or a loose bolt is easier to deal with now than in the middle of the next job.
Store the chipper somewhere dry and covered, so the blades and bare metal don’t rust. If a gas model will sit for more than a few weeks, add fuel stabilizer and run it through the engine, or run the tank dry, as the manual directs. A clean, dry machine starts more easily and wears more slowly next season.
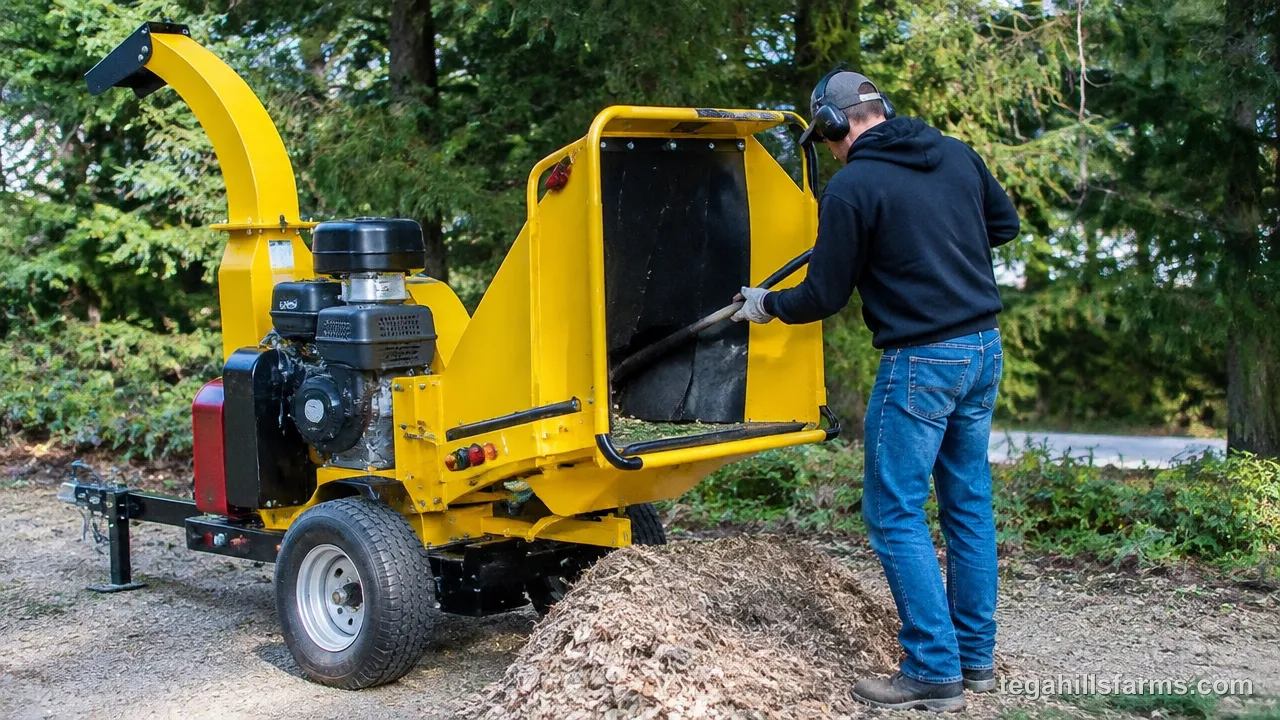
Fresh chips pile up far faster than most people expect, and a wet heap of green wood chips can start to steam and grow mold within days of the job. Left alone against a fence or a shed wall, that pile turns sour in the middle and stops being the free mulch it could have been.
What Can You Do With Wood Chips After Chipping?
Fresh wood chips work well as mulch around trees, shrubs and paths, and they are a useful brown material in a compost pile. Spread them a few inches deep around trees and keep them pulled back from the trunk so bark doesn’t stay wet.
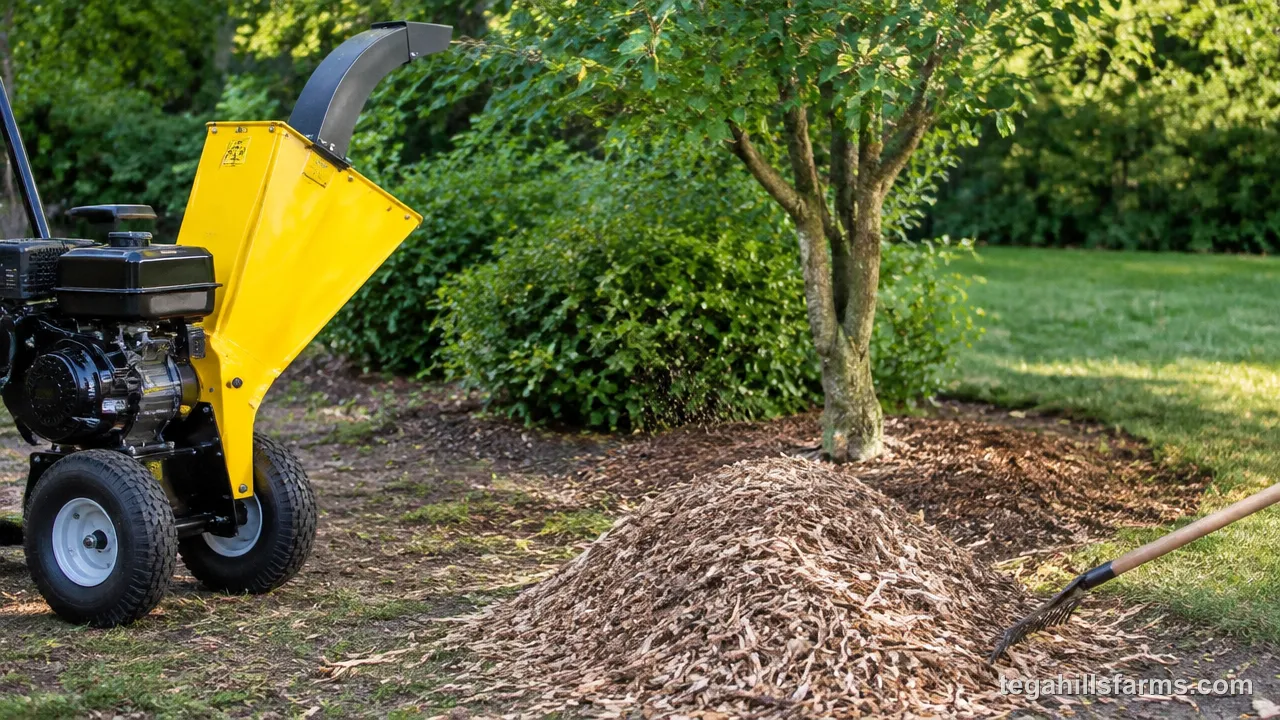
Chips from fresh green wood still contain sap and leaves. They break down faster and are best used on paths, around established trees or in compost, where some nitrogen tie-up at the surface does little harm. Aged chips that have sat for a season are darker and more stable, and they work better around beds and young plantings.
Large, damp piles hold heat in the middle as they decompose. The core can turn hot and moldy while the outside looks fine. Spreading the chips in a thinner layer, or turning a pile every few weeks, lets air in and keeps it from going sour. A sour pile smells like vinegar or ammonia and can harm plants if it goes straight onto beds, so let it air out first.
How Do You Know When Chipper Blades Are Dull?
Dull blades crush and shred wood instead of slicing it cleanly. You’ll notice stringy, uneven chips, slower feeding as the rollers struggle to pull branches in, and an engine that labors on wood it used to handle easily.
Plan to sharpen chipper blades every 8 to 10 hours of use. Shorten that interval when you chip dense hardwood or wood that has been dragged across dirt. Grit and small stones dull an edge much faster than clean wood does, which makes clean feeding the cheapest way to extend blade life.
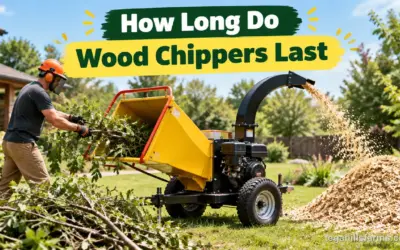
Sharpening is enough when the edges are simply rounded or have only small nicks. Replace the blades when they have deep chips or cracks, or when repeated sharpening has worn them below the minimum width in the manual. Blades come out of balance as they wear, so many owners sharpen or replace them as a matched set. The wider picture of wear on bearings, belts and engines ties into how long wood chippers last as a whole.
What Should You Check When Renting a Wood Chipper for the First Time?
At pickup, ask the rental staff to walk you through the controls on the actual machine, including start-up, the feed control, the emergency stop and shutdown. Before you sign, check that the chipper is clean, every guard and chute cover is intact, and the blades aren’t chipped.
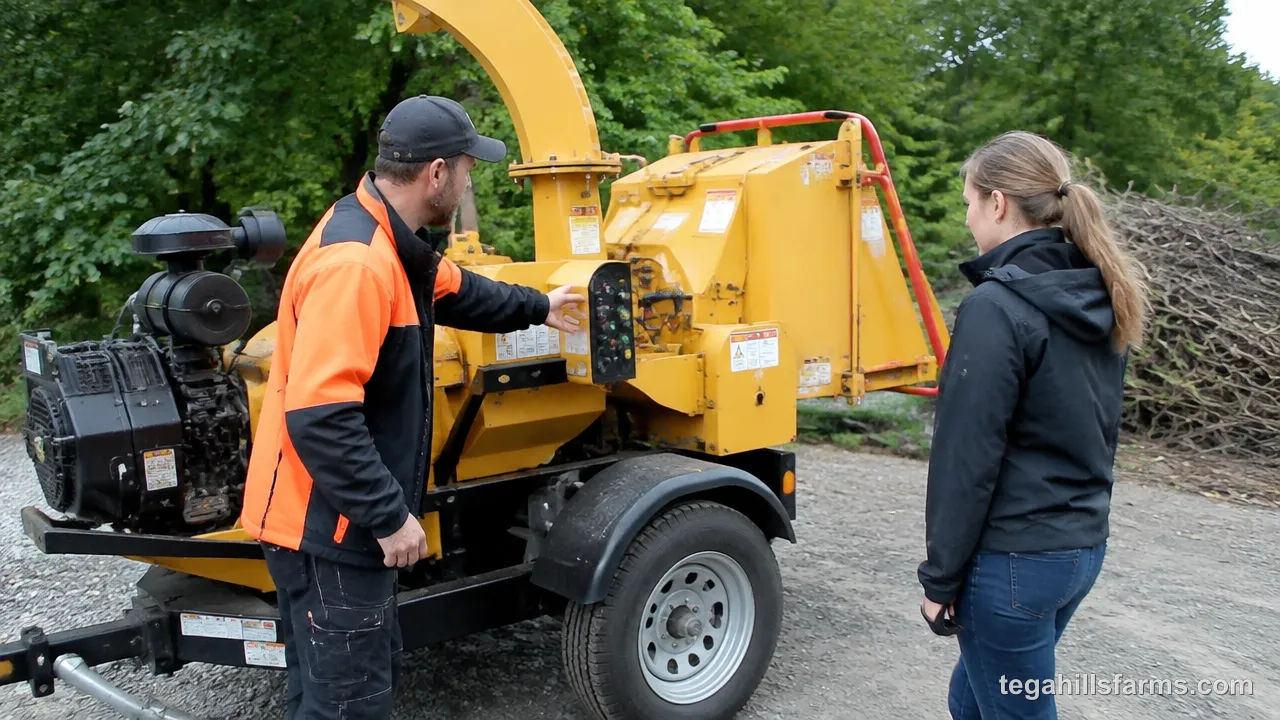
Larger units, such as a 6-inch wood chipper, usually come as a trailer you tow home. Whether you rent from Home Depot, Lowe’s or a local equipment shop, expect questions about your vehicle’s hitch, ball size and towing capacity. Confirm those details before you drive over, because a mismatch means a wasted trip.
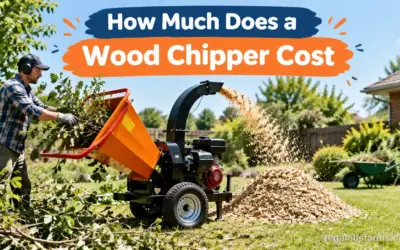
Ask how the machine should come back. Find out whether you return it full of fuel, what counts as “clean” on return, and how damage is handled, especially blade damage from hidden stones or metal. Take photos of the machine at pickup so its condition is on record. For a yard that produces brush every season, weighing rental fees against how much a wood chipper costs to own can settle whether renting still makes sense.
Wood Chipper FAQs
Can you put dead branches in a wood chipper?
Yes. Dead, dry branches chip without trouble as long as they fit within the machine’s capacity. They’re brittle, so they throw more fragments and short pieces than fresh wood. Wear eye protection without exception, feed them steadily, and remove any dirt or rot first, since soil on old branches dulls blades quickly.
Is it better to chip wet or dry wood?
Fresh green wood that isn’t soaked usually chips the cleanest, though its fibers can wrap the rotor. Dry wood feeds easily but shatters more. Very wet branches clump and jam the chute, so let a soaked load drain first and feed it steadily, mixing in drier pieces where you can.
What is the difference between a wood chipper vs a shredder?
A chipper cuts branches into chips with sharp blades on a flywheel or drum and is built for solid wood. A shredder breaks up leaves, small twigs and soft garden waste with flails or hammers. Combination machines have a chipper chute for branches and a separate hopper for lighter material.
Can a small tractor run a PTO wood chipper?
It can if the tractor has enough PTO power for that chipper and a hitch the chipper fits. Check the chipper maker’s power requirement against your tractor’s PTO rating. An undersized tractor bogs down on thicker wood, which leads to stalls, jams and extra strain on both machines.
How often do chipper blades need attention?
Check the blades before every use and sharpen them after a set number of running hours rather than waiting for poor performance. Dirty, stony or hardwood loads wear them faster. Stringy chips, slow feeding and a straining engine all mean the blades need sharpening or replacing.
Write Your Review
No reviews yet. Be the first to share your experience!