

A tiller that won’t start almost always has one of eight problems: stale fuel, a blocked fuel line or filter, a gummed-up carburetor, a fouled or worn spark plug, a failed ignition coil, a clogged air filter, the wrong choke setting, or a broken starter rope or recoil spring.
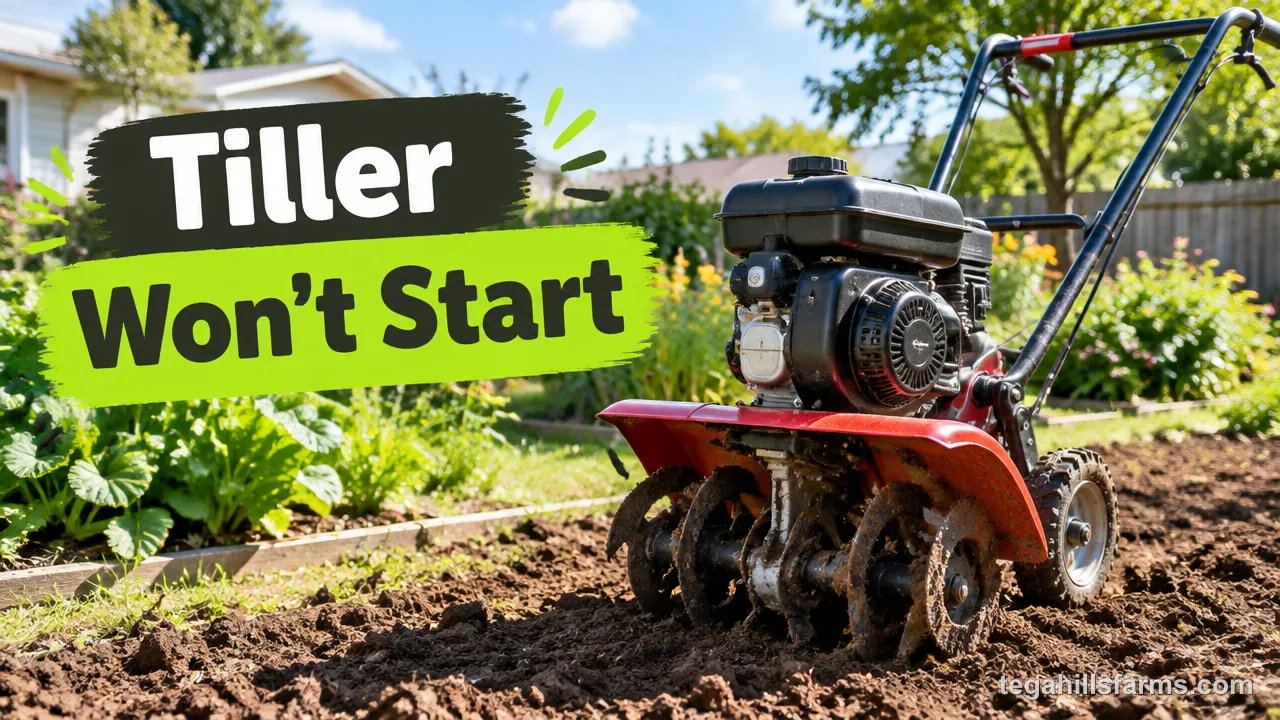
These eight causes fall into three groups based on what the engine is missing: fuel, spark, or air and cranking. Checking them in that order goes from the cheapest and most likely fix to the most involved one, so you don’t pull a carburetor apart when the real problem is a dirty plug.
Most owners worry that a tiller that won’t fire means a shop bill or a dead engine. Most of the time it doesn’t. These problems usually come from storage habits and wear parts, and you can handle nearly all of them with basic hand tools, a can of carburetor cleaner, and an hour in the driveway.
If the tiller sat through winter with gas in the tank, start with the fuel. It’s the likeliest cause after storage, and it’s also the problem that causes trouble further down the fuel system if you leave it.
Why Won’t My Tiller Start?
A small engine needs fuel, spark, air and compression at the right moment, so a no-start means one of those four is missing or arriving wrong.
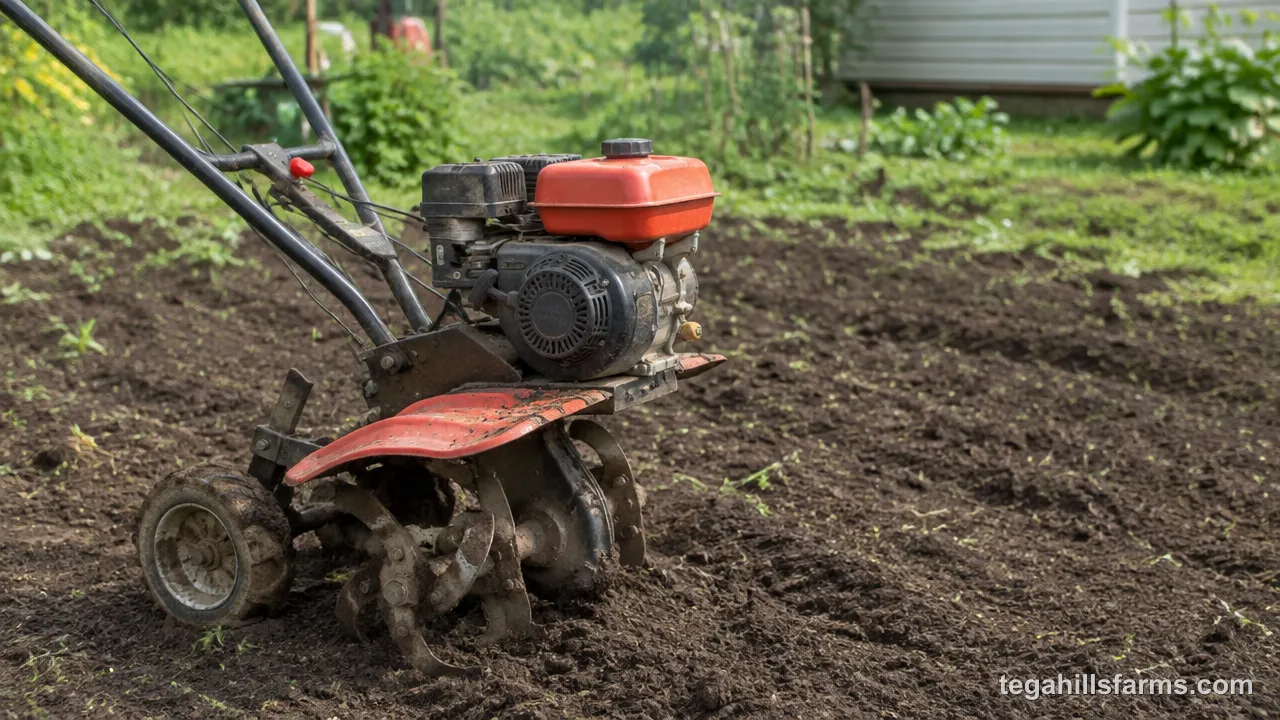
Troubleshooting works by isolating each one. Pull the spark plug and look at it. A wet plug means fuel is reaching the cylinder, and a dry one points upstream to the tank, line or carburetor. A spark test tells you whether the ignition side is doing its job. Air and cranking problems are usually visible once you take off a cover.
A reliable tiller starts with knowing how to choose a tiller that matches your soil type and garden size in the first place. Plenty of no-start complaints also come from skipped steps in how to use a tiller, such as pulling the rope with the fuel valve shut or the throttle in the wrong position. Check those first, because they take seconds.
What Fuel Problems Stop a Tiller from Starting?
Gasoline left in the tank between seasons causes more no-starts than any failed part, because it breaks down and leaves sticky residue wherever it sits.
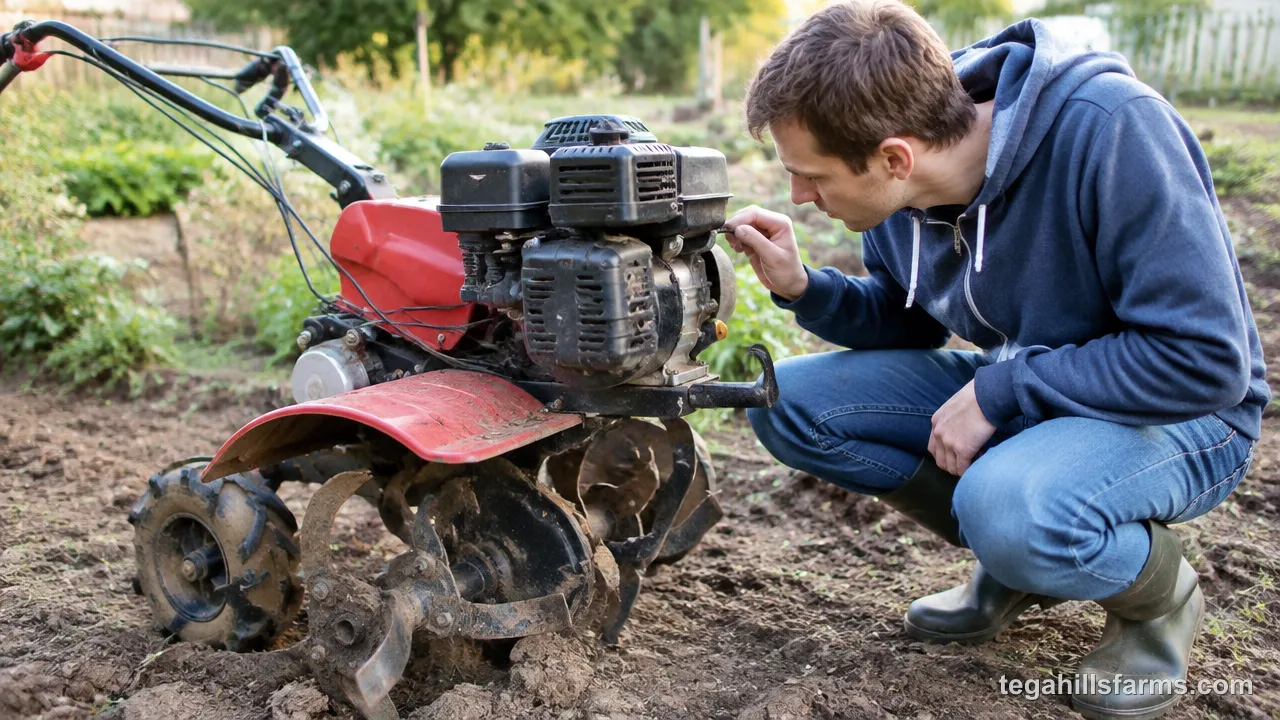
The longer the fuel sat, the deeper that residue travels into the fuel system, and the bigger the job of getting it out. A tiller that sat for a month may only need fresh gas. One that sat through a full off-season can have deposits all the way into the carburetor’s smallest passages. Work from the tank forward, and confirm fuel is flowing at each stage before you move to the next.
Old or Contaminated Fuel
Gasoline starts to degrade in about 30 days. After that, the lighter compounds that help a cold engine fire evaporate, and what’s left in the tank is harder to ignite. Ethanol-blended gas adds a second problem: ethanol pulls moisture from the air, and over time that water-and-ethanol mix separates out and settles at the bottom of the tank, which is right where the fuel outlet is.
Stale fuel usually looks darker than fresh gas and smells sour or like varnish instead of sharp. Water shows up as droplets or a separate layer when you pour a little into a clear jar.
The fix is to drain the tank completely, outdoors, with the engine cold, into an approved gas can. Take the old fuel to your local hazardous waste drop-off, then refill with fresh gasoline. If the tiller still won’t start on fresh fuel, the old gas has probably already left deposits downstream.
Blocked Fuel Line or Filter
Fresh gas in the tank won’t help if it can’t reach the carburetor. Sediment, rust flakes and varnish from old fuel collect in the inline filter. Rubber fuel lines also harden with age and crack, which lets air in or fuel out and starves the engine either way.
To check flow, turn the fuel shut-off valve on and pull the line off where it meets the carburetor, with its end over a small container. A steady stream means the line and filter are clear. A weak dribble or nothing at all means something upstream is blocked.
Follow the line back toward the tank and inspect it for cracks, kinks and soft spots. Replace a clogged inline filter instead of cleaning it, since a new filter is a low-cost part. Replace a cracked hose with fuel-rated line of the same inner diameter so it seals tightly on the fittings.
Dirty or Gummed-Up Carburetor
When the tiller has fresh fuel, good flow and a strong spark but still won’t fire, or only runs with the choke on, the carburetor is the likely cause. Its main jet and pilot jet meter fuel through openings smaller than a pinhole. A thin coat of varnish from evaporated gas is enough to block them, and the engine gets too little fuel to ignite.
Start by shutting off the fuel valve and removing the float bowl, which is usually held by a single bolt underneath the carburetor. Keep a rag ready to catch fuel. Gummy deposits or white, chalky corrosion inside the bowl confirm the diagnosis.
Spray carburetor cleaner into the main jet and every passage you can reach, then blow them through with compressed air. If the main jet unscrews, take it out and hold it up to the light to make sure the hole is clear. Check that the float moves freely and that the float needle isn’t stuck, because a stuck needle either blocks fuel or floods the engine.
Heavy deposits may need ultrasonic cleaning, which reaches passages spray can’t. Use a rebuild kit when gaskets tear, the float needle is worn, or a careful cleaning doesn’t fix the problem. On a tiller that sat a full season with old gas in it, I’d go straight to the bowl instead of hoping fresh fuel will wash the varnish out.
How Do Ignition Failures Prevent Starting?
A strong spark at the plug is what ignites the fuel-air mixture, and testing for it cuts the no-start search in half.
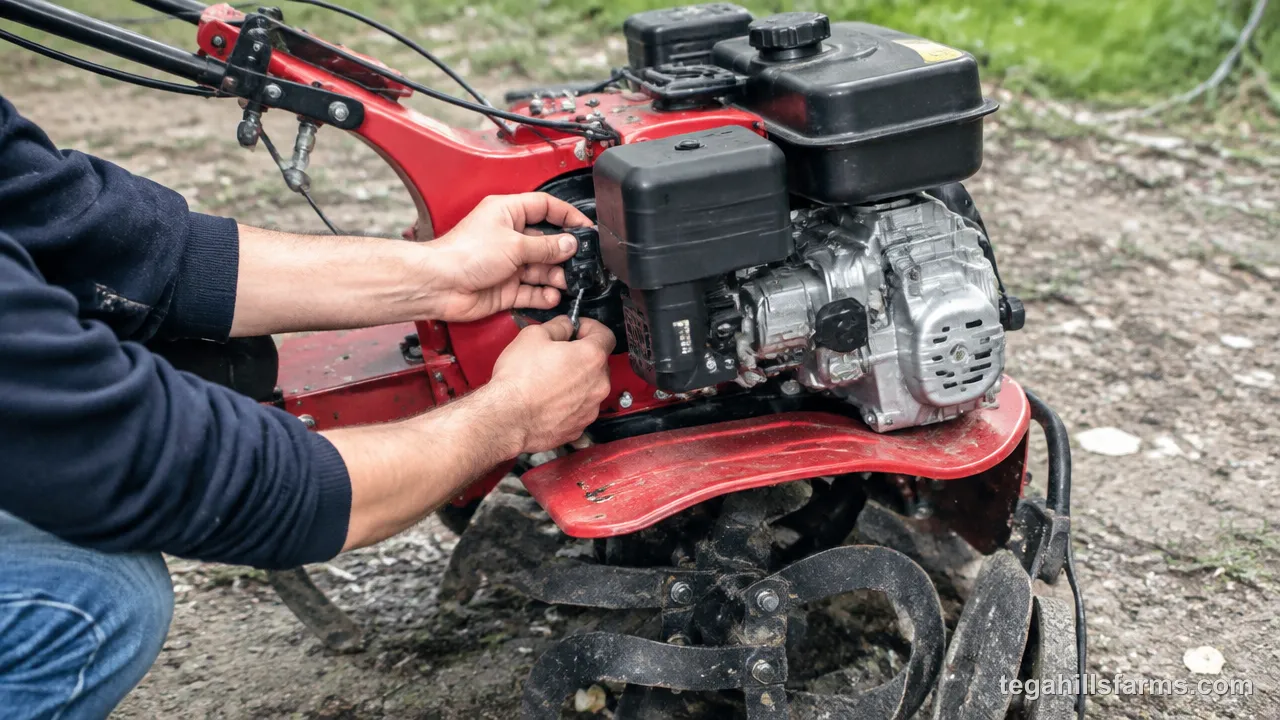
If you have a good spark, the problem is on the fuel or air side and the electrical system is fine. If you don’t, the problem is electrical, and replacing fuel parts won’t help. Use a known-good plug or an inline spark tester for this check. A failing plug can hide a healthy coil, and a weak coil can make a new plug look bad.
Fouled or Worn Spark Plug
A spark plug stops firing reliably when deposits or wear disrupt the gap the spark has to jump. Dry, black soot on the tip is carbon fouling, usually caused by running too long on choke or a mixture that’s too rich. A wet, oily tip means oil fouling, which often comes from an overfilled crankcase, tipping the tiller on its side, or worn piston rings. Rounded electrodes and a widened gap are normal wear, and they make the spark weaker.
Pull the spark plug boot off, remove the plug with a spark plug socket, and look at the tip. Clean light deposits with a wire brush, then set the gap with a feeler gauge to the spec in your owner’s manual.
To test for spark, reconnect the boot to the plug. Hold the plug’s threads against bare metal on the engine block with insulated pliers, pull the starter rope, and look for a crisp blue spark. An inline spark tester does the same job more safely. Replace the plug if the porcelain is cracked, the electrodes are badly worn, or cleaning doesn’t bring the spark back.
Failed Ignition Coil
A new spark plug with no spark points to the ignition coil. On a tiller, the coil is part of a magneto system mounted beside the flywheel. Magnets in the flywheel sweep past the coil and induce a current in its primary winding. The secondary winding then steps that current up to the high voltage needed to jump the plug gap. When a winding breaks down, the plug gets little or no voltage, even though the plug itself is fine.
Look for cracks in the coil housing, corrosion on the terminals, or a chafed plug wire. Check the air gap between the coil and the flywheel magnets as well. If it’s too wide, the coil can’t produce enough voltage. Reset it with a feeler gauge or the method in your manual.
Before you condemn the coil, unplug the kill switch wire and test for spark again. A shorted switch or a damaged wire grounds the coil and looks exactly like a coil failure. To test the coil itself, set a multimeter to ohms and measure continuity across the primary and secondary windings, then compare the readings with the range in the service manual. An open circuit or a reading far outside the spec means the coil needs to be replaced, because the windings can’t be repaired.
What Air and Mechanical Problems Cause No-Start Conditions?
If fuel and spark both check out, airflow and the recoil starter are what’s left, and both are easy to see once a cover is off.
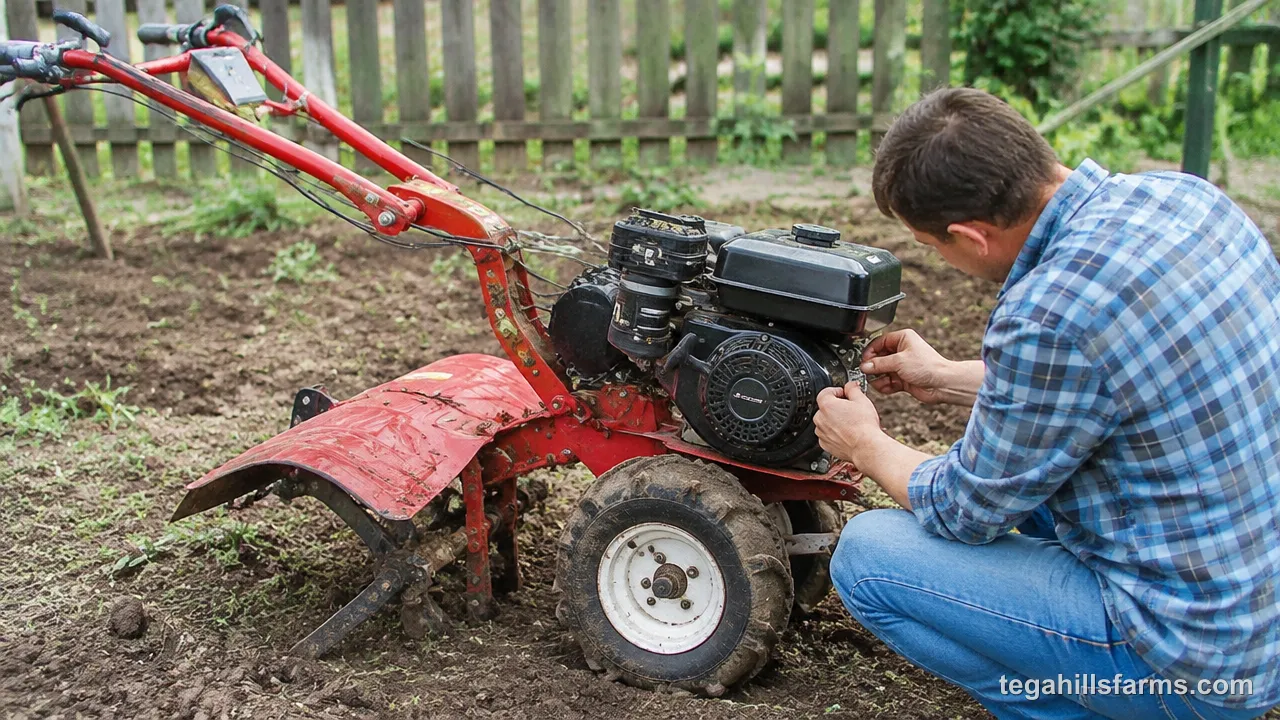
These causes are often the quickest ones to find because they don’t need test tools. Look at the filter, watch the choke plate move, and pay attention to how the starter rope feels when you pull it. Each of those tells you something.
Clogged Air Filter
Tillers work in dust, so their air filters clog faster than a mower’s. A blocked filter lets in too little air for the fuel arriving, and the mixture ends up too rich to ignite. That’s especially true on a cold start, when the choke has already cut the airflow.
The air filter housing usually sits on the side of the carburetor under a cover held by a knob or a few screws. A foam element can be washed in warm, soapy water, rinsed, squeezed dry, and lightly oiled if your manual calls for it. A paper cartridge can be tapped clean of loose dust, but replace it if it’s caked, torn, or soaked with oil.
Wipe the inside of the intake and check it for dust. Dirt past the filter means it was torn or seated badly. Grit in the carburetor throat means the carburetor needs cleaning, and dust that gets into the engine wears the cylinder.
Incorrect Choke Setting
The choke has to match the engine’s temperature. A cold engine needs it closed, because that restricts air and gives the extra fuel that helps cold gasoline ignite. As soon as the engine fires and runs smoothly, move the lever toward the run position. If you leave it closed, the engine stumbles and dies.
A warm engine needs the choke open. Closing it on a hot restart floods the cylinder with fuel, and you’ll notice a strong gas smell and a wet spark plug.
If the lever position doesn’t seem to matter, watch the choke plate at the carburetor throat while someone moves the lever. A bent linkage, a stretched cable, or an automatic choke stuck with varnish can leave the plate partly open or closed, and the lever position on the handlebar won’t tell you that.
Broken Starter Rope or Recoil Spring
The engine needs a quick, full pull to spin the flywheel fast enough to build compression and make the magneto produce spark. A frayed rope gives way before it can do that. A rope that pulls out but won’t retract means the recoil spring is broken or has lost tension. A rope that pulls with no resistance at all usually means the starter pawls aren’t catching the flywheel.
Remove the bolts that hold the recoil housing and lift it off to inspect the rope, spring and pawls. Replace a worn rope with one of the same diameter and length, and tie the pull cord handle the same way the original was tied.
A recoil spring is wound under tension and can uncoil sharply, so wear gloves and eye protection if you rewind it. For many owners, replacing the whole recoil assembly is quicker and safer than rewinding the spring.
Fuel left sitting in a tiller from fall through spring is behind most of these failures, and the tank, filter and carburetor start collecting varnish the day the machine goes into storage. A tiller parked with last season’s gas still in it often needs a carburetor teardown in spring before you can till a single row.
How to Keep Your Tiller Starting Reliably
Fresh or stabilized fuel, a clean air filter, a sound spark plug and a proper off-season shutdown prevent nearly every cause covered above. Most of that work fits into a short routine at the start and end of each season.
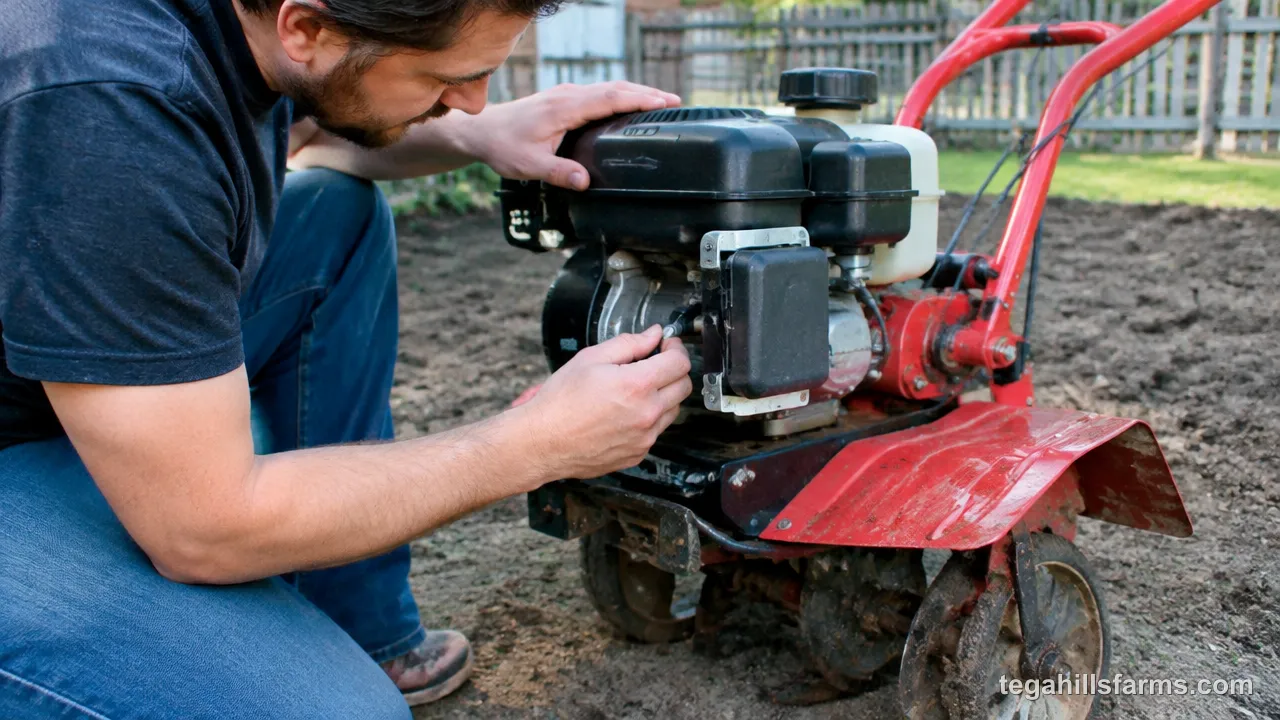
Fuel needs the most attention. Add stabilizer whenever gas will sit for more than a few weeks, and run the engine for a few minutes afterward so the treated fuel reaches the carburetor. Some additives, such as Oleo-Mac Additix 2000, keep fuel usable for at least 12 months. Another option is to run the tank dry and drain the carburetor bowl before storage.
Change the oil every 25 to 50 hours of use, or at least once each season if you till lightly. Check the air filter before each session in dry, dusty soil. Inspect the spark plug every season and replace it when the electrodes look worn.
For winter, stabilize or drain the fuel, change the oil, and store the tiller somewhere dry. Steady upkeep also plays a large part in how long tillers last, because varnish and dirt wear out the parts that are expensive to replace.
Common Questions About Tiller Starting Problems
How do I clear a flooded tiller engine?
Open the choke fully, set the throttle to full, and remove the spark plug. Dry the plug, then pull the starter rope several times with the plug out to clear excess fuel from the cylinder. Reinstall the plug and start the engine without the choke. If the plug is soaked, let the tiller sit and air out for a while first.
What does it mean if my tiller has spark and fuel but still won’t start?
Low compression is the likely cause. Worn piston rings, a stuck valve, or a blown head gasket let the fuel-air charge escape before it can ignite. A compression gauge threaded into the spark plug hole gives you a reading to compare with your engine’s spec. A low reading usually means internal repair work.
Can a safety switch keep a tiller from starting?
Yes. An ignition switch, an operator presence control, or a neutral interlock can ground the ignition coil if it fails or if its wire chafes through. For diagnosis only, disconnect the kill wire and test for spark. If spark returns, replace the faulty switch or wire, and reconnect every safety control before you use the tiller.
How many times should I press the primer bulb?
Press it the number of times listed in your manual or on the engine label. The bulb pushes fuel into the carburetor for a cold start, so pressing it too many times floods the engine. If the bulb stays flat or doesn’t refill with fuel, it’s cracked or leaking air and needs to be replaced.
When should I take my tiller to a repair shop instead of fixing it myself?
Take it in for low compression, a sheared flywheel key, internal engine damage, or a carburetor that still fails after a rebuild. If the tiller is still under warranty, check the warranty terms before opening the engine. A dealer repair may be covered, and DIY work can void that coverage.


Write Your Review
No reviews yet. Be the first to share your experience!