

Running a tiller well comes down to a fixed sequence: clear and mark the ground, mow any grass short, get the soil moisture right, then start the machine with your gear on and the controls checked. From there you set the depth, work in straight overlapping rows at a steady walking pace, make extra passes where grass is involved, and finish by cleaning the tines and raking the bed smooth for planting.
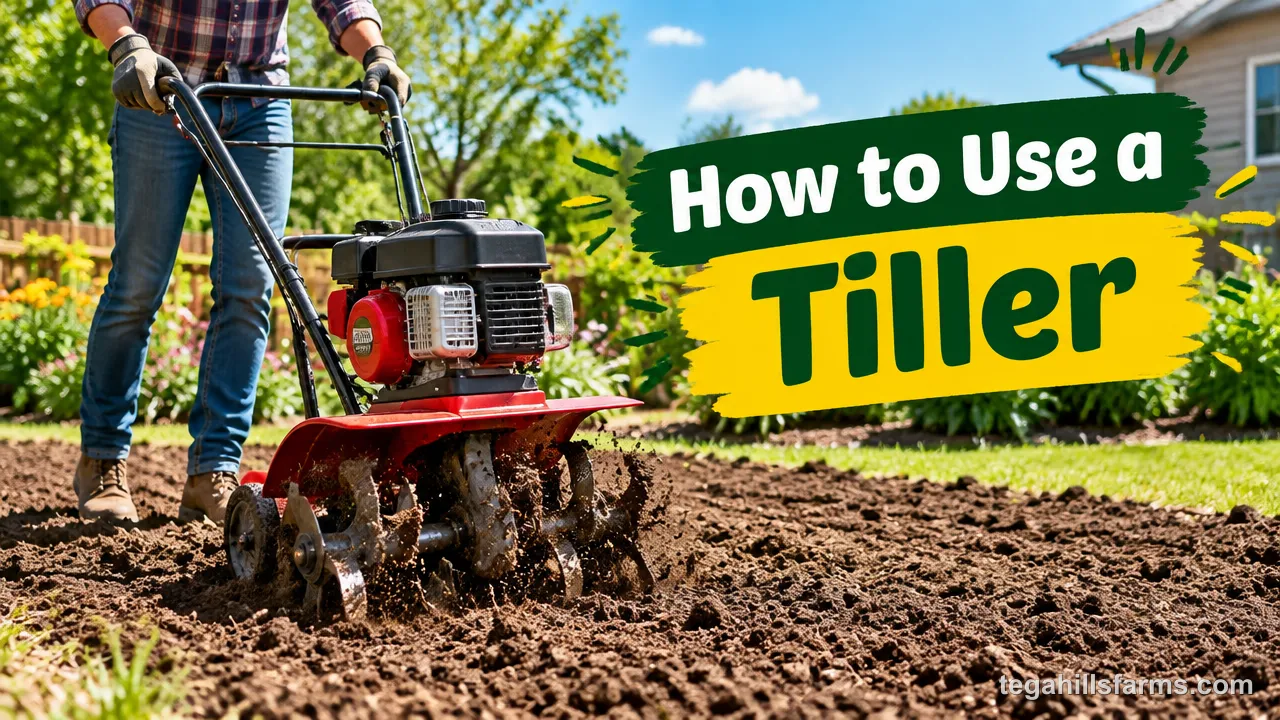
The results depend on three things you control: how wet the soil is, how deep the tines cut, and how fast you let the machine move. Get those right and the tiller breaks ground into loose, crumbly soil. Get them wrong and the same machine leaves hard clods, shallow strips, or a muddy mess that dries like brick.
Most beginners worry about fighting the machine. A tiller that bucks, jumps forward, or digs itself into a hole is usually set too deep, working soil that’s too dry, or being pushed when it should be guided. Buried sprinkler lines and grass that grows back a few weeks later are the other two problems that catch first-timers off guard.
If you’re renting, finish the prep work the day before you pick up the machine. Clearing, marking, mowing and watering take longer than they sound, and doing them early means the hours you pay for go to actual tilling.
What Is a Tiller and When Should You Use One?
A tiller is a walk-behind machine with rotating metal tines that chop and loosen soil, and it earns its keep when you’re breaking new ground, loosening compacted soil, or mixing compost in before planting.
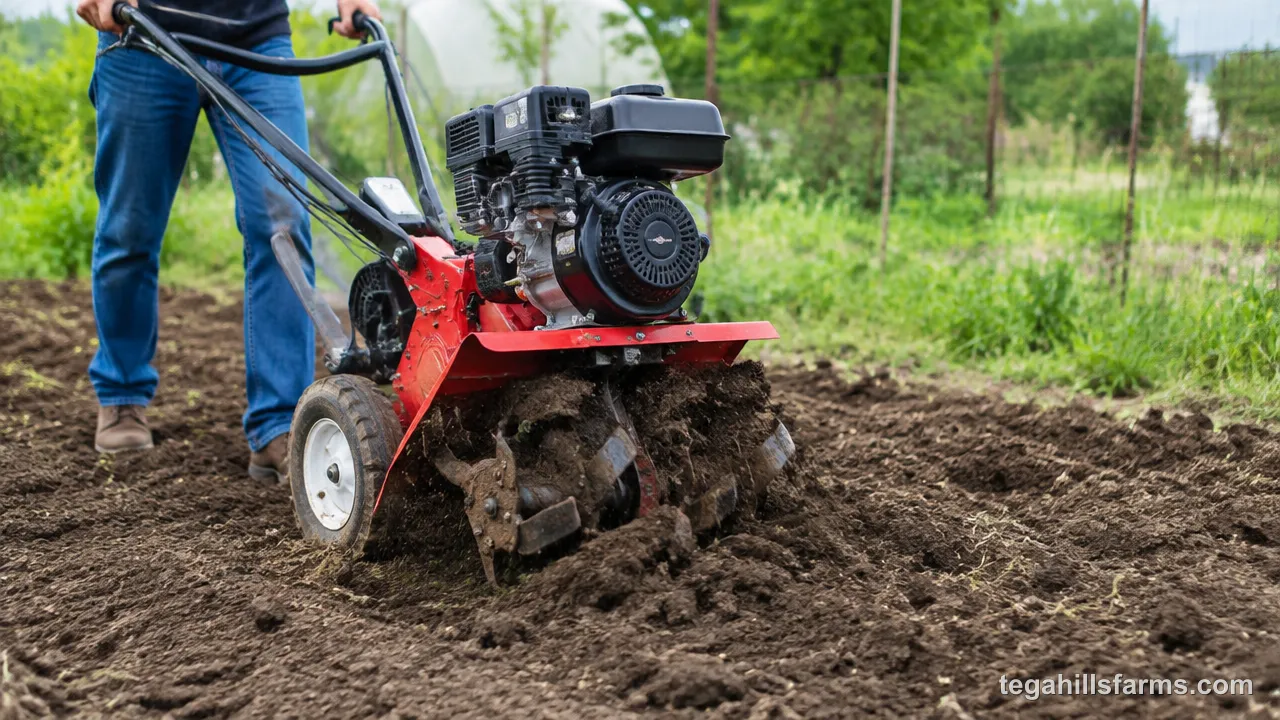
Spring is the usual time, a few weeks before planting season, once the ground has thawed and dried enough to crumble. Fall tilling works too, especially for turning in leaves, manure or compost so they break down over winter. A tiller is the wrong tool for established beds full of perennials or shrubs, and for soil that’s soggy, because the tines smear wet clay instead of breaking it apart.
Before you start tilling, understanding how to choose a tiller that fits your yard size and soil condition ensures you rent or buy the right machine for the job. For a one-time project, renting makes sense: day rates typically run $50 to $125, with front-tine models at the lower end of that range.
How to Prepare Your Yard Before Tilling
Most tilling damage, from bent tines to cut irrigation lines, happens because of something left in the ground, so the work you do before the engine starts decides how smoothly the job goes. Prep also changes how the soil behaves under the tines. Ground that’s been cleared, cut short and brought to the right moisture lets the machine dig at a steady depth instead of bouncing across the surface, which saves you passes and saves the machine from strain.
Clear the Area and Mark Obstacles
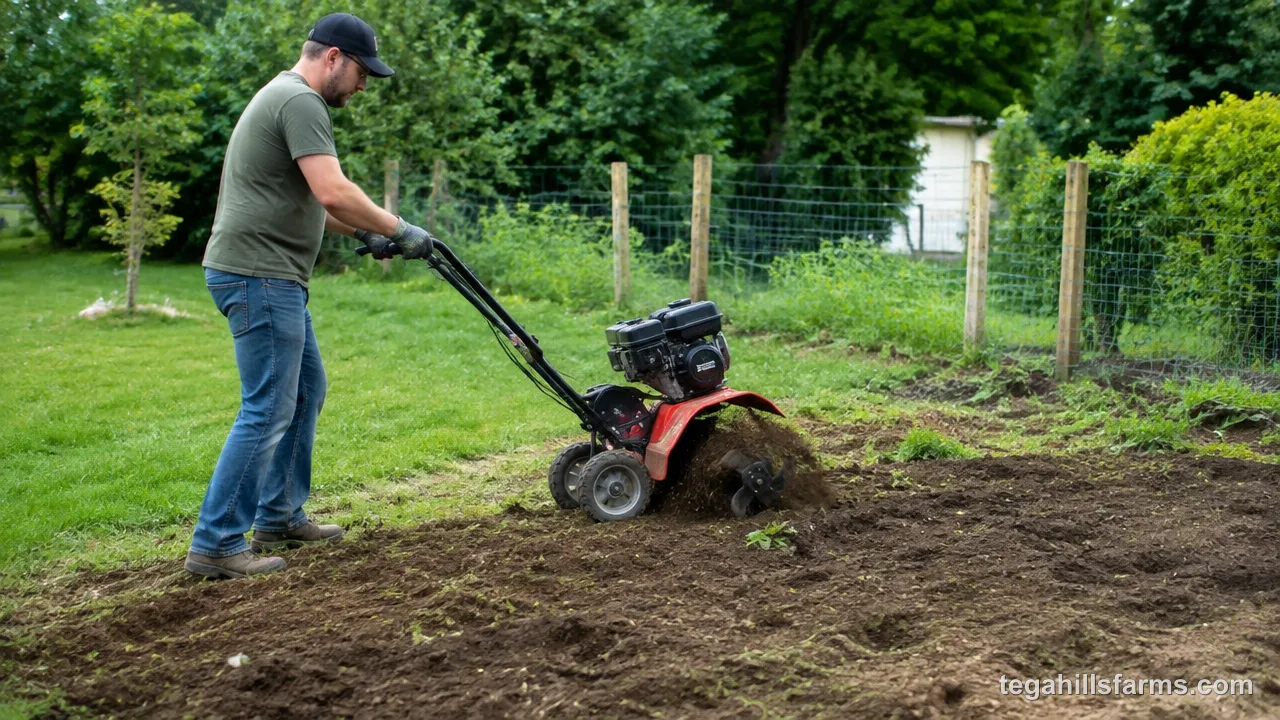
Remove everything on the surface that the tines could catch: rocks, branches, old stakes, garden edging, hoses and tomato cages. A tiller throws small stones hard enough to hurt, and larger rocks wedge between the tines and the shield, bending tines or stalling the engine.
Underground hazards matter more because you can’t see them. Call 811 a few days before you till so local utilities can mark any buried lines, even if you’re only going down several inches. Then flag every sprinkler head and trace the lines between them.
Keep the tines at least 6 inches away from sprinkler heads. Where an irrigation line runs under the bed, either set the depth to no more than 4 inches over that strip or skip it and loosen that section by hand with a garden fork.
Mow Grass Short Before Tilling
Cut the grass down to 1 to 2 inches before you till. Tall grass wraps around the tine shaft within the first few feet, and once it’s wound tight, the tines spin inside a ball of stems instead of reaching the soil.
Short grass also lets the tines bite into the ground on the first pass. With a thick layer of blades on top, the tiller tends to ride over the surface and skip, which wastes fuel and leaves you with a shredded lawn rather than broken ground.
Bag the clippings or rake them off afterward. A heavy layer of fresh clippings mixed into the soil clumps and mats, and it ties up nitrogen while it breaks down, which can slow the plants you put in that bed.
Water the Soil Properly
The right moisture level is damp but not sticky: a handful of soil should hold together when you squeeze it, then crumble apart when you poke it with a finger. That texture lets the tines cut cleanly and break the ground into small, even pieces.
Soil that’s too wet forms a muddy ball in your hand and stays that way. Tilling it compacts the layer below the tines, coats the machine in mud, and leaves clods that dry rock-hard. Wait for it to drain, usually a day or two after heavy rain.
Dry, dusty soil causes the opposite problem. The tines can’t penetrate it, so the tiller bucks and bounces, and whatever it does break up turns to powder. If the ground is that dry, water it slowly so moisture soaks down to about four inches below the surface, then give it time to drain until the surface no longer sticks to your boots before you till.
How to Start Your Tiller Safely
Tines that chew through soil will grab a boot or a loose pant leg just as easily, so protective gear and a controls check come before the first pass. A tiller also throws debris and vibrates hard through the handles for as long as you run it. Taking a few minutes to dress properly and confirm that every safety control works means that if the machine lurches forward or hits a root, you can stop it immediately and nothing gets caught.
Put On Safety Gear First
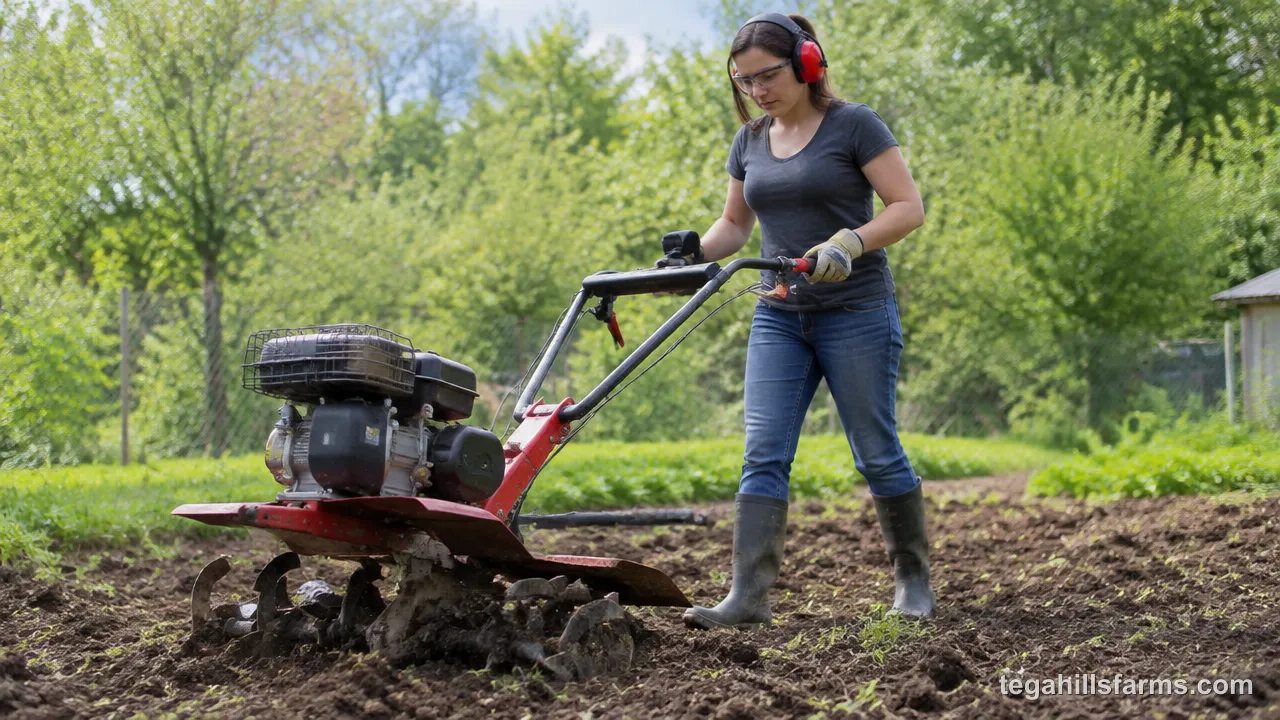
Safety glasses come first, because tines fling small stones and clods toward the operator, and a tiller works at roughly face height when soil bounces off the shield. Wrap-around glasses block debris coming in from the sides.
Wear sturdy closed-toe boots, ideally with steel toes, since your feet stay close to the tines when you turn at the end of a row. Long pants protect your shins from thrown rocks, but keep them fitted, with no loose drawstrings, scarves or untucked shirts that the rotating shaft could pull in.
Work gloves reduce the vibration that numbs your hands over a long session and improve your grip on the handles. With a gas tiller, add earplugs or earmuffs, because the engine runs for hours a few feet from your head.
Start the Engine and Check Controls
On a gas tiller, check the oil level and fuel before anything else, then open the fuel valve. For a cold engine, set the choke to closed and the throttle to the start or fast position, then pull the cord with a smooth, firm stroke. Once the engine catches, open the choke gradually as it warms up so it doesn’t stall.
Electric tillers skip all of that. Plug into a GFCI outlet using an outdoor-rated extension cord sized for the motor’s amperage, then press the safety button and squeeze the trigger. Keep the cord behind you and away from the tilling path.
Before you start tilling, test the controls with the tiller standing still. Engage the tine lever briefly and release it, and confirm the tines stop as soon as you let go. Locate the kill switch so you can reach it without looking. If the tiller won’t start after several pulls, stop yanking the cord and check the fuel valve and choke position before you flood the engine.
How to Till Your Garden Step by Step
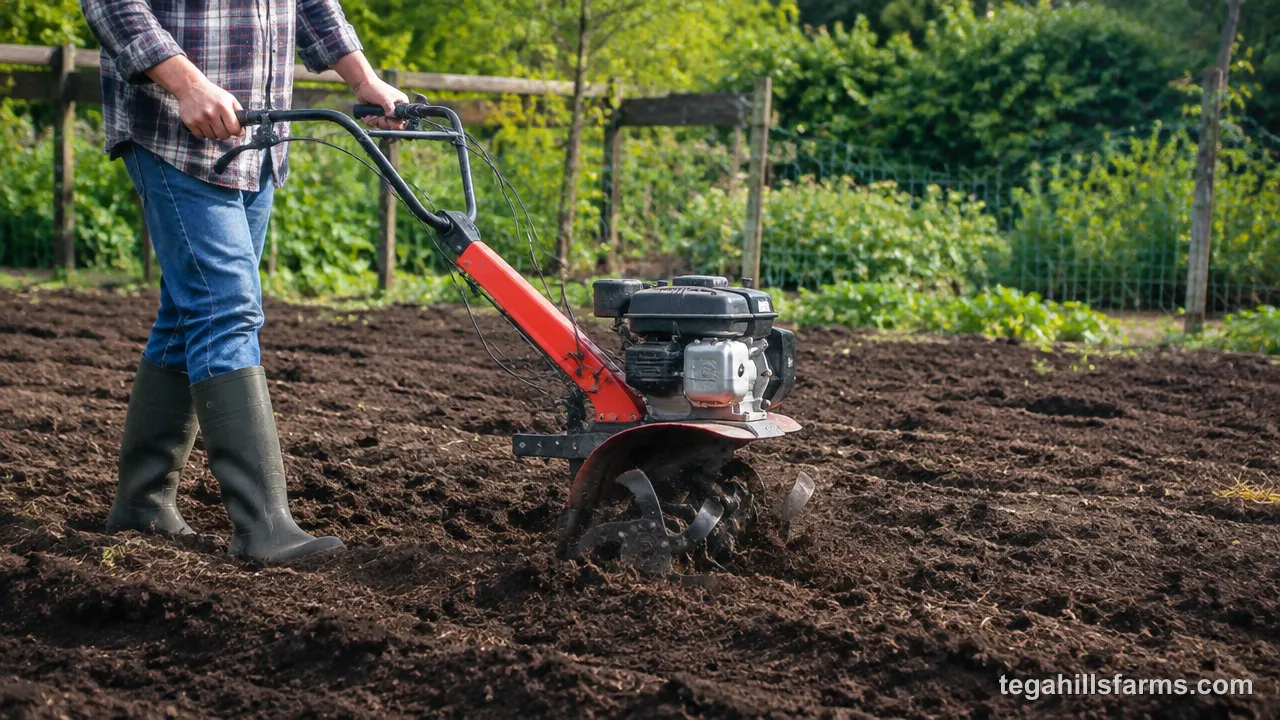
Good tilling depends on letting the tines do the cutting while you steer, because a tiller that’s forced through the ground bucks, digs ruts and leaves hard soil behind. The machine is designed to pull itself along as the tines rotate, and your job is to set it up correctly, guide it in a straight line and keep a steady rhythm. Most beginners work much harder than they need to, pushing down on the handles or shoving the machine forward when a lighter touch would produce looser, more even soil.
Set the Tilling Depth
Most tillers have a depth stake or depth bar at the back, a metal post that drags through the soil and limits how far the tines can dig. Raising the bar lets the tines go deeper; lowering it keeps them shallow. Some rear-tine models use a lever or knob instead, but the principle is the same.
For a new bed, a general tilling depth of 6 to 8 inches loosens enough soil for most vegetable and flower roots to spread. Don’t try to reach that depth in one go. Start shallow on the first pass, then lower the tines a notch for each pass after. Each pass loosens the layer the next one has to cut through, so the machine works less and runs smoother.
Established gardens need less. Shallow tilling, just enough to mix in compost or break a surface crust, keeps the deeper soil structure intact and avoids pulling buried weed seeds up to the surface where they’ll sprout. If last year’s bed is still loose underneath, there’s no reason to dig it back up to full depth.
Make Your First Pass
Start at one edge of the bed and line the tiller up so you can walk a straight path to the far end. Set the throttle to full speed for a gas engine, then engage the tines while holding the handles firmly with both hands.
On a front-tine tiller, the tines both dig and pull the machine forward, so expect it to tug or even hop on the first pass through firm ground. Pushing down on the handles drives the tines deeper and slows the machine; easing up lets it roll forward. Shifting that pressure is how you steer and control depth. Rear-tine tillers have powered wheels that set the pace, so you mainly guide the direction and let the depth bar do its work.
Don’t fight the machine if it jumps. Lighten your grip, let it settle, and try again with the depth bar set a little higher. At the end of the row, release the tine lever before turning, swing the tiller around, and line it up for the next row. I’d start the first pass along the straightest edge of the bed, since every row after uses it as a guide.
Overlap Each Row
Each new row should overlap the previous one by 2 to 3 inches. Tines cut deepest in the middle of their width and shallowest at the outer edges, because the outermost tines throw soil sideways rather than chopping down into it. Without an overlap, those shallow edges line up into narrow strips of hard, untilled ground between the rows.
Those strips cause problems later. Roots hit them and grow sideways, water runs along them instead of soaking in, and they show up as uneven spots when you rake the bed.
The easiest guide is the edge of the loose soil from the previous row. Keep one wheel or the edge of the tine shield just inside that line as you walk. If the bed is large or the soil is heavy, a second set of passes running crosswise to the first catches any gaps the overlap missed.
Work at the Right Speed
Most tillers are built to move at roughly 2 to 3 mph, which is a slow, deliberate walking pace. At that speed the tines get enough rotations into every foot of ground to break it into small pieces.
Rushing leaves large soil clumps behind because each section passes under the tines too quickly to be broken up. You end up making extra passes, which costs more time than going slowly the first time. Pushing the machine forward also lifts the tines out of the ground, so the depth becomes uneven.
Going too slow, or making too many passes over the same spot, causes the opposite problem. Soil churned into fine powder loses its structure, and when it rains, the surface seals into a crust that sheds water and makes it hard for seedlings to push through. The goal is crumbly soil with pieces roughly the size of peas and marbles, not dust.
Budget your time realistically. Clearing a 1,000-square-foot area can take about 2 hours, especially when grass is involved, so plan accordingly if you’re renting by the day.
How to Remove Grass with a Tiller
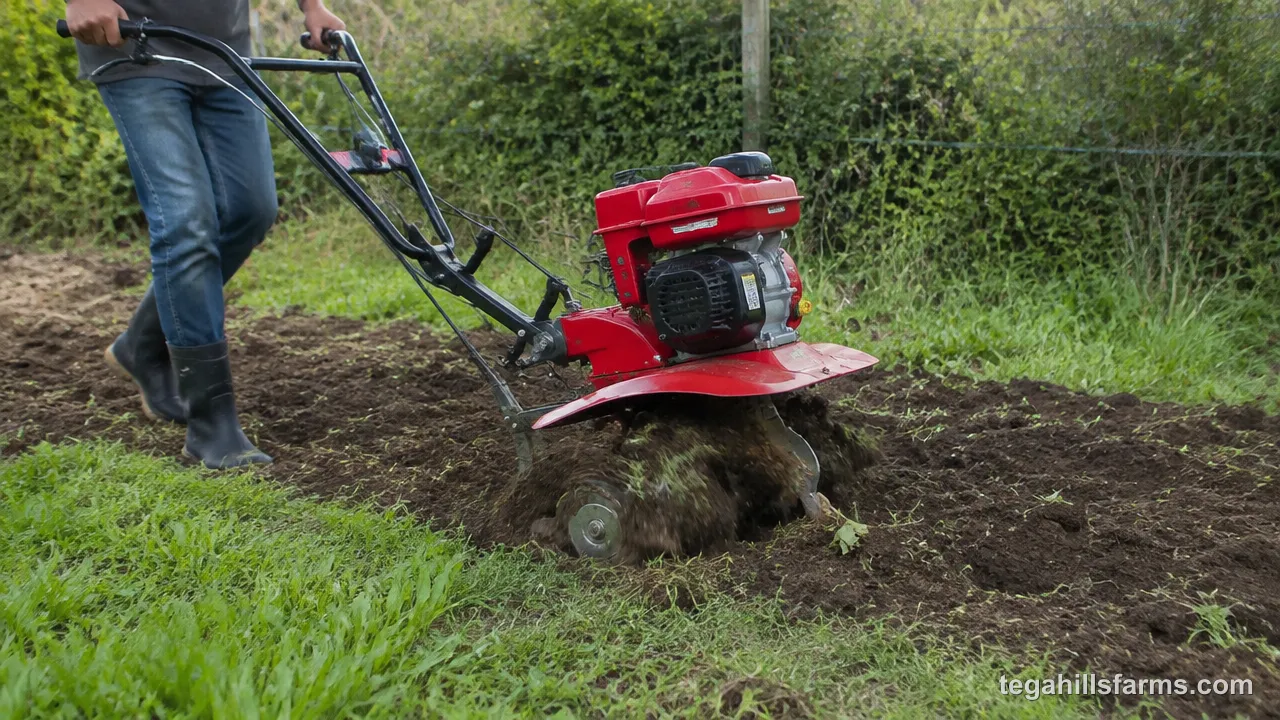
Grass is the hardest thing a tiller faces because a dense mat of roots binds the top layer of soil together, so turning sod into a bed takes more power, more depth and more patience than loosening bare ground. The machine matters here. An electric tiller needs a motor rated at 13.5 amps or more to handle grass removal, and a gas model needs at least a 160cc engine. Smaller machines tend to bounce on top of turf instead of cutting into it. If your tiller is underpowered for the job, expect slower progress and more strain on the motor.
Set Deeper Depth for Grass Removal
Grass roots form a dense layer near the surface, and the tines need to cut below that layer to kill the grass. Set the depth so the tines reach 4 to 6 inches, just below the root zone, and work toward a total penetration of 6 to 10 inches over your passes so the roots are fully broken loose from the soil underneath.
Shallow tilling is the most common reason grass comes back. When the tines only chop the blades and the top of the root mat, the roots below stay intact and resprout within weeks. The bed looks clean at first, but you end up pulling grass out of your vegetables all summer.
Reach full depth gradually. Asking the tiller to go to full depth on the first pass through firm sod usually makes it buck and stall, so lower the depth bar in steps as the mat breaks up.
Make Multiple Passes
One pass never removes grass. The first pass only cuts the sod into chunks and loosens the surface. Each additional pass breaks those chunks smaller and digs deeper into the roots.
Run the second pass perpendicular to the first. Tilling crosswise cuts through strips of sod that the first pass only nicked and catches the hard ridges between the original rows. On heavy turf, a third pass along the original direction finishes breaking the soil down.
Between passes, rake out the larger grass clumps. Shaking the soil off before you toss them keeps the topsoil in your bed. Clumps left in the ground can re-root, especially after rain, so removing them matters as much as the tilling itself.
What to Do After You Finish Tilling
Once the engine is off, the remaining work is about timing: soil hardens on the machine and freshly loosened ground keeps shifting, so both the tiller and the bed need attention before the soil changes. Cleaning the tiller is much easier while the soil is still damp, and the bed needs time to settle before it’s ready for seeds or transplants. Getting both right means the tiller is ready for the next job and your plants go into soil that supports their roots.
Clean Your Tiller Right Away
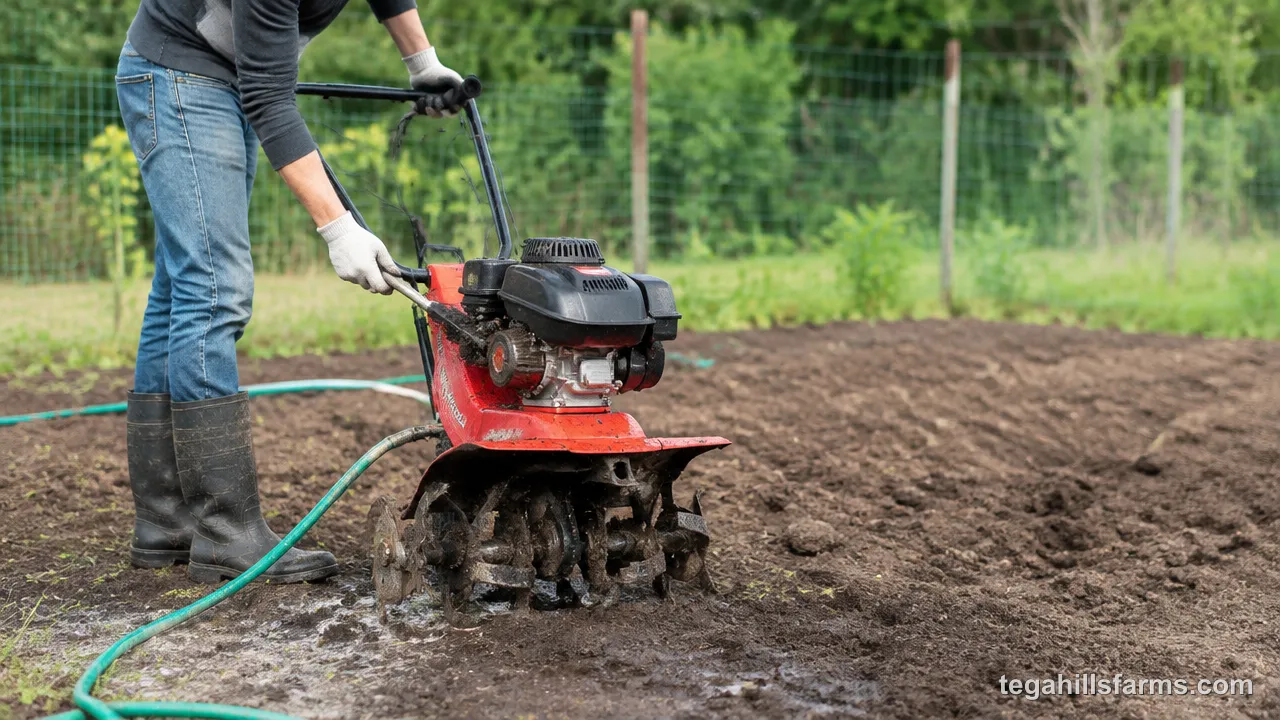
Clean the tiller before the soil dries, because damp dirt scrapes off easily while dry, caked soil has to be chipped off. Shut off the engine and disconnect the spark plug wire first, or unplug an electric model, so the tines can’t turn while your hands are near them.
Pull off any roots, vines or string wrapped around the tine shaft, cutting them with a utility knife if needed. Scrape caked soil off the tines and the inside of the tine housing with a putty knife or a stick. A garden hose finishes the job, but keep the spray off the engine, air filter and electrical parts.
Let the tiller dry, then wipe a light coat of oil on the tines. Bare steel left damp in a shed will rust before the next use.
Prepare the Soil for Planting
Freshly tilled soil is loose and uneven, so rake it before planting. A steel garden rake breaks up remaining clumps, pulls out rocks and roots the tines brought to the surface, and levels high and low spots so water spreads evenly instead of pooling.
If you didn’t till compost or other amendments in, spread them now and rake them into the top few inches.
Give the bed a few days to settle before planting. Loose soil sinks as it settles, and seeds planted right away can end up deeper than intended or exposed as the surface drops. A light watering speeds settling. The bed is ready when it holds a footprint without your boot sinking deep.
Every hour in rocky or root-filled ground grinds the leading edges of the tines round and pushes fine grit toward the engine’s air intake, and none of it shows until the machine starts bouncing on ground it used to cut through. Skip the routine checks and the likely result is a snapped belt or an engine that quits halfway through spring planting, leaving you with a half-tilled bed and no working machine to finish it.
How to Maintain Your Tiller Between Uses
Tiller maintenance is quick when it follows a schedule. Check the parts that wear between every use or two, handle the larger jobs once a season, and follow the intervals in your owner’s manual, since they vary by engine and model.
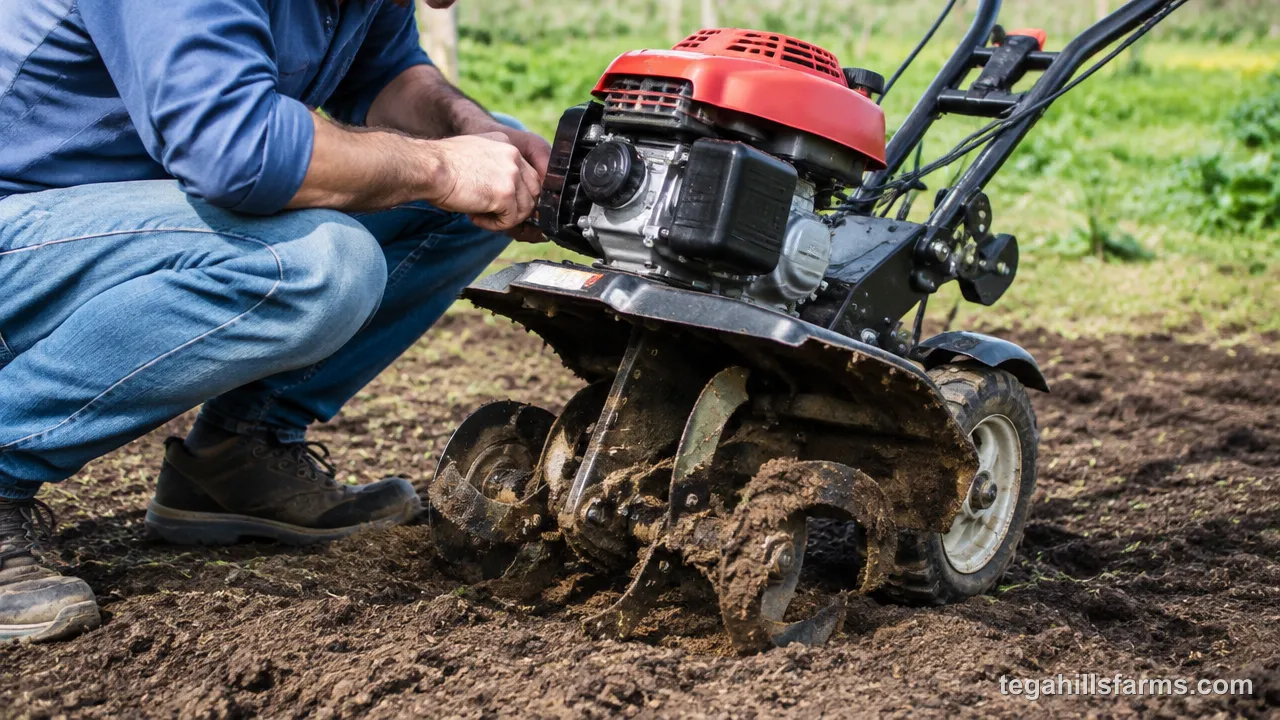
Consistent upkeep is the biggest factor you control in how long tillers last. The engine and transmission can run for many seasons, but only if the smaller parts that wear out, like oil, tines and belts, are replaced before they fail and take something more expensive down with them.
Check Oil and Fuel Regularly
Check the engine oil before every use, with the tiller on level ground so the dipstick reads accurately. Top it off if it’s low, and look at the color: clean oil is amber, while oil that’s black, gritty or smells burnt needs changing. Change it at the interval in your manual, and sooner if you work in very dusty soil, since grit works its way into the crankcase and wears the engine faster.
Use the viscosity your manual specifies. Many small four-stroke engines call for SAE 30 or 10W-30, but the right grade depends on the engine and the temperatures you work in. Two-stroke tillers don’t have a separate oil reservoir; oil is mixed into the fuel at the ratio printed on the engine, and getting that ratio wrong can damage it quickly.
Fuel causes more problems than oil. Gasoline goes stale as it sits, and ethanol blends absorb moisture, leaving varnish that clogs the carburetor. If the tiller will sit between jobs, add fuel stabilizer to the tank, or buy only as much fresh gas as you’ll use soon.
Sharpen or Replace Tines
Dull tines show their wear in how the tiller works. The machine bounces on ground it used to cut, needs more passes to break soil down, and pulls harder against you. Look at the tines themselves: worn tines have rounded edges, are shorter than they used to be, or are bent from hitting rocks.
Mildly dull tines can be sharpened with a metal file or an angle grinder. Disconnect the spark plug wire first, wear gloves, and follow the original angle of each edge. Tines don’t need to be razor-sharp; restoring a clean edge is enough to help them cut instead of just pushing soil around.
Replace tines that are bent, cracked or worn noticeably short, since sharpening won’t restore the length they’ve lost. Most tines come off by removing a clevis pin or a few bolts. Before you take them off, lay them out in order or take a photo, because tines are angled left and right and must go back in the same positions to cut and throw soil correctly. Replacing them as a full set keeps the tine assembly balanced, which reduces vibration and wear on the transmission.
Inspect Belts and Cables
Many tillers, especially rear-tine models, use a drive belt to transfer power from the engine to the tines or wheels. Inspect it with the spark plug wire disconnected and the belt cover removed. Look for cracks across the ribs, frayed edges, missing chunks, or a shiny, glazed surface, which means the belt has been slipping and overheating.
A slipping belt often gives warning before it fails. The tines slow down under load while the engine keeps running, and you may hear a squeal or smell burnt rubber. Check belt tension against your manual, and replace a belt that’s cracked or glazed rather than just tightening it.
Cables wear out more quietly. Check the throttle cable and the tine engagement cable for fraying near the ends, kinks, and cracked outer housings. A stretched cable shows up as a lever that has to be pulled farther before the tines engage. Many cables have an adjuster near the lever to take up the slack. A few drops of light oil on the lever pivots keeps the controls moving freely.
How to Store Your Tiller Between Seasons
A tiller stored for the off-season needs to go into storage clean, with its fuel dealt with and in a dry spot, because stale gas and moisture do most of their damage while the machine sits unused.
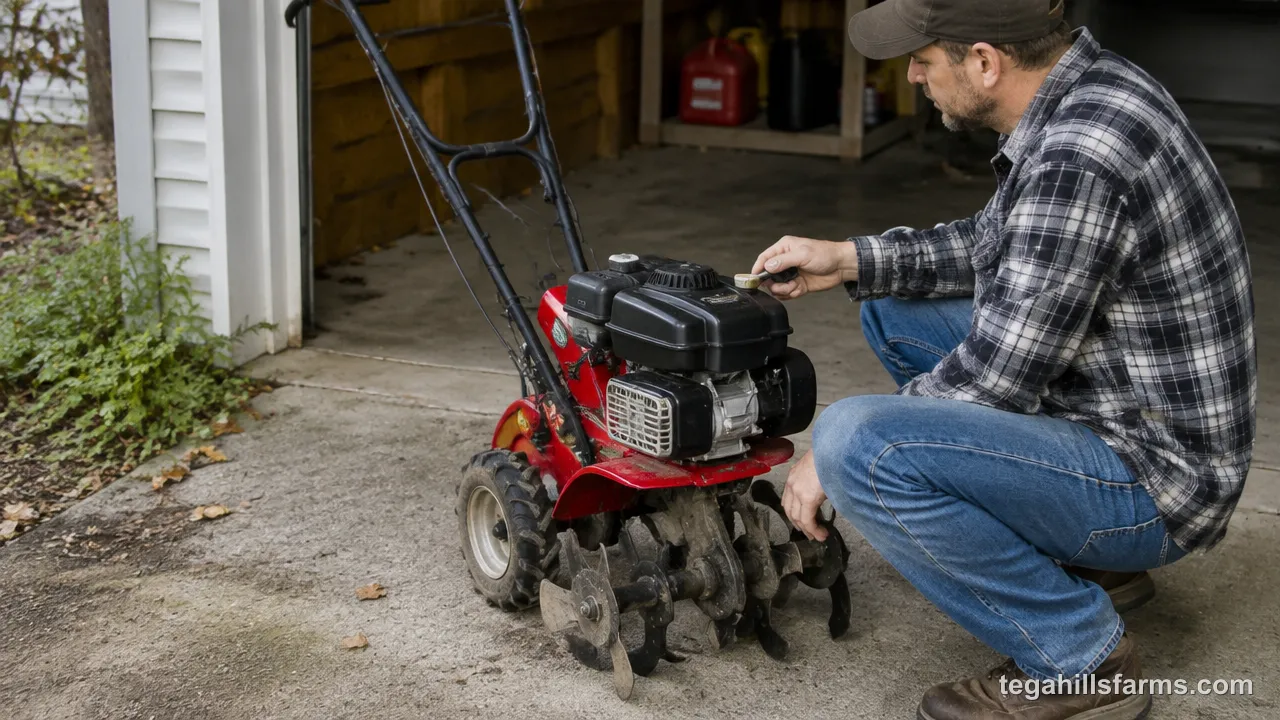
Start by cleaning off all the soil, since dirt holds moisture against the metal and causes rust. For the fuel, either fill the tank with stabilized gas and run the engine for a few minutes so the treated fuel reaches the carburetor, or drain the tank and run the engine until it stops. Change the oil before storage, because used oil carries acids that corrode engine parts over the winter. Remove the spark plug, pour a small splash of oil into the cylinder, pull the cord slowly a few times to coat the walls, then reinstall the plug.
For battery-powered tillers, remove the battery and store it indoors, at the charge level the manufacturer recommends, away from freezing temperatures and heat.
Store the tiller in a dry shed or garage, raised off a damp floor if you can. Coat the tines with light oil and cover the machine with a breathable cover, since plastic tarps trap condensation underneath.
What to Do When Your Tiller Has Problems
Most tiller breakdowns trace back to fuel, air, spark or debris rather than a major mechanical failure, so a few checks at home usually find the cause before a repair shop is needed. Start with the simplest explanation, work through each likely cause, and always disconnect the spark plug wire or unplug the machine before you put your hands near the tines or the drive system.
Engine Won’t Start or Dies Quickly
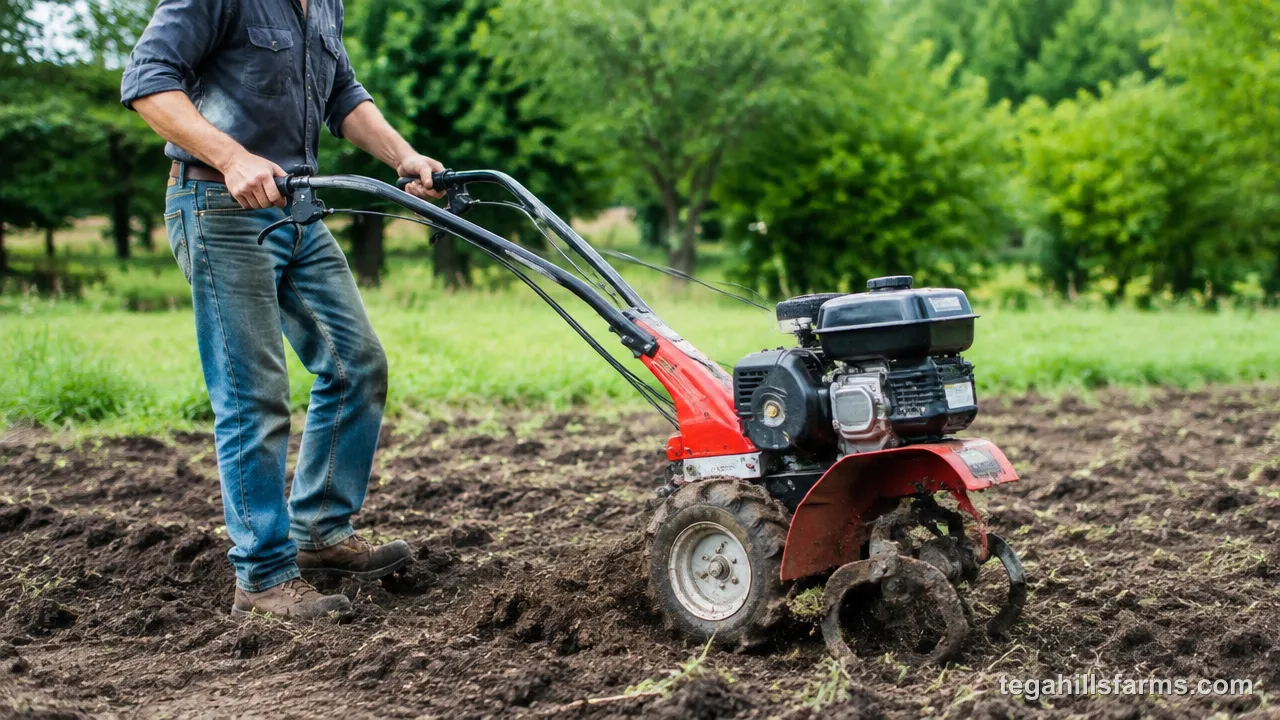
Stale fuel is the most common cause of starting problems. Gas left in the tank over the off-season leaves varnish in the carburetor, which blocks the small passages that meter fuel. Drain the old gas, refill with fresh fuel, and make sure the fuel valve is open.
Choke position comes next. A cold engine needs the choke closed to start, while a warm engine usually starts with it open. Leaving the choke closed on a warm engine floods it with fuel.
If the engine starts but dies as soon as you open the choke, the carburetor is likely partly clogged and only runs on the extra fuel the choke provides. A carburetor cleaner spray sometimes clears it; otherwise the carburetor needs to be cleaned or replaced.
Check the air filter for dirt, because a clogged filter chokes off airflow and stalls the engine. Then pull the spark plug: a plug coated in black carbon or oil needs cleaning or replacement, and its gap should match the spec in your manual. Finally, make sure the kill switch and safety lever aren’t cutting power.
Tines Won’t Turn or Keep Jamming
Shut off the engine and disconnect the spark plug wire before you touch anything. Most jams come from roots, vines, string or wire wrapped around the tine shaft, or a rock wedged between the tines and the shield. Cut wrapped material away with a utility knife, and pry out wedged stones with a bar rather than your fingers.
If the engine runs but the tines don’t turn, the problem is in the drive system. The drive belt may have slipped off its pulleys, stretched, or broken, and the tine engagement cable may be too loose to tighten the belt when you pull the lever. Inspect the belt first, then adjust or replace the cable. Some tillers attach their tines with clevis pins or shear pins designed to break under heavy impact. A missing pin lets the shaft spin while the tines stay still, so check them after hitting a rock.
Repeated jamming usually means the tines are set too deep for the soil or are working ground that’s too wet or full of roots. Raise the depth bar and take shallower passes. Gear-driven models also need the transmission oil or grease level checked as described in the manual, since low lubricant makes the tines bind.


Write Your Review
No reviews yet. Be the first to share your experience!